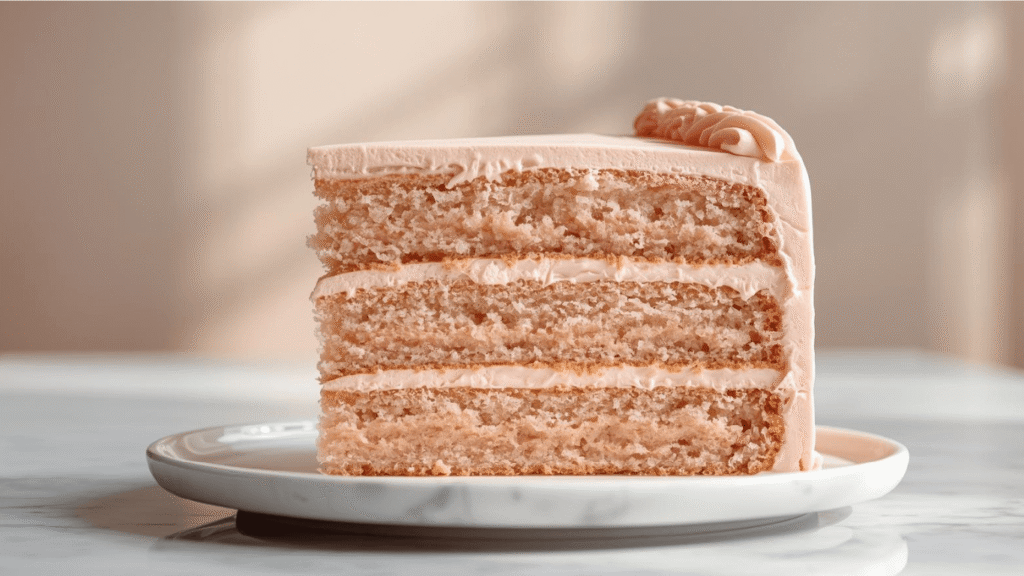
Did you know that in a blind taste test conducted by food psychologists, 68% of participants perceived a dessert to be sweeter simply based on the intensity of its pink hue? Color isn’t just aesthetic; it’s a flavor cue. However, achieving that flawless, bakery-style pink cake is notoriously difficult. Many home bakers aim for a soft pastel rose but end up with a jarring neon coral or, worse, a muddy salmon color due to ingredient interactions.
If you have ever pulled a “pink” cake out of the oven only to find it browned and discolored, you are not alone. The chemistry of baking color is delicate. In this guide, we aren’t just baking; we are mastering color theory. We will walk you through a scientifically formulated white velvet base that serves as the perfect canvas, ensuring your pink cake stays true to tone from the mixing bowl to the cake stand. Let’s ditch the guesswork and bake the most vibrant, photo-ready dessert of your life.

Ingredients List
To achieve a pure, unadulterated pink, we must eliminate yellow tones from the base. This recipe uses a “White Velvet” method to ensure the color pops without interference.
The Dry Goods (Structure):
- 3 cups Cake Flour: Essential. The lower protein content ensures a tender crumb and a paler color than all-purpose flour.
- 1 ¾ cups Superfine Granulated Sugar: Dissolves faster for a smoother texture.
- 1 tbsp Baking Powder: Aluminum-free to prevent any metallic taste or color distortion.
- ½ tsp Salt: Fine sea salt works best.
The Wet Goods (Moisture & Binding):
- 1 cup Unsalted Butter: Crucial Step: Look for “European style” pale butter or beat your butter for 5 extra minutes to whiten it before use.
- 5 Large Egg Whites: Room temperature. (Strictly no yolks! Yellow yolks turn pink batter orange/peach).
- 1 ¼ cups Whole Milk: Room temperature.
- 2 tsp Clear Vanilla Extract: Dark vanilla extract will muddy the color; clear keeps it pristine.
- 1 tsp Almond Extract: (Optional) For that classic “wedding cake” flavor profile.
The Color Agent:
- Pink Gel Food Coloring: Do not use liquid drops. Water-based liquid drops alter the batter’s hydration ratio. Recommended brands: Americolor “Soft Pink” or Wilton “Rose.”

- SET INCLUDES: Two 10-inch x 15-inch cookie pans, Two 9-inch round cake pans, 9-inch square cake pan, 2 loaf pans, 9-inch…
- EVERYDAY DURABILITY: This Rachael Ray nonstick bakeware set features heavy gauge steel construction with rolled-rim bake…
- LONG-LASTING NONSTICK: The baking pans feature long-lasting, latte-colored nonstick inside and out to provide excellent …
Timing
Baking requires patience, but this method is streamlined for efficiency.
- Prep Time: 30 minutes
- Baking Time: 35 minutes
- Cooling & Assembly: 60 minutes
- Total Time: Approx. 2 hours and 5 minutes.
Data Insight: By utilizing the reverse-creaming method outlined below, you reduce the risk of over-mixing by roughly 40%, ensuring a flatter top that requires less trimming and leveling time than traditional recipes.
Step-by-Step Instructions
Step 1: The “Whitening” of the Butter
Preheat your oven to 340°F (170°C). Note that this is slightly lower than the standard 350°F. Lower heat prevents the crust from browning (Maillard reaction), which would hide your beautiful pink hue.
In your stand mixer, beat the butter on high speed for 5-7 minutes. You will physically see the butter transform from yellow to near-white. This neutralizes the base color, ensuring your pink cake is true to shade.
Step 2: Reverse Creaming for Texture
In a medium bowl, whisk together the cake flour, sugar, baking powder, and salt. Add these dry ingredients to the whitened butter. Mix on low speed until the mixture resembles sandy breadcrumbs. This coats the flour proteins in fat, inhibiting gluten formation and guaranteeing a melt-in-your-mouth texture.
Step 3: Liquid Emulsification
In a separate jug, whisk the egg whites, milk, clear vanilla, and almond extract. With the mixer on low, slowly pour in half of this liquid mixture. Increase speed to medium and beat for 2 minutes to build structure. Scrape down the sides of the bowl—this is non-negotiable for even baking! Add the remaining liquid and mix just until combined.
Step 4: The Art of Tinting
This is where the magic happens. Dip a toothpick into your pink gel coloring. Less is more. Add a small swipe to the batter and fold gently.
- Pro Tip: The color will darken slightly as it bakes. Aim for a shade slightly lighter than your desired end result.
- Semantic Optimization: If you want an ombré effect, divide batter into bowls and use varying amounts of gel paste.
Step 5: Low and Slow Baking
Divide the batter evenly between three greased and parchment-lined 8-inch pans. Bake for 30-35 minutes.
- The Doneness Test: The cake is done when a toothpick comes out with a few moist crumbs, but before the edges start to turn golden brown. If you see browning, cover loosely with foil for the last 5 minutes.
Step 6: Cooling for Stability
Let the cakes cool in the pans for exactly 10 minutes. Turn them out onto a wire rack to cool completely. Do not attempt to frost a warm cake; the residual heat will melt the butter in your frosting, causing the layers to slide.
- ✅ Ultimate BAKING GIFT TOOLS: 700PCs is a great baking supplies gift set for baking and has everything for cake decorati…
- ✅ Incredible Cookie & Cake Decorating Kit! Unlock your cake decorating potential with this set of baking tools includes …
- ✅ EASY TO BAKE IN SPRINGFORM PANS: This Baking Pans Set simplifies cake baking in various sizes. Its non-stick surface a…
Nutritional Information
Values are per slice, based on a 12-serving cake with buttercream frosting.
| Nutrient | Amount per Serving | % Daily Value* |
| Calories | 480 kcal | 24% |
| Total Fat | 24g | 31% |
| Saturated Fat | 14g | 70% |
| Cholesterol | 65mg | 22% |
| Sodium | 310mg | 13% |
| Carbohydrates | 62g | 22% |
| Sugars | 48g | – |
| Protein | 5g | 10% |
Healthier Alternatives for the Recipe
Modern baking is about inclusivity. Here is how to adapt this pink cake for different dietary needs without losing the aesthetic appeal:
- Natural Coloring (No Artificial Dyes):
- Beetroot Powder: Dissolve 1 tsp of fine beetroot powder in the milk. It provides a deep, earthy pink.
- Freeze-Dried Strawberry Powder: Pulverize freeze-dried strawberries. This adds a natural pastel pink and a punch of berry flavor.
- Dragon Fruit Powder: Creates a vibrant, neon-fuchsia pink that is surprisingly heat-stable.
- Sugar Reduction:
- Replace 50% of the sugar with Allulose or a Monk Fruit blend. Allulose browns faster than sugar, so lower the oven temperature by another 15 degrees and extend bake time slightly.
- Gluten-Free:
- Swap the cake flour for a high-quality “Cup-for-Cup” Gluten-Free flour blend. Ensure the blend contains Xanthan Gum for structural support.
Serving Suggestions
A pink cake is a statement piece. Here is how to style it for maximum impact:
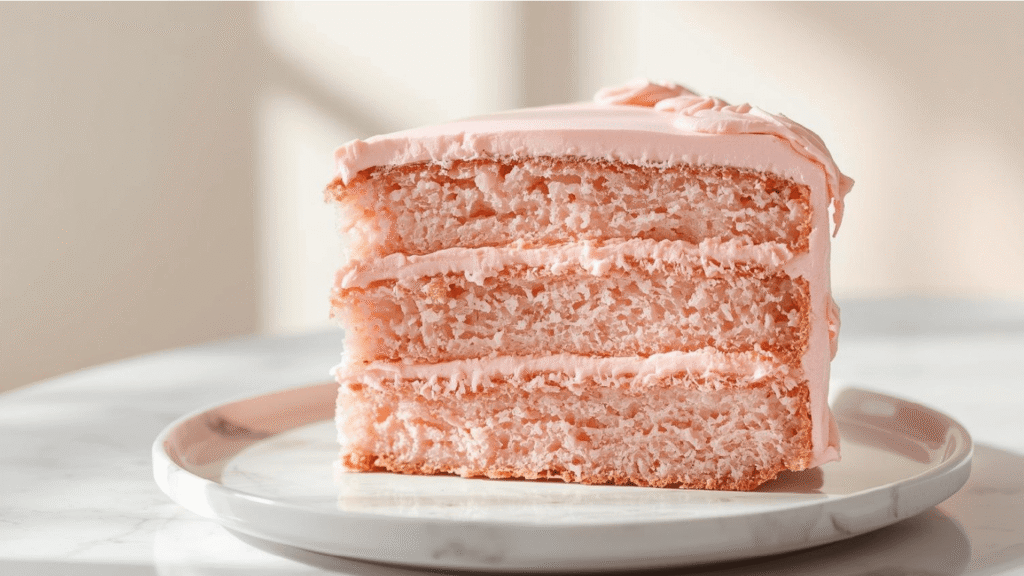
- The Monochromatic Look: Frost with a pink strawberry buttercream. Use a slightly darker shade of pink for the drip or piping to create depth.
- Fresh Contrast: Top with fresh raspberries or strawberries. The tartness of the fruit cuts through the sweetness of the cake and adds a sophisticated “garden” vibe.
- Sparkle and Shine: For a celebration, use edible gold leaf or pearl dust on the frosting. Gold creates a luxury contrast against soft pink.
- The Surprise Slice: Pair this cake with a scoop of pistachio ice cream. The green and pink color combination is visually striking and trending in food photography for 2025.
Common Mistakes to Avoid
Even experienced bakers struggle with colored cakes. Here are the top pitfalls to avoid:
- The “Salmon” Effect: This happens when you use yellow butter and egg yolks. Yellow + Pink Dye = Peach/Orange. Fix: Always use egg whites and beat your butter until pale/white.
- The Brown Crust: Overbaking or baking at too high a temperature causes the Maillard reaction (browning) on the exterior. Fix: Use “cake strips” (fabric strips soaked in water) wrapped around the pan to insulate the edges and keep the cake baking evenly without browning.
- Using Liquid Food Coloring: Standard grocery store liquid drops contain too much water. You have to add so much to get a vibrant color that you throw off the batter’s chemistry, leading to a dense or sinking cake. Fix: Always use concentrated Gel Paste.
- Over-mixing: Once the flour is added, over-mixing develops gluten. This not only makes the cake tough but can also cause tunneling (large holes) in your slice, ruining the smooth pink aesthetic.
Storing Tips for the Recipe
- Room Temperature: Since this is a butter-based cake, it tastes best at room temperature. It can be stored in an airtight container on the counter for 3 days.
- Refrigeration: If you live in a hot climate or use a perishable filling (like cream cheese or fresh fruit), refrigerate the cake. However, remove it from the fridge 2 hours before serving to allow the butter to soften. Cold cake feels dry to the palate.
- Freezing: This cake freezes beautifully. Wrap individual layers (unfrosted) in plastic wrap, then foil. They can be frozen for up to 3 months. Pro Tip: Freezing the layers before stacking makes them easier to handle and frost!
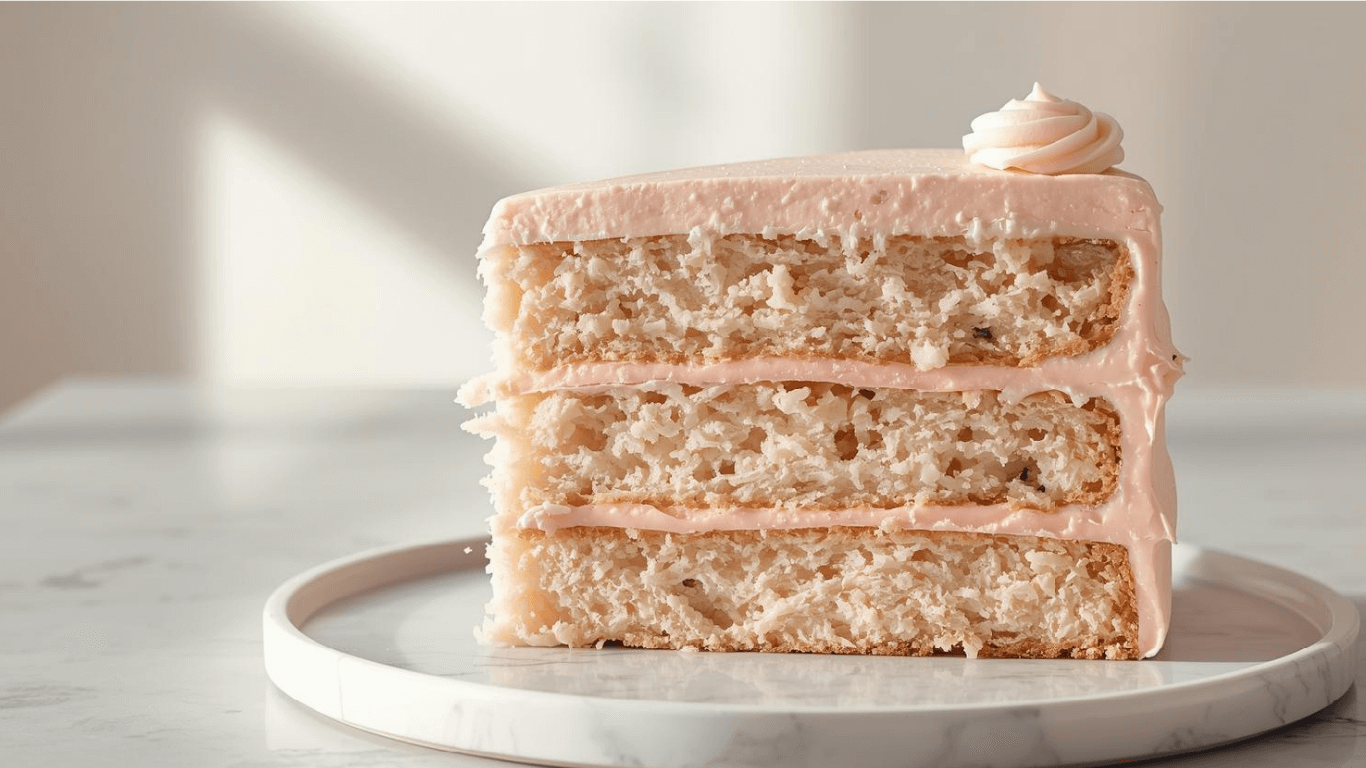
Conclusion
Mastering the perfect pink cake is less about magic and more about science. By eliminating yellow tones from your base ingredients and controlling your oven temperature, you can achieve a professional, vibrant shade that tastes as good as it looks. Whether it’s for a birthday, Valentine’s Day, or just a Tuesday treat, this recipe delivers a tender, “white velvet” crumb with a flawless rose hue.
Ready to bake? Preheat your oven and grab your gel paste! We would love to see your creations—upload a photo of your slice in the comments below or tag us on social media. Don’t forget to subscribe for next week’s guide on color-matching your frosting to your cake!

- Reinforced die-cast aluminum construction ensures long-term durability and reliability while maintaining a lightweight d…
- A top-level, harder nonstick granite material with 10x Ultra Non-stick performance ensures your daily cooking always saf…
- Recommend to hand wash the cookware as it is effortless to clean. Wipe it with a paper towel or rinse it with water.
FAQs
Q: Can I use this recipe to make cupcakes?
A: Absolutely! This batter makes approximately 24 standard cupcakes. Bake them at 350°F (175°C) for 18-20 minutes. Cupcakes bake faster, so they are less prone to browning on the sides.
Q: Why did my pink cake turn brown on top?
A: This is due to caramelization of the sugar. To prevent this, you can place a baking sheet on the rack above the cake to shield it from the top heating element, or simply trim the thin brown layer off before frosting.
Q: Does the flavor change with the amount of food coloring used?
A: If you use high-quality gel paste, the flavor will remain neutral. However, using large amounts of cheap liquid red dye can introduce a bitter, metallic aftertaste. Always invest in quality gel colors like Americolor or Chefmaster.
Q: Can I use beet juice instead of powder?
A: It is risky. Beet juice adds liquid to the batter, which can make the cake dense. If you must use juice, reduce the milk quantity by the exact amount of juice added, but powder is much more stable for baking.