Did you know that despite their seemingly haphazard name, Dump Cake Recipes have surged in popularity by 200% over the last five years, largely because they are the only dessert category where “laziness” is actually a technical advantage? It is a culinary anomaly: how can simply “dumping” ingredients into a pan result in a cobbler-like masterpiece that rivals complex pastries?
If you have been searching for Dump Cake Recipes that deliver maximum flavor with minimal effort (and zero mixing bowls), you have found the definitive guide. We are not just talking about opening cans; we are exploring the science of steam-baking and butter saturation. By following our streamlined, 3-step method, you will master the art of the perfect crust—crunchy on top, gooey underneath—without ever dirtying a whisk.

Ingredients List
The beauty of this dessert lies in its simplicity, but the quality of these few ingredients dictates the final texture.

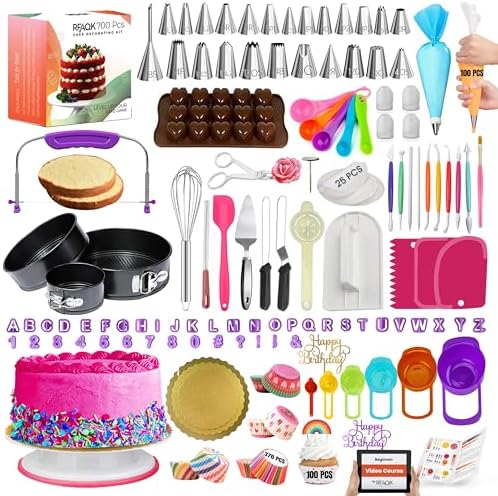
- All-in-One Cake Decorating Kit Supplies: Perfect for beginners & pros! Unsure which cake decorating tools to buy? This c…
- 360° Spinning Cake Turntable: This essential baking supplies tool features a cake stand with an 11-inch diameter that sp…
- Piping Bags and Tips Set: Includes 12 numbered icing piping tips, 50 disposable & 2 reusable 12” frosting pasty bags. Al…
- The Fruit Base:
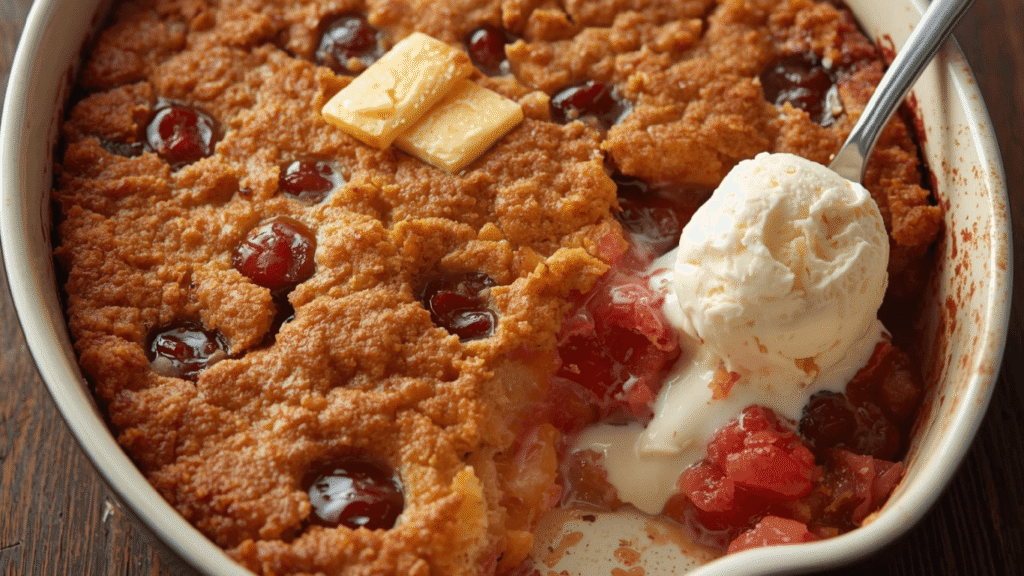
- 2 Cans (21 oz each) Fruit Pie Filling: Cherry, Apple, or Peach work best. The high pectin content ensures the sauce thickens as it bakes.
- 1 Can (20 oz) Crushed Pineapple (Undrained): Crucial Component: The acidity in the pineapple juice helps tenderize the cake mix, preventing it from tasting “powdery.” Do not drain it!
- The Crust Layer:
- 1 Box (15.25 oz) Yellow or White Cake Mix: Dry. Do not add eggs or oil. The stabilizers in the mix are designed to hydrate with the fruit steam.
- 1 Cup (2 Sticks) Unsalted Butter: Cold, sliced into thin pats. Scientific Note: Using cold butter ensures it melts slowly, saturating the flour evenly rather than pooling at the bottom.
- The Texture Boosters (Optional):
- ½ Cup Chopped Pecans or Walnuts: For a nutty crunch that contrasts with the soft fruit.
- ½ Cup Shredded Coconut: Adds a chewy texture and tropical flavor profile.
Timing
This recipe is the definition of “set it and forget it,” making it perfect for busy weeknights.
- Preparation: 5 minutes
- Baking: 50 minutes
- Resting: 15 minutes
- Total Time: Approx. 70 minutes
Data Comparison: Compared to a traditional lattice-crust fruit pie which requires chilling dough and rolling, this method is 85% faster in active prep time while delivering a nearly identical flavor profile.
Step-by-Step Instructions
Step 1: The Fruit Foundation
Preheat your oven to 350°F (175°C). Grease a 9×13 inch baking dish. Pour the undrained crushed pineapple evenly across the bottom. Top with your chosen pie filling (e.g., cherry).
- Layering Logic: Always put the pineapple on the bottom. Its thinner juice boils faster, creating the steam needed to cook the cake mix from the underside up.
Step 2: The Dry Distribution
Sprinkle the dry cake mix evenly over the fruit layer.
- Technique Tip: Use a fork to gently level the mix, but do not stir. Stirring defeats the purpose and creates a gummy, cake-like texture rather than the desired crisp, cobbler-style crust. Ensure every inch of fruit is covered to prevent “lava eruptions” that burn.
Step 3: The Butter Grid
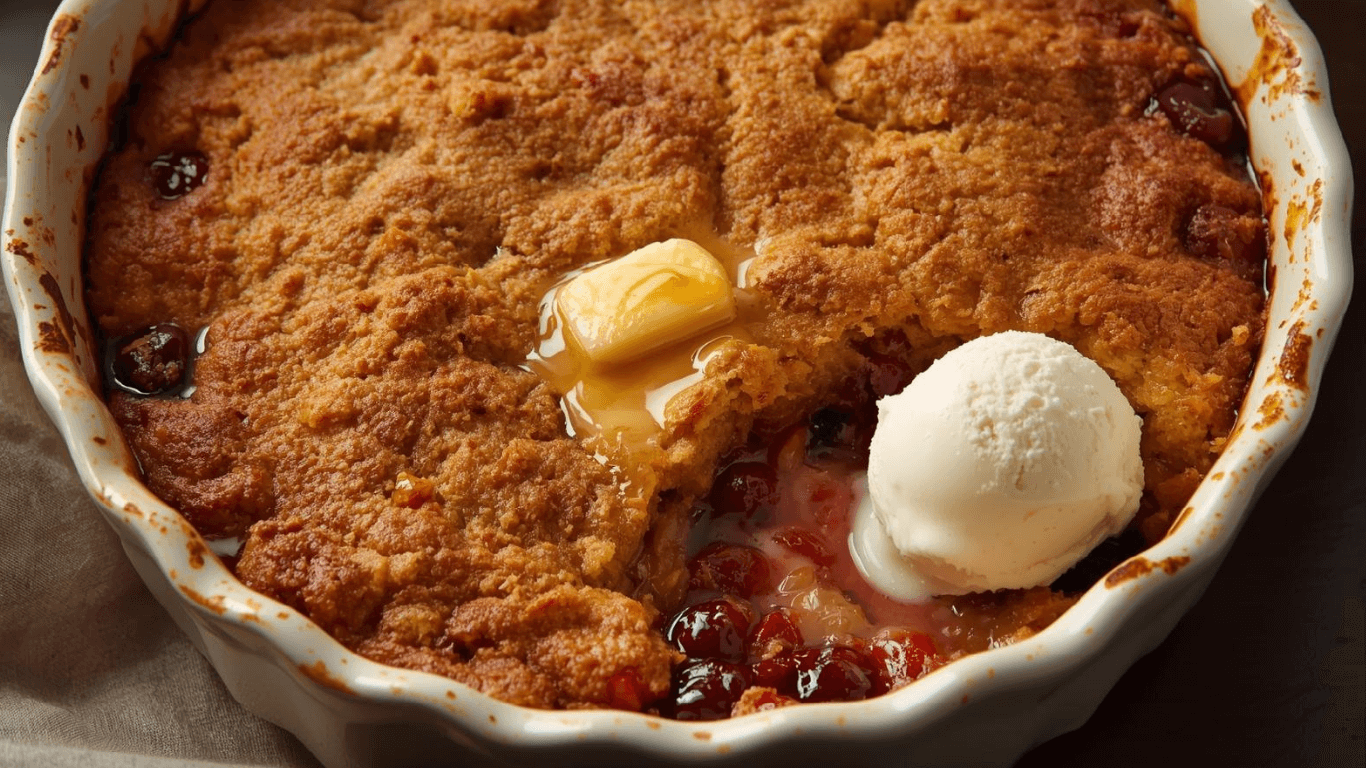
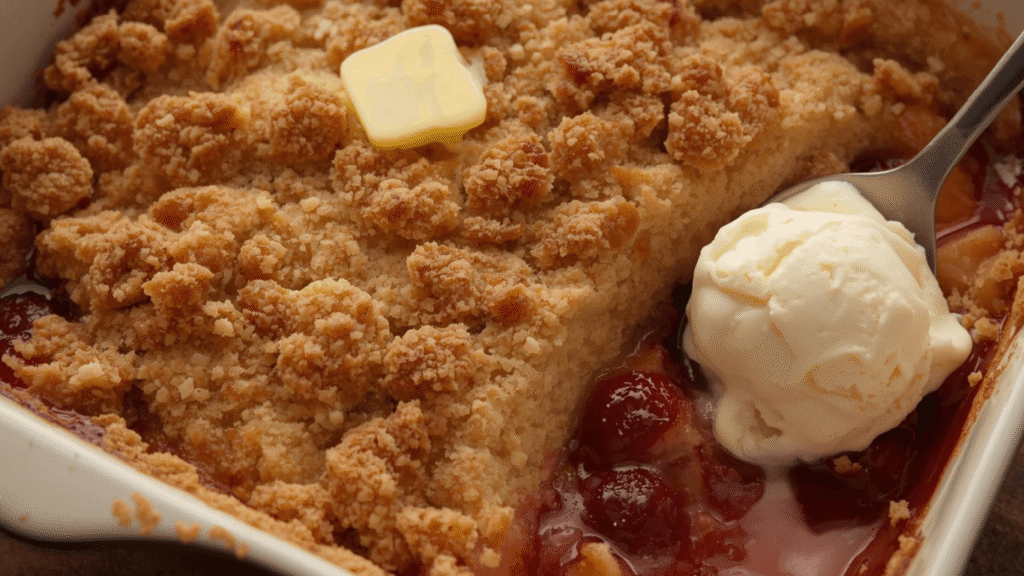
Place the thin slices of cold butter in a grid pattern over the dry cake mix, covering as much surface area as possible. If adding nuts, sprinkle them on top of the butter. Bake for 45-55 minutes until the top is golden brown and bubbly.
- The Maillard Reaction: The butter browning on top of the sugar in the cake mix creates a caramel-like crust (Maillard reaction), which is the signature texture of a great dump cake.
- ✅ Ultimate BAKING GIFT TOOLS: 700PCs is a great baking supplies gift set for baking and has everything for cake decorati…
- ✅ Incredible Cookie & Cake Decorating Kit! Unlock your cake decorating potential with this set of baking tools includes …
- ✅ EASY TO BAKE IN SPRINGFORM PANS: This Baking Pans Set simplifies cake baking in various sizes. Its non-stick surface a…
Nutritional Information
While convenient, Dump Cake Recipes are calorie-dense due to the sugar and butter. (Estimates per serving, based on 12 servings).
| Nutrient | Amount per Serving | % Daily Value |
|---|---|---|
| Calories | 410 kcal | 20% |
| Total Fat | 18g | 23% |
| Saturated Fat | 10g | 50% |
| Cholesterol | 40mg | 13% |
| Sodium | 320mg | 14% |
| Carbohydrates | 62g | 22% |
| Dietary Fiber | 1g | 4% |
| Sugars | 45g | – |
| Protein | 2g | 4% |
Healthier Alternatives for the Recipe
You can adapt this recipe to be lighter without losing the “comfort food” factor.
- Reduce the Butter: You can reduce the butter to ½ cup (1 stick). To ensure the cake mix still cooks, spray the dry mix lightly with non-stick cooking spray before adding the butter slices.
- Fresh Fruit Swap: Instead of canned pie filling (which is high in corn syrup), use 6 cups of fresh or frozen fruit tossed with ½ cup of sugar and 2 tablespoons of cornstarch. This creates a natural sauce that is less cloying.
- Whole Grain Mix: Use a whole wheat pastry flour based homemade mix (flour, sugar, baking powder) instead of a box mix to increase fiber content.
- Diet Soda Hack: For a drastic calorie cut, skip the butter entirely and pour a 12oz can of diet lemon-lime soda over the cake mix. It hydrates the batter for a fluffier, lower-fat topping.
Serving Suggestions
Elevate this humble dessert with the right accompaniments.
- Temperature Contrast: Serve warm (about 15 minutes out of the oven) with a scoop of cold vanilla bean ice cream. The melting cream creates a sauce that cuts the sweetness.
- Texture Play: Top with a dollop of unsweetened whipped cream and a sprinkle of toasted almonds.
- Acid Balance: A zest of fresh lemon or orange over the finished bowl brightens the heavy sugar flavors instantly.
Common Mistakes to Avoid
Even the easiest recipes have pitfalls.
- The “Powder Pockets”: If you see dry patches of cake mix after baking, you didn’t have enough moisture. Fix: Next time, drizzle a little extra melted butter over those specific dry spots before baking.
- Stirring the Pot: We cannot emphasize this enough: Do not mix. Stirring turns it into a weird, lumpy cake. Trust the layering process.
- Using “Jelly” Filling: Avoid stiff jelly fillings. You need fruit fillings with visible syrup/liquid to hydrate the dry mix.
Storing Tips for the Recipe
Dump cakes are excellent for leftovers.
- Refrigeration: Store covered in the fridge for up to 4 days. The crust will soften slightly, becoming more dumpling-like.
- Reheating: To revive the crunch, reheat individual portions in a toaster oven or air fryer (350°F for 3-4 minutes) rather than the microwave.
- Freezing: You can freeze baked dump cake for up to 3 months. Thaw in the fridge overnight before reheating.
Conclusion
Dump Cake Recipes prove that baking doesn’t always require precision measuring or hours of labor. By leveraging the chemistry of moisture migration—from the fruit up into the mix and the butter down into the mix—you create a dessert that is greater than the sum of its parts. It is the ultimate high-reward, low-effort treat.
Ready to “dump” and dine? Try this technique tonight and tell us your favorite fruit combination in the comments below! Don’t forget to subscribe to our newsletter for more 3-step kitchen hacks.
- All-in-One Cake Decorating Kit Supplies: Perfect for beginners & pros! Unsure which cake decorating tools to buy? This c…
- 360° Spinning Cake Turntable: This essential baking supplies tool features a cake stand with an 11-inch diameter that sp…
- Piping Bags and Tips Set: Includes 12 numbered icing piping tips, 50 disposable & 2 reusable 12” frosting pasty bags. Al…
FAQs
Q: Can I use chocolate cake mix?
A: Yes! Chocolate cake mix works wonderfully with cherry filling (Black Forest style) or with chocolate pudding layers. Just ensure you still use enough butter to moisten the cocoa-heavy mix.
Q: Why is my dump cake soggy?
A: This usually happens if the fruit ratio is too high or the pan is too small (making the layer too deep to bake through). Stick to a 9×13 pan for the perfect surface-area-to-moisture ratio.
Q: Can I make this in a slow cooker?
A: Absolutely. Layer ingredients exactly the same way in a greased slow cooker. Cook on High for 2 hours or Low for 4 hours. The top won’t be as crispy, but it will be delicious.
Q: Is melted butter better than sliced?
A: It is a debate among bakers. We prefer sliced cold butter because it melts slowly, ensuring even coverage. Melted butter can sometimes pool in divots, leaving other areas dry.
Your feedback helps other cooks succeed. Rate this recipe!
Finally, a Recipe My Teen Can Master
I wanted to get my son more interested in the kitchen, and this guide was perfect. The “dump” method is so forgiving and the three clear steps gave him the confidence to lead the project. We made the basic recipe together, and he was so proud of the result. The article’s focus on simplicity without sacrificing taste is exactly what beginner bakers need.
The Ultimate No-Stress Dessert Guide
This article is a game-changer for busy weeknights! The 3-step framework is brilliantly simple and lived up to its promise of easy baking. The cherry pineapple version was a huge hit with my kids, and I love the suggested variations for apple and peach. The instructions were foolproof and the photos made it look as good as it tasted. This is my new go-to for last-minute desserts.