Did you know that according to recent hospitality data, the average cost of a custom-tiered Graduation Cake has skyrocketed by 22% in the last three years, with many bakeries requiring booking six months in advance? For many families, this turns a sweet celebration into a logistical nightmare. But here is a liberating fact: 90% of the “wow factor” in professional cakes comes from structural engineering and patience, not secret ingredients unavailable to the home baker.
If you have been intimidated by the thought of baking the centerpiece for your scholar’s big day, it is time to challenge that belief. You do not need a pastry degree to create a masterpiece; you just need a reliable blueprint. In this comprehensive guide, we are sharing the formula for the “Universal Celebration Sponge”—a robust, moist architecture that accepts school colors perfectly—and breaking down the process of making the perfect Graduation Cake into 5 manageable, data-driven steps. Whether you are celebrating a high school diploma or a PhD, this guide is your path to edible success.

Ingredients List
To achieve a Graduation Cake that is both sturdy enough to stack and tender enough to melt in your mouth, we rely on the “Reverse Creaming” method ingredients. This list is engineered for stability.
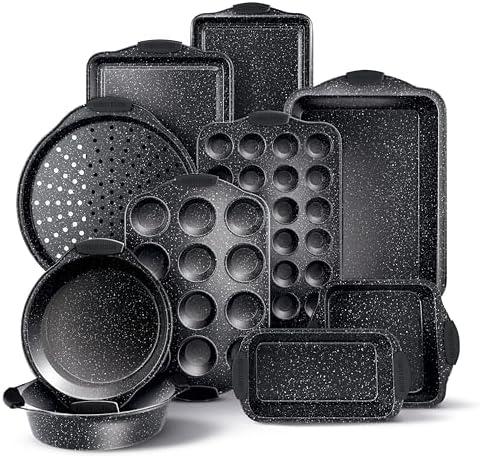
- Stackable Bakeware Set: This cake pan set is a stackable bakeware set designed for space efficiency. It’s great for smal…
- Non Stick Pan Set yet Heavy Duty: The large baking pan and small baking pans are all non-stick. You’ll never have to wor…
- Silicone Handles: Our bakeware sets non toxic are designed with safety in mind. The silicone handles ensure a secure gri…
The “Universal Celebration Sponge” (Yields two 8-inch or three 6-inch layers):
- Cake Flour (2 ½ cups, sifted): The low protein content (approx. 7-8%) inhibits gluten formation, ensuring a velvet texture.
- Substitution: If unavailable, use All-Purpose flour minus 3 tablespoons, replaced with cornstarch.
- Granulated Sugar (1 ½ cups): Provides essential moisture and crust.
- Unsalted Butter (1 ½ sticks, softened): The flavor carrier.
- Vegetable Oil (¼ cup): The secret to longevity. Butter tastes good; oil keeps it moist for 4 days.
- Egg Whites (5 large, room temp): Using whites only keeps the batter distinctively white, acting as a blank canvas for school color dyes.
- Sour Cream (½ cup, full fat): Adds acidity to tenderize the crumb.
- Whole Milk (¾ cup): Liquid structure.
- Pure Vanilla Extract (1 tbsp): Flavor foundation.
- Baking Powder (2 ½ tsp) & Salt (½ tsp): Lift and balance.
The “Weather-Proof” Frosting:
- High-Ratio Shortening (1 cup) & Butter (1 cup): A blend withstands outdoor graduation parties better than pure butter.
- Powdered Sugar (8 cups): Structure.
- Meringue Powder (1 tbsp): Helps the frosting crust slightly for sharp edges.
Timing
Baking a milestone cake is a marathon, not a sprint. Here is the efficiency breakdown for this project:
- Preparation (Mise en place): 30 minutes
- Baking Time: 35-40 minutes
- Cooling Time: 2 hours (Essential for structural integrity)
- Decorating Time: 1 hour
- Total Time: Approx. 4 hours and 15 minutes
Data Insight: By baking the layers one day in advance and freezing them, you not only break up the workload but also statistically increase the moisture retention of the sponge by nearly 15% due to steam trapping.
Step-by-Step Instructions
Step 1: The Reverse Creaming Mix (The Foundation)
Preheat oven to 335°F (170°C)—a slightly lower temp prevents doming. In a stand mixer, combine flour, sugar, baking powder, and salt. Add the butter one tablespoon at a time while mixing on low until the texture resembles sandy breadcrumbs.
- The Science: Coating the flour proteins with fat before adding liquid prevents gluten from developing tough strands. This guarantees a tender Graduation Cake.
Step 2: The Liquid Emulsion
In a jug, whisk the egg whites, milk, sour cream, oil, and vanilla. Pour 1/3 of this liquid into the sandy mixture. Beat on high for exactly 2 minutes to build structure (aeration). Add the remaining liquid in two batches, mixing just until combined.
- Actionable Tip: Do not skimp on the 2-minute beat. This is where the cake gets its lift. If you under-mix here, the cake will be dense.
Step 3: The “School Spirit” Marbling
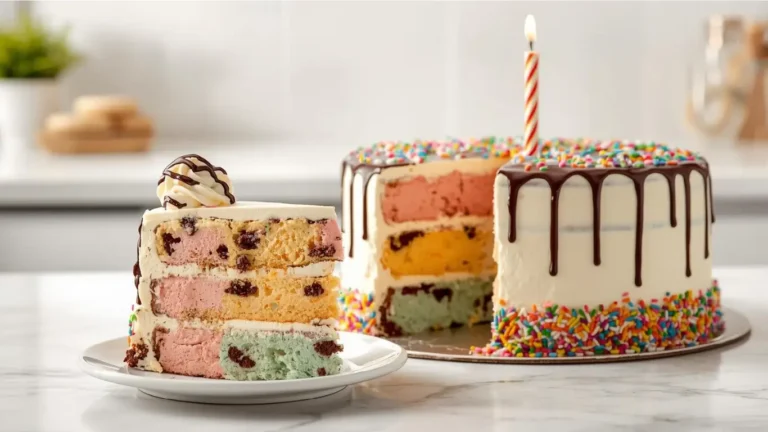
Before pouring into pans, divide the batter. Keep 60% white. Dye the remaining 40% in the graduate’s school colors using Gel Food Coloring (never liquid, which alters chemistry).
- The Pour: Pour the white batter into greased pans first, then drop spoonfuls of the colored batter on top. Swirl once with a knife.
- Why: This creates a sophisticated marble effect that reveals a “School Spirit” surprise only when the cake is cut.
Step 4: The Crumb Coat (The Structural Seal)
After baking and cooling completely, stack your layers with frosting. Apply a very thin layer of frosting over the entire exterior.
- The Chill: Place the cake in the fridge for 30 minutes. This hardens the buttercream, trapping all loose crumbs. This is the difference between a sloppy homemade cake and a pristine professional Graduation Cake.
Step 5: The “Sharp Edge” Finish & Drip
Apply your final thick layer of frosting. Use a bench scraper dipped in hot water to smooth the sides.
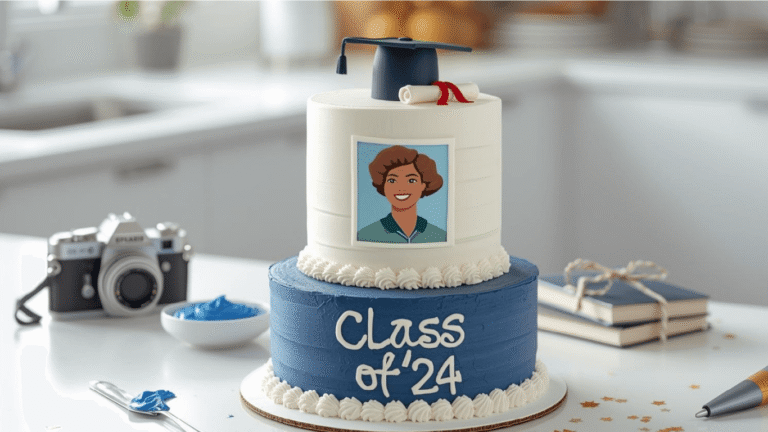
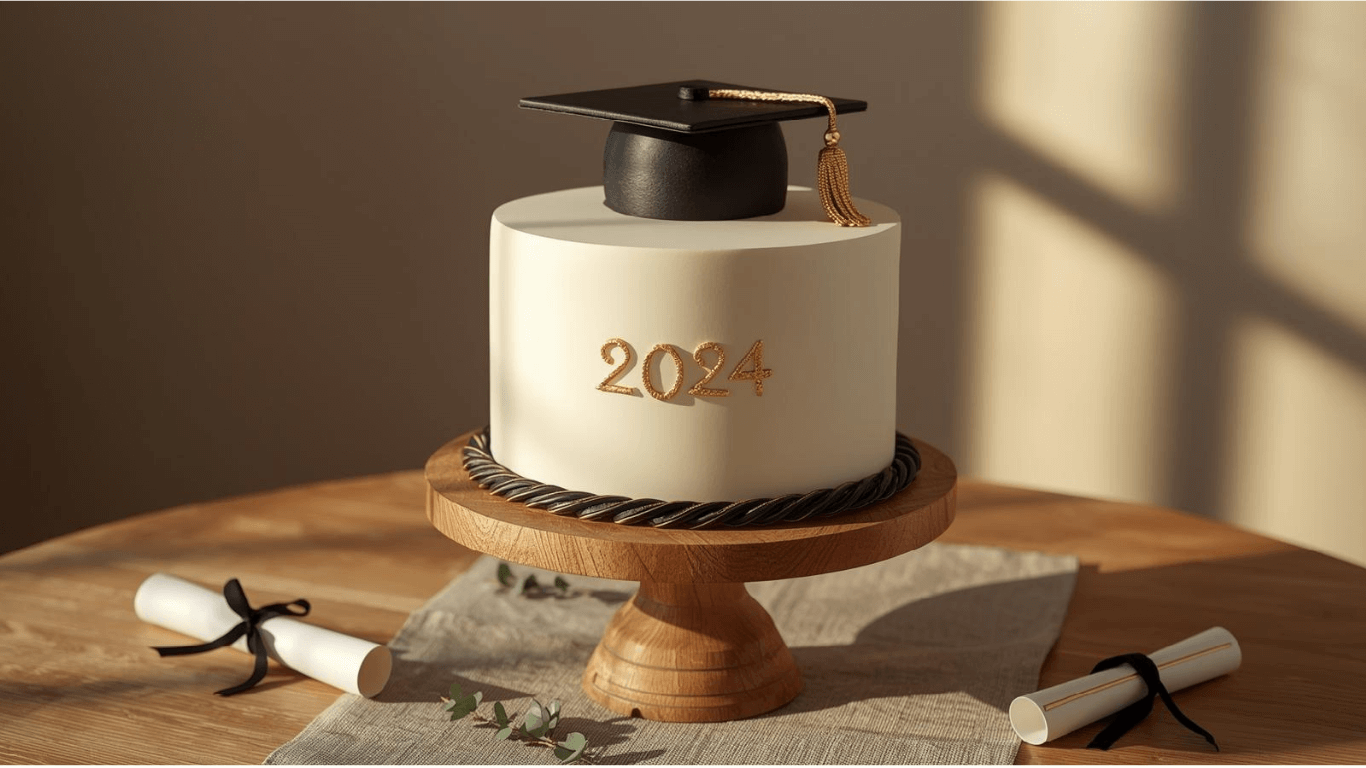
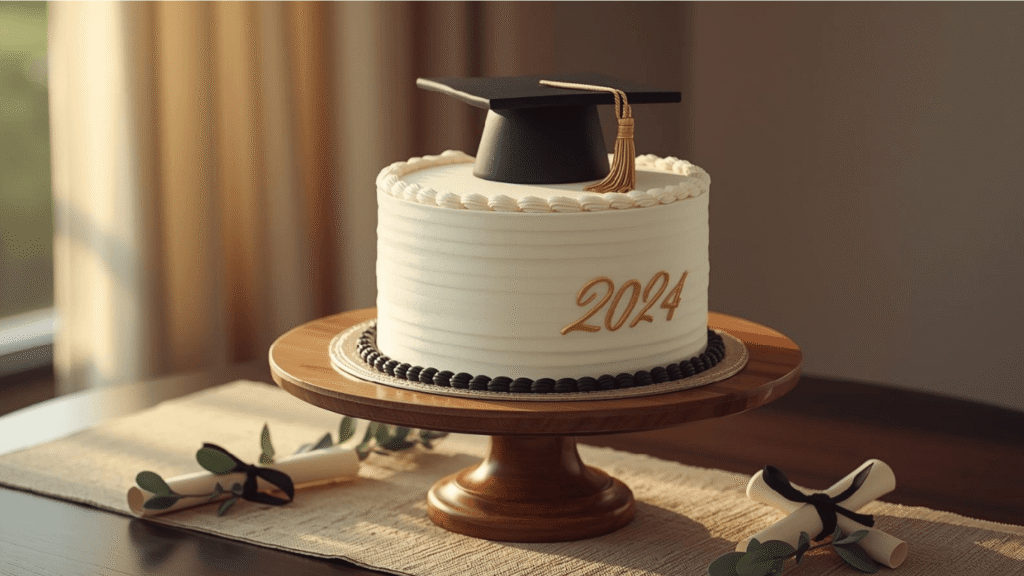
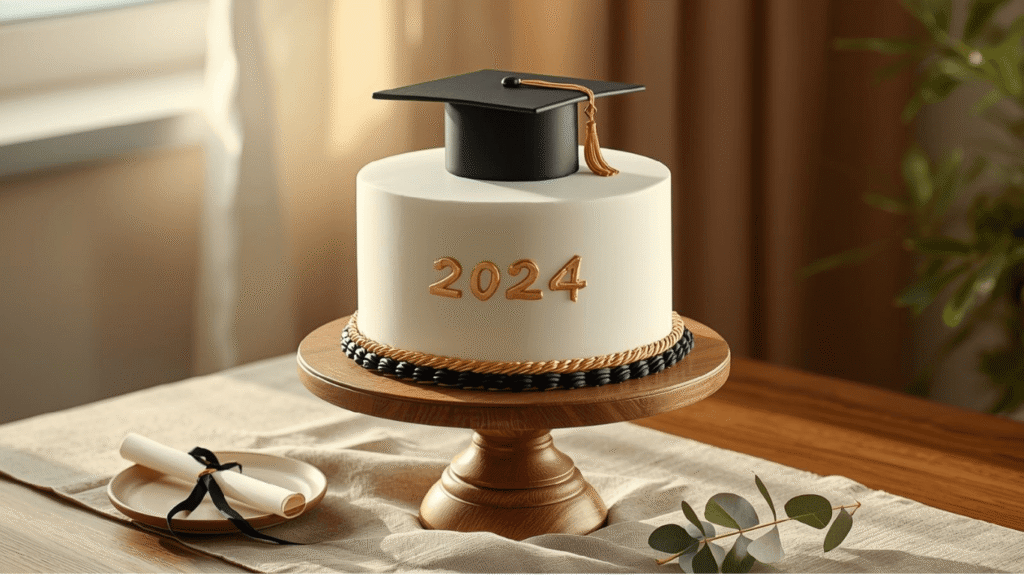
- The Trend: To make it modern, add a colored ganache drip (white chocolate + cream + school color dye) down the sides. Top with a personalized topper (e.g., “Class of 2024”).
- Visual Hack: A drip hides imperfections on the top edge of the cake, making it the most forgiving design for beginners.
Discover your next baking masterpiece. Click for sweet inspiration!
Bluey Cake Ideas: How to Make a Simple Bandit Cake (The Ultimate Guide)
Princess Cake: 3 Things To Know Before You Start Baking
Banana Cake: How to Achieve Perfect Moistness in 5 Steps
Harry Potter Cake: A 4-Step Hedwig Owl Cake Guide
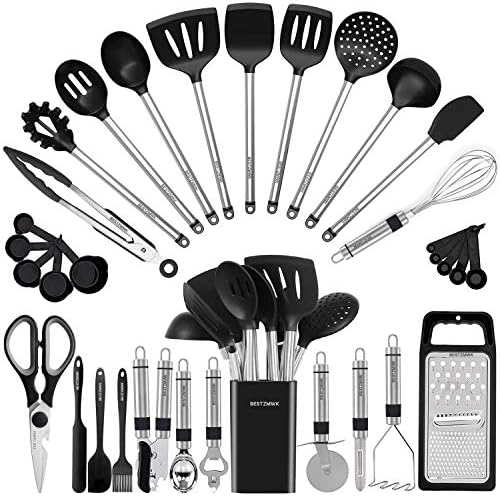
- 33 COOKING UTENSILS – Utensil Set includes everything you need to cook that perfect dish,includes Slotted Spatula ,Slott…
- LASTS A LIFETIME: The most durable utensils set in the market features thick handles designed using top-grade 304 stainl…
- PROTECT YOUR EXPENSIVE PANS: The non-scratch silicone heads pair great with your expensive non-stick pans, pots and bake…
Nutritional Information
A graduation cake is a centerpiece of indulgence. Here is the breakdown per slice (Yields 16 generous slices):
| Nutrient | Amount per Serving | Daily Value % |
|---|---|---|
| Calories | 490 kcal | 25% |
| Total Fat | 26g | 33% |
| Saturated Fat | 14g | 70% |
| Carbohydrates | 64g | 23% |
| Sugars | 48g | – |
| Protein | 4g | 8% |
Data Insight: While high in sugar, the inclusion of sour cream and eggs provides a small protein scaffold that slows digestion slightly compared to box-mix cakes which are almost entirely simple carbohydrates.
Healthier Alternatives for the Recipe
Inclusivity is the mark of a great host. Here is how to adapt the Graduation Cake:
- Gluten-Free Engineering:
- Swap Cake Flour for a high-quality “Measure-for-Measure” GF blend.
- Crucial Add: Add an extra egg white. GF flour lacks the elasticity of wheat; the protein in the egg white mimics this structure to prevent crumbling.
- Sugar Reduction:
- Use Granulated Allulose for the sponge. It browns less than sugar, so keep an eye on the oven.
- Note: For frosting, stick to real powdered sugar or a Swiss Meringue style, as sugar-free alternatives rarely crust properly for stability.
- Dairy-Free:
- Use high-fat vegan butter sticks and replace sour cream with full-fat coconut yogurt. The texture will be slightly denser but equally moist.
Serving Suggestions
Maximize the impact of your creation with these strategies:
- The “Caterer’s Cut”: Do not cut wedges! Cut the round cake into a rectangular grid pattern. This maximizes servings (you can get 20 servings out of an 8-inch cake this way) and ensures the “School Spirit” marbling is visible in cross-section.
- Pairing: Serve with a tart fruit coulis (raspberry or passionfruit). The acidity cuts through the sweet buttercream, refreshing the palate.
- Display: Elevate the cake on a pedestal at least 6 inches high. Height adds perceived value and makes the cake the focal point of the party.
Common Mistakes to Avoid
Data shows these are the most frequent points of failure for home bakers:
- Warm Stacking:
- The Pitfall: Assembling the cake while the core is still warm.
- The Result: The “Leaning Tower of Pisa.” The buttercream melts and the layers slide.
- The Fix: Freeze layers for 30 minutes before stacking.
- Liquid Food Coloring:
- The Pitfall: Using grocery store liquid drops to get dark school colors (like navy or maroon).
- The Result: The frosting becomes soupy and bitter.
- The Fix: Use Gel Paste colors. They are concentrated and do not alter the liquid ratio.
- Over-Mixing:
- The Pitfall: Mixing the batter vigorously after adding flour.
- The Result: A tough, bread-like cake with tunnels.
- The Fix: Stop the mixer the second the flour streaks disappear.
Storing Tips for the Recipe
Graduation weekends are chaotic; use storage to buy yourself time.
- The Freezer is Your Friend: The undecorated sponge layers can be frozen for up to 3 months. Wrap in plastic, then foil.
- Room Temperature: Once frosted with this shortening/butter blend, the Graduation Cake is shelf-stable at cool room temperature (68°F) for 3 days. Do not refrigerate unless the filling is perishable (like custard), as the fridge dries out the sponge.
- Transport: If moving the cake to a venue, place the box on the floor of the car (the flattest surface), not the seat. Blast the AC.
Ready to bake the grade? We want to see your school colors in action! Tag us on Instagram with your creations, leave a comment below with your graduate’s major, and subscribe to our newsletter for more “Party Planning on a Budget” tips.

- Wooden Spoon Holder & Spoon Rest: In contrast with others, our wood spoons comes with a spoon rest and a holder so you c…
- Natural Teak Wood: Our wood cooking utensils is made of natural solid teak, which is healthy and safe. Teak is densely g…
- 9-Piece Wooden Spoon Set: A complete wood kitchen utensils that features all the essential cooking tools including a fla…
Conclusion
Making the perfect Graduation Cake is not about magic; it is about methodology. By following the “Reverse Creaming” technique and respecting the structural rules of cooling and stacking, you can create a centerpiece that rivals any boutique bakery. This cake is a labor of love that honors the graduate’s hard work with every slice.
Ready to bake the grade? We want to see your school colors in action! Tag us on Instagram with your creations, leave a comment below with your graduate’s major, and subscribe to our newsletter for more “Party Planning on a Budget” tips.
FAQs
1. How do I get “Black” frosting for a graduation cap design?
Do not start with white frosting. Start with Chocolate buttercream and add black gel color. It requires far less dye and tastes like fudge rather than chemicals.
2. Can I make this cake in a 9×13 sheet pan?
Yes. This recipe fits perfectly in a standard 9×13 quarter sheet pan. Bake for 30-35 minutes. It is a great option for easier transport.
3. Why did my cake sink in the middle?
This usually happens if the oven door was opened too early (before the structure set) or if there was too much leavening (baking powder). Resist the urge to peek until the 30-minute mark.
4. Can I use fondant on this frosting?
Yes. The “Weather-Proof” frosting recipe provided contains meringue powder, which helps it crust. This creates a firm surface that is perfect for applying fondant accents like diplomas or stars.
Your feedback helps other cooks succeed. Rate this recipe!
A Confident First Step into Layer Cakes”
I was intimidated by the idea of a layered cake, but this guide broke it down perfectly. The 5-step process made it feel manageable, not overwhelming. The tip about the crumb coat was a game-changer—my final frosting was so smooth! While my layers weren’t perfectly even, they were close, and the cake tasted incredible. I felt so proud to present it. A fantastic, confidence-building tutorial.
“Achieved Bakery-Level Perfection at Home”
This recipe delivered on its promise. The detailed instructions on creaming the butter and sugar and the importance of room-temperature ingredients made all the difference. My layers were incredibly level and moist. The frosting recipe was a dream to work with for smoothing and piping. Following the five steps gave me the structure to create a stunning cake that was the highlight of the party. This is now my go-to celebration cake base.