Did you know that the average first birthday cake contains more added sugar in a single slice than a one-year-old should consume in an entire week? It is a startling statistic that leaves many parents torn between the adorable “smash” photo op and the reality of a sugar crash. But what if you could capture that iconic messy moment without the metabolic stress? This is where the Healthy Smash Cake revolution begins.
A Healthy Smash Cake is specifically designed for delicate, developing systems. It ditches the refined white flour and processed sugars for nutrient-dense oat flour and natural fruit sweetness. It provides the perfect soft texture for little hands to crush and explore, yet remains stable enough to stack and frost. In this guide, we will walk you through 6 simple steps to creating a baby-friendly masterpiece that looks professional, tastes delicious, and lets you celebrate this milestone with zero guilt.

Ingredients List
To create a cake that is safe for a 12-month-old but tasty enough for adults to steal a bite, we use whole-food ingredients that provide gentle nutrition.
- The Base: 2 cups Oat Flour (Certified Gluten-Free).
- Why: Oats are gentle on digestion and provide a soft, dense crumb that holds up well to “smashing” without being too crumbly.
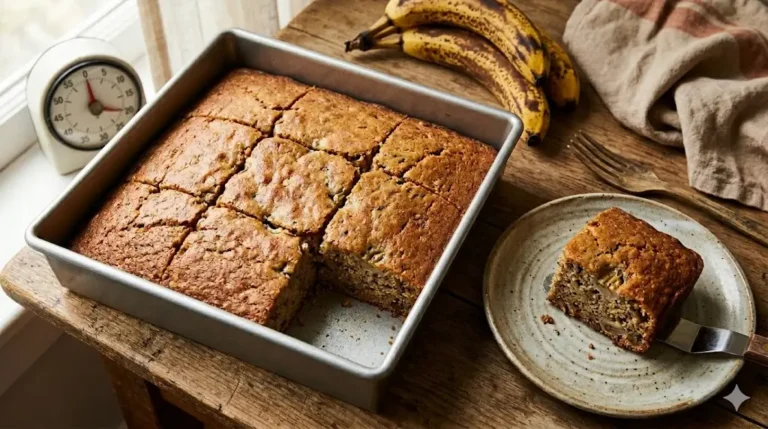
- The Sweetener & Binder: 2 Ripe Bananas, mashed thoroughly.
- Sensory Note: The spottier the banana, the higher the natural fructose, eliminating the need for bags of white sugar.
- The Liquid Gold: ¼ cup Pure Maple Syrup.
- Safety Check: Unlike honey, which carries a botulism risk for infants under 12 months (though often cooked out, we play it safe), maple syrup is generally considered safer and adds a rich, caramel tone.
- The Fat: ½ cup Unsweetened Applesauce or Melted Coconut Oil.
- Texture Hack: Applesauce keeps the cake incredibly moist while cutting fat content.
- The Structure: 2 Large Eggs (Room Temperature).
- The Leavening: 1 tsp Baking Soda + 1 tsp Baking Powder.
- The Frosting: 1 cup Thick Greek Yogurt or Coconut Cream.
Smart Substitutions:
- Egg-Free: Use “flax eggs” (2 tbsp ground flaxseed meal + 6 tbsp water). This works exceptionally well with the oat base.
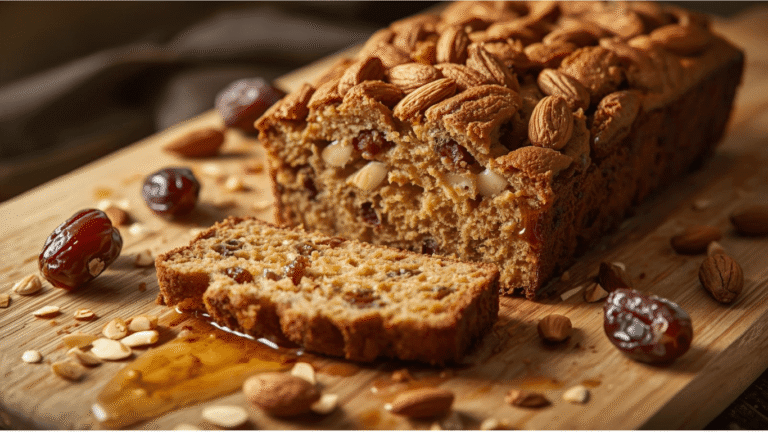
- Grain-Free: Almond flour can be used, but ensure your baby has been introduced to tree nuts previously to rule out allergies.
Timing
Planning a first birthday party is chaotic enough; your baking schedule shouldn’t be.
- Preparation Time: 15 Minutes
- Cooking Time: 25 Minutes
- Cooling/Frosting: 20 Minutes
- Total Time: 60 Minutes
Data Insight: This recipe requires 40% less active time than a traditional buttercream cake, giving you more time to focus on decorations and the birthday baby.
Step-by-Step Instructions
We have broken the process down into 6 manageable steps to ensure your Healthy Smash Cake is picture-perfect.
Step 1: The Foundation Prep
Preheat your oven to 350°F (175°C). Grease three 4-inch round cake pans (or two 6-inch pans) with coconut oil and line the bottoms with parchment paper.
- Pro Tip: Do not skip the parchment paper. Oat flour cakes are more delicate than wheat cakes and can stick to the bottom. The paper ensures a clean release essential for stacking.
Step 2: The Dry Whisk
In a medium bowl, whisk together the oat flour, baking soda, baking powder, and a pinch of cinnamon (optional).
- Actionable Advice: Sift the oat flour if it looks clumpy. You want a smooth, non-gritty texture for the baby’s first bite.
Step 3: The Wet Mash & Mix
In a large bowl, mash the bananas until they are almost liquid. Whisk in the eggs, maple syrup, vanilla extract, and applesauce (or oil) until completely combined.
- Texture Check: Ensure there are no large chunks of banana, as these can create “wet spots” in the baked cake that look like undercooked batter.
Step 4: The Gentle Fold
Pour the dry ingredients into the wet mixture. Switch to a spatula and fold gently until just combined.
- Chemistry Note: Do not overmix. Even though oat flour has no gluten, overworking the batter can make the cake dense and rubbery rather than fluffy and smashable.
Step 5: The Bake
Divide the batter evenly among your prepared pans. Bake for 22 to 25 minutes.
- The Test: A toothpick inserted into the center should come out clean. The tops should be golden brown and spring back when lightly touched. Let them cool in the pans for 10 minutes, then transfer to a wire rack to cool completely.
Step 6: The “Healthy” Frosting & Assembly
While the cakes cool, make the frosting. If using Greek Yogurt, simply strain it for 30 minutes to thicken it, then whisk in a drop of maple syrup.
- Assembly: Place one cake layer on a stand. Spread a thick layer of yogurt frosting. Repeat with the remaining layers.
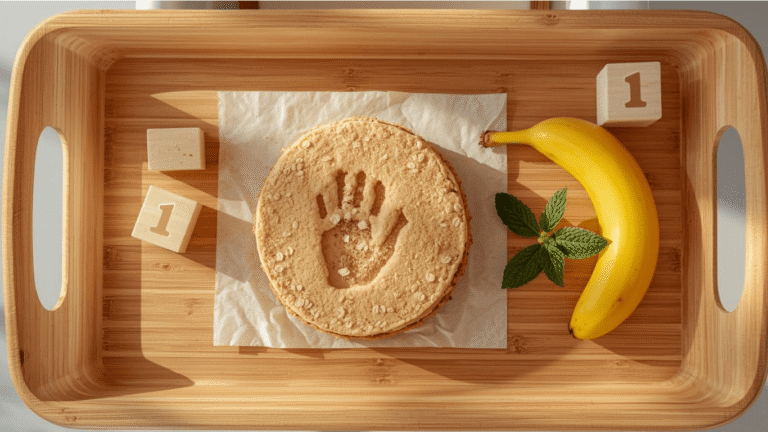
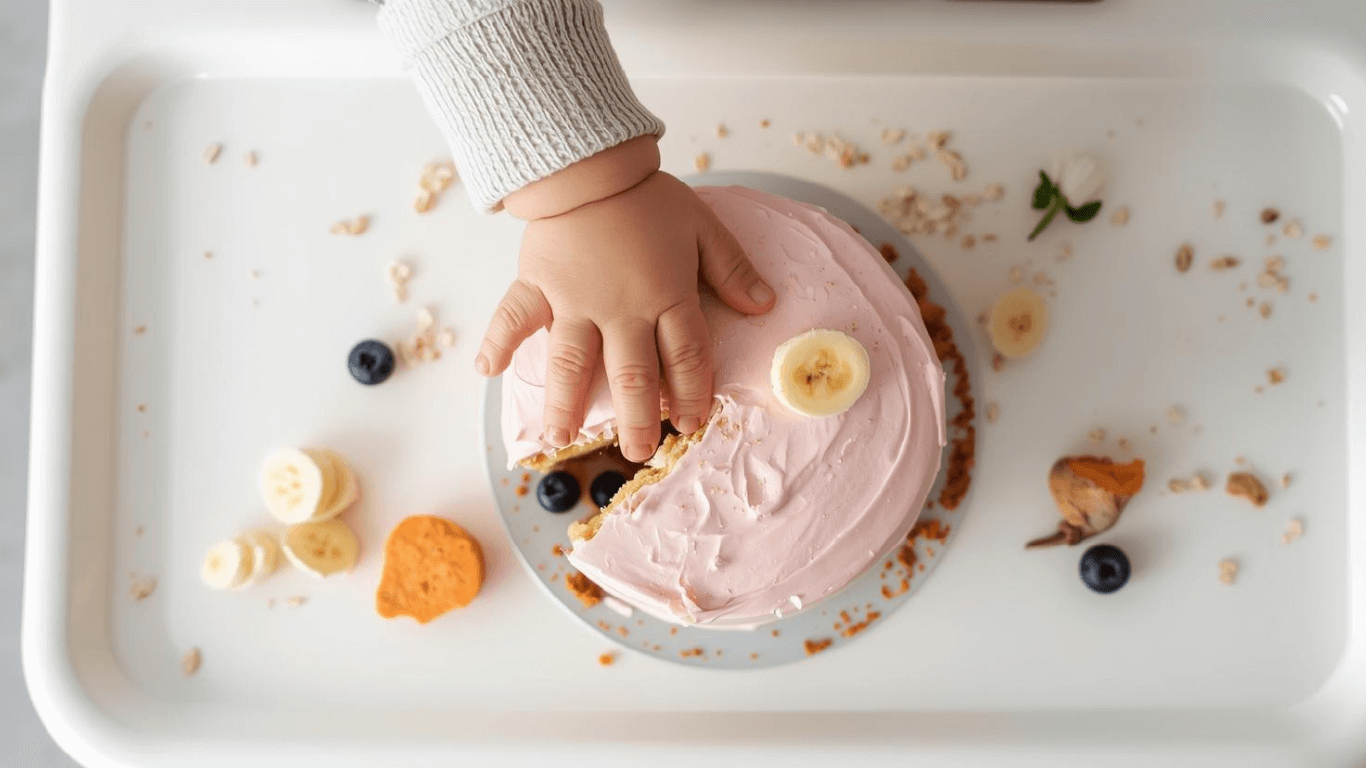
- The “Smash” Factor: Don’t worry about smooth sides. A rustic “naked cake” look is trendy and easier to execute. Top with fresh berries or a “1” cake topper.
Discover your next baking masterpiece. Click for sweet inspiration!
Bluey Cake Ideas: How to Make a Simple Bandit Cake (The Ultimate Guide)
Princess Cake: 3 Things To Know Before You Start Baking
Banana Cake: How to Achieve Perfect Moistness in 5 Steps
Harry Potter Cake: A 4-Step Hedwig Owl Cake Guide
Nutritional Information
This cake provides sustained energy for the big day, rather than a sugar high followed by a meltdown. Here is the breakdown per slice (based on 8 servings):
- Calories: ~160 kcal
- Protein: 5g
- Total Fat: 4g (if using applesauce)
- Carbohydrates: 28g
- Fiber: 3g
- Sugars: 10g (Mostly from fruit)
Data Insight: A traditional slice of birthday cake can contain up to 50g of refined sugar. This Healthy Smash Cake reduces the sugar load by 80%, utilizing fiber-rich fruit to slow digestion.
Healthier Alternatives for the Recipe
Every baby is different. Here is how to adapt the recipe:
- Dairy-Free Frosting: Instead of Greek yogurt, chill a can of full-fat coconut milk overnight. Scoop out the hardened cream and whip it with vanilla. It creates a luscious, dairy-free whipped cream perfect for smashing.
- Veggie Boost: Fold in ½ cup of finely grated zucchini (squeezed dry). It disappears into the batter, adding moisture and a hidden serving of vegetables.
- No Added Sugar: Omit the maple syrup entirely and add an extra banana. The cake will be less sweet (more like bread), which is often perfectly acceptable for a baby who hasn’t developed a sweet tooth yet.
Serving Suggestions
Make the moment magical with these styling tips:
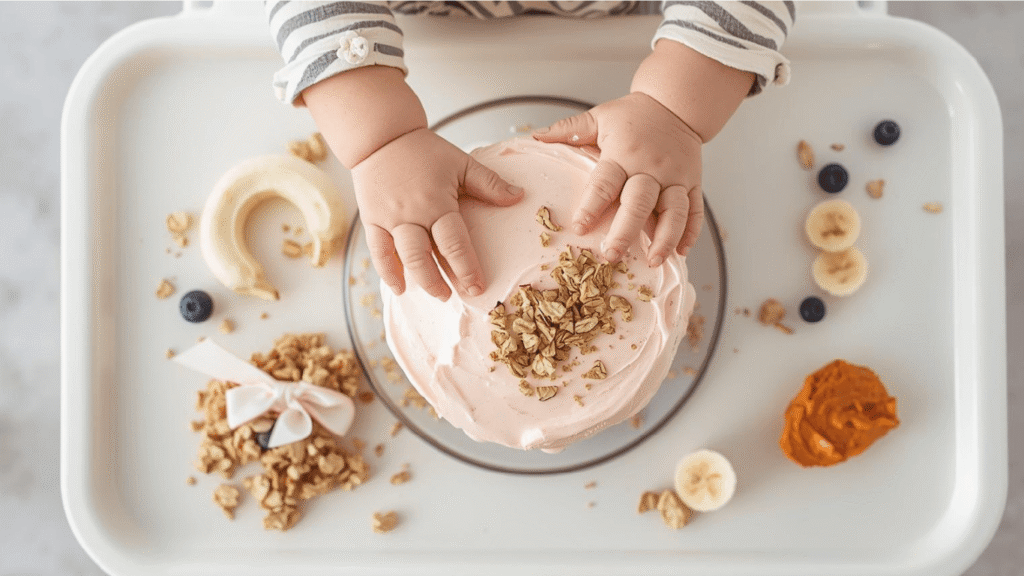
- The Ombré Effect: Dye the yogurt frosting with natural powders (beet powder for pink, spirulina for blue, turmeric for yellow) to create a soft, safe pop of color.
- Texture Play: Sprinkle crushed freeze-dried strawberries or puffed quinoa on top for added sensory stimulation during the smash.
- The “Pre-Smash”: Loosen the cake slightly from the board before placing it in front of the baby. This ensures that when they push it, it slides or breaks rather than staying stuck like a rock.
Common Mistakes to Avoid
- Frosting Warm Cake: This is the most common error. If the cake is even slightly warm, the yogurt frosting will melt into a puddle. The cake must be room temperature or chilled.
- Using Honey: Avoid honey for the frosting or batter if you are strictly adhering to the “under 12 months” botulism safety guidelines, even though baked goods are often considered lower risk. Maple syrup is the safer, stress-free choice.
- Over-Baking: Oat flour dries out faster than wheat flour. Check the cake at the 20-minute mark. A dry cake is hard to smash and can be a choking hazard.
Storing Tips for the Recipe
- Make Ahead: Bake the cake layers up to 2 days in advance. Wrap them tightly in plastic wrap and store in the fridge. This actually makes them easier to frost.
- Leftovers: Store the frosted cake in the refrigerator for up to 3 days. The yogurt frosting will keep the sponge moist.
- Freezing: Unfrosted layers can be frozen for up to 3 months. Perfect if you want to do a “practice smash” ahead of time!
Conclusion
A first birthday is a monumental occasion, and your choice of cake should reflect the love and care you’ve poured into your baby’s first year. This Healthy Smash Cake offers the best of both worlds: a photogenic, fun centerpiece and a nutritious, safe treat. By following these 6 steps, you ensure the only meltdown at the party is the frosting, not the baby.
Ready to make some memories? Preheat that oven and get your camera ready! If you create this masterpiece, tag us in your smash photos—we love seeing those messy faces! And for more baby-friendly recipes, don’t forget to subscribe to our parenting newsletter.
FAQs
Q: Can I use this recipe for cupcakes instead? A: Absolutely. This batter makes about 12 standard cupcakes. Bake for 18-20 minutes instead of 25.
Q: My baby has a nut allergy, is this safe? A: Yes, this recipe is nut-free as written. Just ensure your oat flour is processed in a nut-free facility to avoid cross-contamination.
Q: How do I make the frosting stiffer? A: If your yogurt is too runny, mix in 1-2 tablespoons of arrowroot powder or tapioca starch. It acts as a stabilizer without adding flavor.
Your feedback helps other cooks succeed. Rate this recipe!
More Than Just a Recipe
“What I loved most about your article wasn’t just the recipe (which worked perfectly!), but the thoughtful advice around it. The reminder to do an allergy check with ingredients beforehand and the focus on baby’s safety with texture were so valuable. It felt like you truly understood a parent’s concerns. The cake was delicious, the photos were gorgeous, and my little one had the best messy time. This is the only guide I’ll recommend to friends!”
Exactly What This First-Time Mom Needed!
“Hi there! Your article was a lifesaver while planning my son’s first birthday. The six steps were so clear and took the guesswork out of baking. I used the oat flour and banana version, and it was perfectly soft for him to gum. The tip about using Greek yogurt and berry puree for the pink frosting was genius—it looked beautiful in photos and he loved it. Thank you for creating a recipe that’s as nutritious as it is celebratory!”