Did you know that since 2023, searches for “individual serving desserts” have spiked by over 140% across major social platforms? In a post-pandemic world, the culinary landscape has shifted significantly toward hygiene, personalization, and portion control. The era of the massive sheet cake is sharing the spotlight with a more sophisticated, curated contender: mini cakes.
Whether you call them bento cakes, lunchbox cakes, or petit fours, these bite-sized treats offer a unique opportunity to customize flavors and designs for every single guest. But how do you scale down a massive recipe without sacrificing texture? If you are looking to elevate your dessert table with mini cakes that are as delicious as they are photogenic, you have found the ultimate guide. Below, we will explore the top 10 trending concepts for these tiny treats, followed by a master recipe for a sturdy, cut-out-friendly sponge that serves as the perfect canvas for your creativity.

The Top 10 Mini Cake Concepts
Before we preheat the oven, here are the trending styles you need to know:
- The Korean Bento Cake: A 4-inch cake served in a burger box (huge on TikTok).
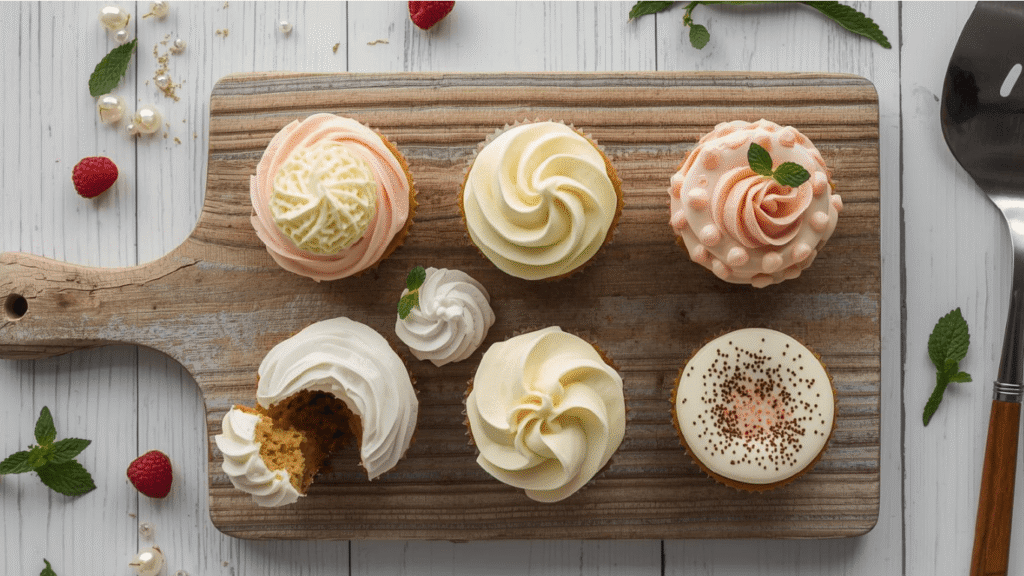
- Naked Mini Layers: Exposed sponge with piped dollops of cream between layers.
- The “Shot Glass” Cake: Layers of sponge and mousse in clear shooters.
- Geometric Cubes: Sharp-edged, glazed cakes (modern petit fours).
- Monogram Cut-outs: Letter or number shapes for milestone birthdays.
- Mason Jar Cakes: Portable, giftable, and rustic.
- Mini Bundt Cakes: Elegant rings often dripped with glaze.
- Cookie Cutter Shapes: Hearts, stars, or seasonal shapes cut from sheet cake.
- The “Smash” Cake: A slightly larger mini cake designated for a toddler’s birthday.
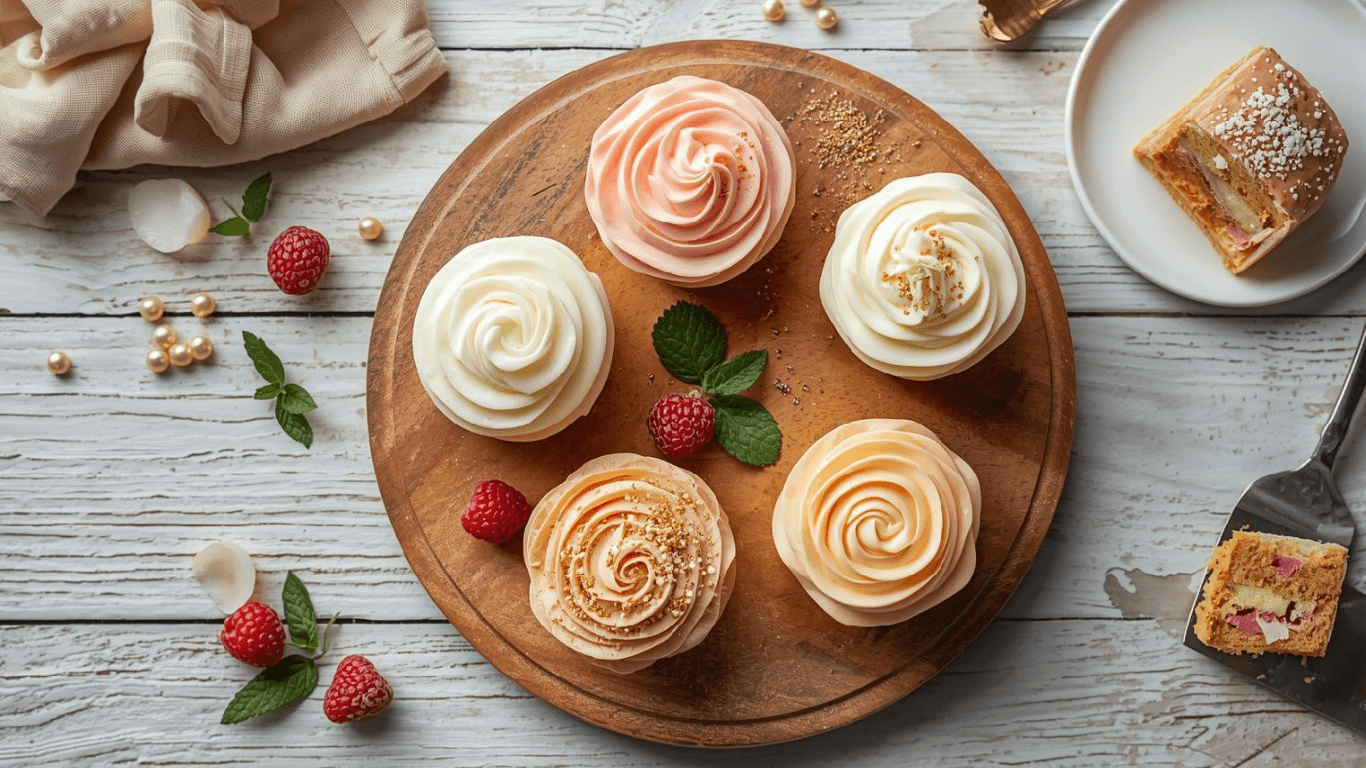
- Floral Garden Minis: Tiny round cakes topped with edible pressed flowers.
Now, let’s learn how to make the structural base for options 1, 2, 4, 5, and 8: The Universal Vanilla Sheet Sponge.

- SET INCLUDES: Two 10-inch x 15-inch cookie pans, Two 9-inch round cake pans, 9-inch square cake pan, 2 loaf pans, 9-inch…
- EVERYDAY DURABILITY: This Rachael Ray nonstick bakeware set features heavy gauge steel construction with rolled-rim bake…
- LONG-LASTING NONSTICK: The baking pans feature long-lasting, latte-colored nonstick inside and out to provide excellent …
Ingredients List
To create successful mini cakes, you need a sponge that is flat, level, and sturdy enough to handle cookie cutters without crumbling. Standard fluffy cake mixes often fall apart during the cutting process.
The Sturdy Sheet Base:
- 2 ½ cups All-Purpose Flour: Provides better structure than cake flour for cutting shapes.
- 2 cups Granulated Sugar: Fine granules dissolve best.
- 1 tsp Salt: To balance the sweetness.
- 1 tbsp Baking Powder: Ensures an even rise without a domed top.
- 1 cup Unsalted Butter: Softened to room temperature (not melted).
- 4 Large Eggs: Room temperature.
- 1 cup Whole Milk: Room temperature. (Sub: Buttermilk for a tangier crumb.)
- 2 tsp Pure Vanilla Extract: High quality is essential for flavor.
- ¼ cup Vegetable Oil: This is the secret to keeping small cakes moist, as they have more surface area exposed to air than large cakes.
The “Glue” (American Buttercream):
- 2 cups Unsalted Butter: Softened.
- 4 cups Powdered Sugar: Sifted to avoid clogged piping tips.
- 2-3 tbsp Heavy Cream: For consistency.
Timing
Making mini cakes is a labor of love that differs from traditional baking. While the bake time is shorter, the assembly requires precision.
- Prep Time: 30 minutes.
- Baking Time: 20 minutes (Sheet cakes bake faster!).
- Cooling Time: 60 minutes (Essential for clean cuts).
- Assembly/Decoration: 60-90 minutes depending on complexity.
- Total Time: Approx. 3 hours.
Data Insight: Baking a sheet cake for cut-outs is approximately 40% faster than baking distinct round layers, as the heat distribution in a shallow 13×18 inch pan is much more efficient.
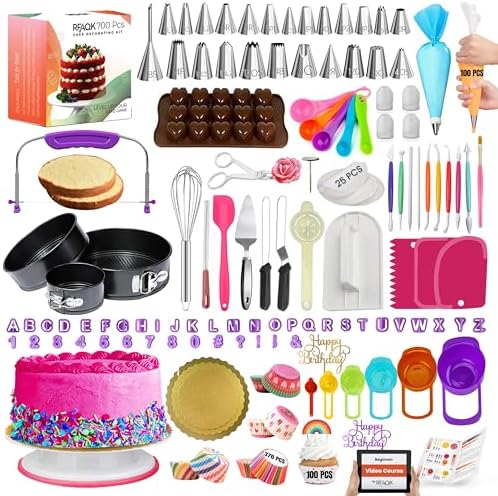
- ✅ Ultimate BAKING GIFT TOOLS: 700PCs is a great baking supplies gift set for baking and has everything for cake decorati…
- ✅ Incredible Cookie & Cake Decorating Kit! Unlock your cake decorating potential with this set of baking tools includes …
- ✅ EASY TO BAKE IN SPRINGFORM PANS: This Baking Pans Set simplifies cake baking in various sizes. Its non-stick surface a…
Step-by-Step Instructions
Step 1: Prepare the Pan (The Foundation)
Preheat your oven to 350°F (175°C). Line a standard half-sheet pan (13×18 inches) with parchment paper. Grease the paper and the sides of the pan thoroughly. Tip: Leave an overhang of parchment paper on the long sides; this acts as handles to lift the entire cake slab out later.
Step 2: The Two-Stage Mix
In a stand mixer, whisk together the flour, sugar, baking powder, and salt. Add the softened butter and mix on low speed until it resembles sandy crumbs. This method coats the flour in fat, inhibiting gluten formation just enough to keep it tender but durable—perfect for mini cakes that need to be handled.
Step 3: Emulsify Liquids
In a separate jug, whisk eggs, milk, oil, and vanilla. With the mixer on low, pour the liquid into the dry ingredients in three stages. Scrape the bowl down and mix on medium for 20 seconds to aerate.
Step 4: The Even Spread
Pour the batter into your prepared sheet pan. Use an offset spatula to spread it into an even layer, pushing batter all the way into the corners. Tap the pan firmly on the counter three times to release large air bubbles.
Step 5: Bake and Chill
Bake for 18-22 minutes, or until the top springs back when touched.
Crucial Step: Let the cake cool in the pan for 10 minutes, then lift it out using the parchment handles onto a wire rack. once cool, place the entire sheet cake in the freezer for 30 minutes. Why? Freezing semi-solidifies the crumb, allowing you to use cookie cutters to punch out shapes with razor-sharp edges and zero crumbling.
Step 6: The Cut-Out
Remove the cold cake slab. Using round cutters (3-inch is standard for mini layer cakes) or shaped cutters, press firmly and twist slightly to release. You should get about 12-15 rounds from a half-sheet pan, making 6-7 double-layer mini cakes.
Step 7: Assembly
Pipe a ring of frosting on one cake round, fill the center with jam or curd (optional), and place a second round on top. Crumb coat lightly and chill before final decoration.

Nutritional Information
Values are per assembled mini cake (2 layers, frosted).
| Nutrient | Amount per Serving | % Daily Value* |
| Calories | 410 kcal | 20% |
| Total Fat | 22g | 28% |
| Saturated Fat | 14g | 70% |
| Cholesterol | 85mg | 28% |
| Carbohydrates | 52g | 19% |
| Sugars | 38g | – |
| Protein | 4g | 8% |
Note: Nutritional density is higher in mini cakes due to the higher frosting-to-sponge ratio compared to standard slices.
Healthier Alternatives for the Recipe
If you want to enjoy these mini cakes with a lighter profile, consider these semantic variations:
- The “Angel” Variation: Use an Angel Food Cake base instead of the butter sponge. It is naturally fat-free and pairs beautifully with fresh berries instead of heavy buttercream.
- Sugar Swap: Substitute the granulated sugar in the sponge with Monk Fruit Sweetener (1:1 ratio). For the frosting, look for powdered erythritol.
- Gluten-Free: This recipe adapts well to “Measure-for-Measure” gluten-free flour blends. Because the sheet cake is thin, it doesn’t suffer from the “gummy center” issue often found in gluten-free baking.
- Naked Fruit Cakes: Skip the buttercream entirely. Sandwich the layers with Greek yogurt and honey, topping with fresh kiwi or strawberry slices for a breakfast-friendly version.
Serving Suggestions
Presentation is where mini cakes truly shine.
- The Bento Box: Place individual cakes in 4×4 clam-shell burger boxes lined with wax paper. Include a small wooden spork taped to the lid. This is the ultimate party favor.
- The Tiered Platter: Arrange the cakes on a tiered stand usually reserved for cupcakes.
- Personalized Toppers: Because every guest gets their own cake, you can use acrylic initials or edible printed images to personalize each one.
- Pairing: Serve with coffee shooters or mini milk bottles to stick with the “miniature” theme.
Common Mistakes to Avoid
- The “Wasted Cake” Fear: Cutting rounds out of a rectangular sheet leaves scraps. Solution: Do not throw them away! Crumble them to make cake pops or layer them in jars for “Cake Parfaits.”
- Cutting Warm Cake: If you skip the freezing step, your cutter will drag through the crumb, creating ragged edges that are hard to frost.
- Over-Soaking: If you use a simple syrup soak, apply it sparingly. Small cakes can become soggy much faster than large ones because the liquid penetrates the center almost instantly.
- Using Large Tools: Put away the large icing spatula. Invest in a small offset palette knife or even a butter knife for frosting these delicate items.
Storing Tips for the Recipe
- The Fridge is Your Friend: Unlike large butter cakes which can sit out, mini cakes dry out faster due to surface area. Store them in an airtight container in the fridge for up to 4 days.
- Freezing: Unfrosted cut-outs can be stacked with parchment paper between them and frozen in a Ziploc bag for up to 2 months.
- Reviving: Always let refrigerated mini cakes sit at room temperature for 30 minutes before eating. Cold butter buttercream feels waxy on the palate.
Conclusion
Mini cakes are more than just a trend; they are a delightful way to make every guest feel special. By mastering the sheet-pan-and-cut method, you unlock endless design possibilities, from sophisticated geometric petit fours to fun, messy lunchbox cakes. While they require a bit more assembly time than a standard cake, the reaction from your guests—and the hygienic benefits of individual servings—make it worth every minute.
Ready to start your mini baking adventure? Try this recipe for your next gathering and let us know how you decorated them! Share your photos in the comments below or subscribe to our newsletter for more bite-sized baking inspiration.

- Reinforced die-cast aluminum construction ensures long-term durability and reliability while maintaining a lightweight d…
- A top-level, harder nonstick granite material with 10x Ultra Non-stick performance ensures your daily cooking always saf…
- Recommend to hand wash the cookware as it is effortless to clean. Wipe it with a paper towel or rinse it with water.
FAQs
Q: Can I use a regular 9-inch round pan for this?
A: Yes, but you will have to slice the layers horizontally and then use a smaller cutter, which wastes more cake. The sheet pan method is the most efficient for maximizing yield.
Q: What size cookie cutter is best for mini cakes?
A: A 3-inch or 3.5-inch round cutter is the industry standard for “Lunchbox” or Bento cakes. For petit fours, a 1.5-inch or 2-inch square cutter is traditional.
Q: How do I frost the sides without making a mess?
A: Hold the mini cake in your hand (wear gloves!) or place it on a small square of parchment paper on a turntable. Frosting the sides while holding it allows you to get better angles before setting it down.
Q: Can I bake the batter directly in silicone molds?
A: Absolutely! If you have cylinder silicone molds, you can bake the batter directly in them to avoid cutting and waste. Adjust baking time to 15-18 minutes and ensure the molds are well-greased.