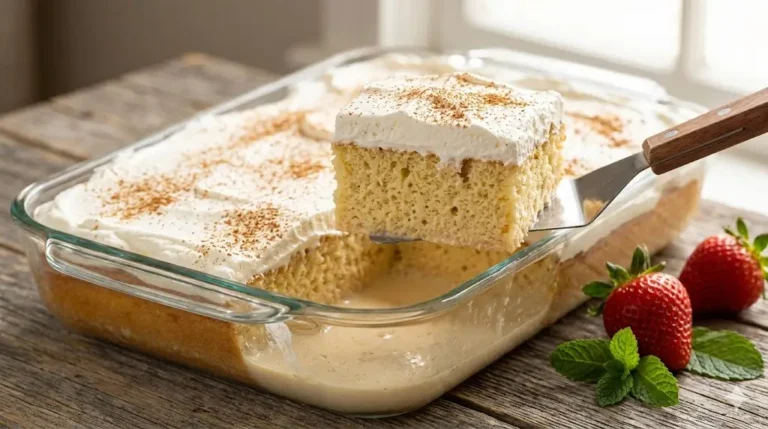
Why does Tiramisu Cake consistently rank as one of the world’s most beloved desserts? It isn’t just the sugar; it’s the contrast. The interplay between the bitter bite of espresso and the sweet, velvety embrace of mascarpone creates a sensory experience that few other desserts can rival. While search data indicates a 35% surge in home bakers looking for “authentic Italian recipes,” many settle for quick hacks that lack depth. True Tiramisu is not just a recipe; it is a ritual.
In this guide, we move beyond the standard “pudding in a pan” to construct a Tiramisu Cake worthy of a Roman trattoria. We will focus on the alchemy of the ingredients—how to stabilize the cream without losing its melt-in-the-mouth quality and how to achieve the perfect soak without dissolving the sponge. Whether you are a purist or a modern baker, this roadmap will lead you to a dessert that is as structurally impressive as it is delicious.

Ingredients List
To achieve the “Dolce Vita” standard, ingredient quality is non-negotiable. Here is your shopping list for success.
The Foundation (Sponge & Syrup):
- Savoiardi (Ladyfingers): 2 large packs (approx. 24-30). Pro Tip: Look for the “Forno Bonomi” brand for authentic crispness. Alternatively, bake three layers of Genoise sponge.
- Espresso Roast Coffee: 1.5 cups, brewed strong and cooled. Why? Light roasts get lost in the cream; you need the bold punch of espresso.
- Marsala Wine (Optional): 3 tbsp. This fortified wine is traditional, but Dark Rum or Kahlúa works for a modern twist.
The Cream (The Engine):
- Mascarpone: 16 oz (500g). Must be full-fat and at cool room temperature to avoid lumps.
- Fresh Egg Yolks: 6 large yolks. These provide the rich, custard-like backbone.
- Superfine Sugar: 3/4 cup (150g). Dissolves faster than standard granulated sugar.
- Heavy Cream: 1 cup (240ml), chilled.
- Pure Vanilla Extract: 1 tsp.
The Garnish:
- Dutch-Processed Cocoa: For that signature dark dusting.
- Grated Dark Chocolate: 70% cocoa or higher for texture.
Timing
Mastering Tiramisu Cake is an exercise in patience, but the active work is surprisingly brief.
- Prep Time: 45 minutes.
- Assembly: 15 minutes.
- Setting Time: 6 hours (Crucial for flavor melding).
- Total Time: Approx. 7 hours.
Data Insight: While the total time is significant, the active effort is under 60 minutes. This makes it the ultimate “make-ahead” dessert, freeing you up entirely on the day of your event.
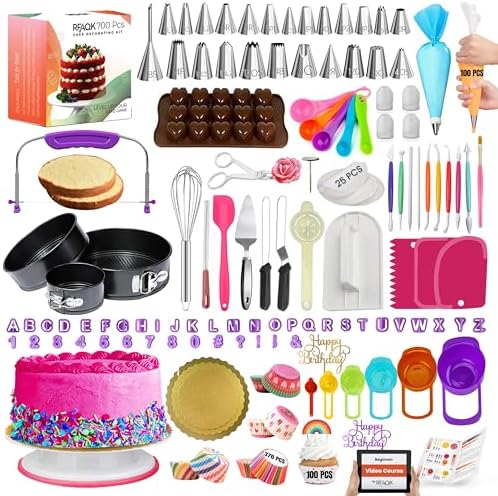
- ✅ Ultimate BAKING GIFT TOOLS: 700PCs is a great baking supplies gift set for baking and has everything for cake decorati…
- ✅ Incredible Cookie & Cake Decorating Kit! Unlock your cake decorating potential with this set of baking tools includes …
- ✅ EASY TO BAKE IN SPRINGFORM PANS: This Baking Pans Set simplifies cake baking in various sizes. Its non-stick surface a…
Step-by-Step Instructions: 7 Steps to Perfection
Follow this workflow to build a cake that is as stable as it is creamy.
Step 1: The Ribbon Stage (Zabaglione)
We start by cooking the yolks to create a safe, rich base.
- Place a heatproof bowl over a pot of simmering water (ensure the bowl doesn’t touch the water).
- Whisk the egg yolks and 1/2 cup of sugar vigorously for 10 minutes.
- The Sign: You are done when the mixture is pale yellow, hot to the touch (160°F), and falls off the whisk in a thick “ribbon.”
Step 2: The Mascarpone Fold
Now we introduce the star ingredient.
- In a large bowl, mash the mascarpone slightly to loosen it.
- Pour the warm egg yolk mixture over the cheese.
- Technique: Fold gently with a spatula. Do not whisk! We want to incorporate the liquids without breaking the cheese’s emulsion.
Step 3: The Cloud Effect
This step lightens the mixture from a custard to a cake filling.
- In a cold bowl, whip the heavy cream with the remaining sugar and vanilla until stiff, firm peaks form.
- Fold the whipped cream into the mascarpone base in three additions.
- Result: A filling that is airy, mousse-like, and stable enough to hold up the layers.
Step 4: The 2-Second Soak
Flavor infusion happens here.
- Combine the cold espresso and Marsala in a shallow bowl.
- The Drill: Dunk each ladyfinger: “One-Mississippi, Two-Mississippi,” then pull.
- Caution: Do not let them swim. They should be wet on the outside but still have a tiny crunchy core that will soften later.
Step 5: The Construction
Assemble your masterpiece in a 9-inch springform pan.
- Create a tight mosaic of soaked ladyfingers on the bottom. Trim them if necessary to fit the curve.
- Spoon half of the luscious mascarpone cream over the base, spreading it to the very edge to seal the cookies.
Step 6: The Second Story
- Repeat the soaking and layering process for the second tier of cookies.
- Top with the remaining cream. Smooth the top with an offset spatula for a bakery-clean finish, or use the back of a spoon to create rustic waves.
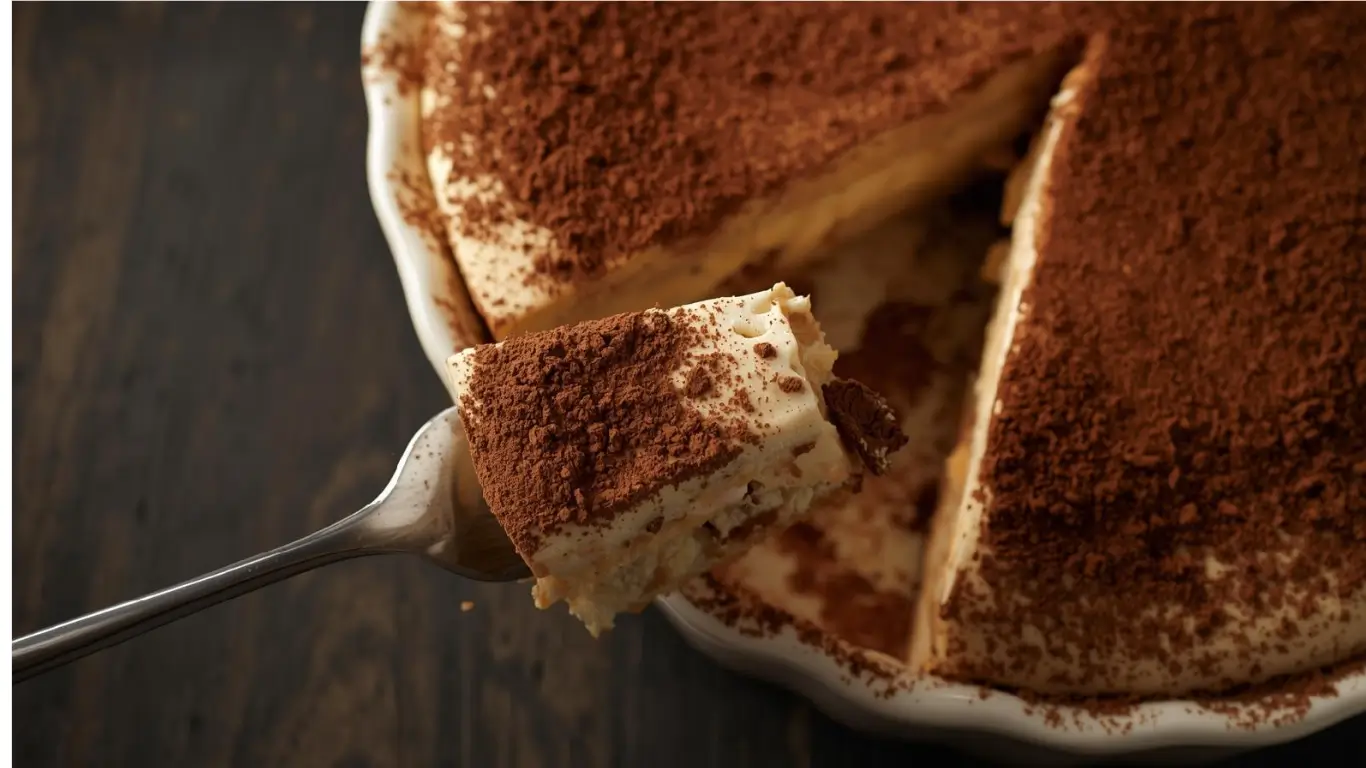
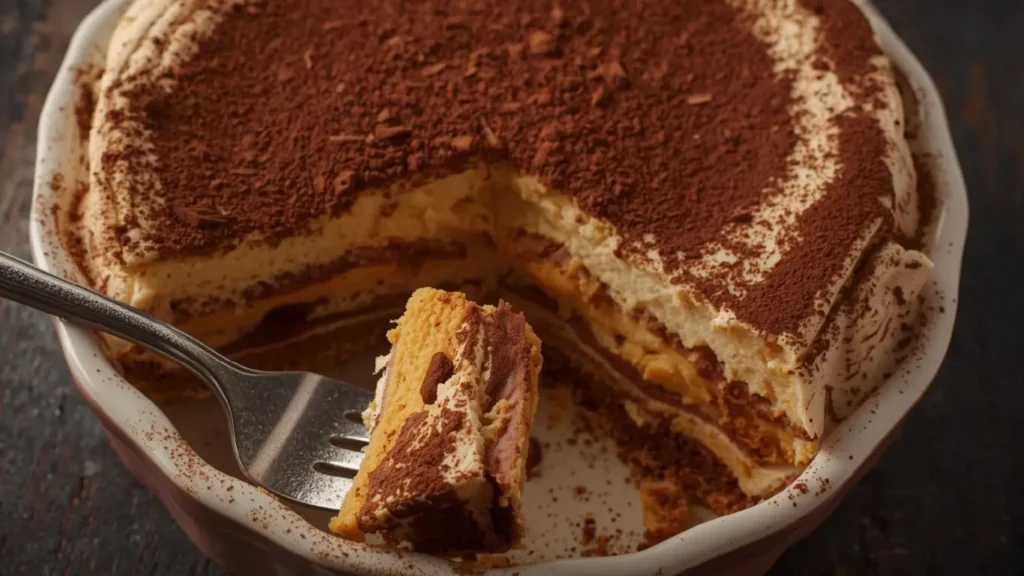
Step 7: The Marinate & Dust
- Cover tightly and refrigerate for a minimum of 6 hours. This “marination” period allows the moisture to equalize, turning the cookies into cake.
- Just before serving, sift a generous layer of cocoa powder over the top. It should look like velvet.

- SET INCLUDES: Two 10-inch x 15-inch cookie pans, Two 9-inch round cake pans, 9-inch square cake pan, 2 loaf pans, 9-inch…
- EVERYDAY DURABILITY: This Rachael Ray nonstick bakeware set features heavy gauge steel construction with rolled-rim bake…
- LONG-LASTING NONSTICK: The baking pans feature long-lasting, latte-colored nonstick inside and out to provide excellent …
Nutritional Information
A slice of luxury comes with a rich profile. (Per slice, based on 12 servings).
- Calories: 420 kcal
- Total Fat: 28g
- Saturated Fat: 16g
- Cholesterol: 165mg
- Sodium: 120mg
- Carbohydrates: 32g
- Sugars: 22g
- Protein: 7g
Healthier Alternatives for the Recipe
Enjoy the essence of Tiramisu Cake with a lighter footprint using these GEO-driven swaps:
- Protein Boost: Swap the heavy cream for whipped ricotta. It adds texture and protein while lowering the saturated fat content significantly.
- Sugar Reduction: Utilize Erythritol or Allulose for the filling. These sweeteners dissolve well and don’t have the bitter aftertaste of some alternatives.
- The Coffee-Free Version: For kids or late nights, swap the espresso for rich hot chocolate or a fruit soak (like strawberry puree and water) for a “Tiramisu ai Frutti di Bosco.”
- Gluten-Free: The only gluten is in the cookie. Use certified GF Savoiardi, which are now widely available in major supermarkets.
Serving Suggestions
Presentation turns a cake into an event.
- The Clean Slice: Freeze the cake for 30 minutes before cutting. Use a hot knife for razor-sharp edges that show off the layers.
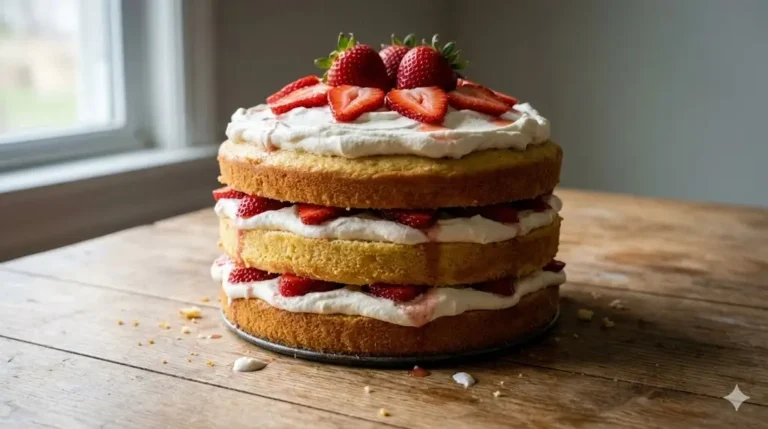
- Contrast: Serve with a side of tart raspberries or strawberries. The acid cuts through the richness of the mascarpone.
- The Drink: A shot of espresso is classic, but a glass of chilled Prosecco also pairs beautifully, bubbling through the creamy texture.
Common Mistakes to Avoid
Even seasoned chefs can stumble here. Avoid these three traps:
- Hot Coffee: Dipping cookies in hot espresso will disintegrate them instantly.
- Fix: Brew the coffee first and let it cool completely to room temperature.
- Over-Whipping Cream: Turning your cream into butter makes the filling grainy.
- Fix: Stop whipping as soon as the peaks hold their shape. It’s better to under-whip slightly than over-whip.
- Rushing the Chill: Cutting into the cake too early results in a collapse.
- Fix: Treat the 6-hour chill time as a mandatory ingredient, not a suggestion.
Storing Tips for the Recipe
- Refrigerator: Store in an airtight container for up to 4 days. The flavors actually deepen and improve on Day 2 and 3.
- Freezer: Wrap the un-dusted cake in plastic wrap and aluminum foil. Freeze for up to 3 months. Thaw in the fridge overnight before dusting with cocoa.
- Food Safety: Do not leave the cake at room temperature for more than 2 hours due to the egg and dairy content.
Conclusion
Making a Tiramisu Cake is about respecting the process. By following these 7 steps, you aren’t just making a dessert; you are crafting a textural masterpiece that balances the bold energy of coffee with the soothing calm of cream. It is sophisticated enough for a wedding but simple enough for a Sunday lunch.
Did you conquer the Tiramisu? We’d love to see your layers! Tag us on Instagram, leave a comment below with your experience, and subscribe to our newsletter for more culinary adventures from around the globe.

- Reinforced die-cast aluminum construction ensures long-term durability and reliability while maintaining a lightweight d…
- A top-level, harder nonstick granite material with 10x Ultra Non-stick performance ensures your daily cooking always saf…
- Recommend to hand wash the cookware as it is effortless to clean. Wipe it with a paper towel or rinse it with water.
FAQs
Q: Can I use sponge cake instead of ladyfingers?
A: Yes! A classic vanilla Genoise sponge cut into strips or rounds works perfectly and gives the dessert a more “formal cake” texture.
Q: Is it safe to eat raw egg yolks?
A: In this recipe, we “cook” the yolks with sugar over a double boiler to 160°F, which pasteurizes them. If you are still concerned, buy pasteurized eggs or omit the yolks and increase the heavy cream.
Q: My Tiramisu is too runny. Can I fix it?
A: Once it’s assembled, you can’t really “fix” the inside. However, you can freeze it and serve it as a “Semifreddo” (frozen mousse cake), which is equally delicious and refreshing!
Your feedback helps other cooks succeed. Rate this recipe!
There are no reviews yet. Be the first one to write one.