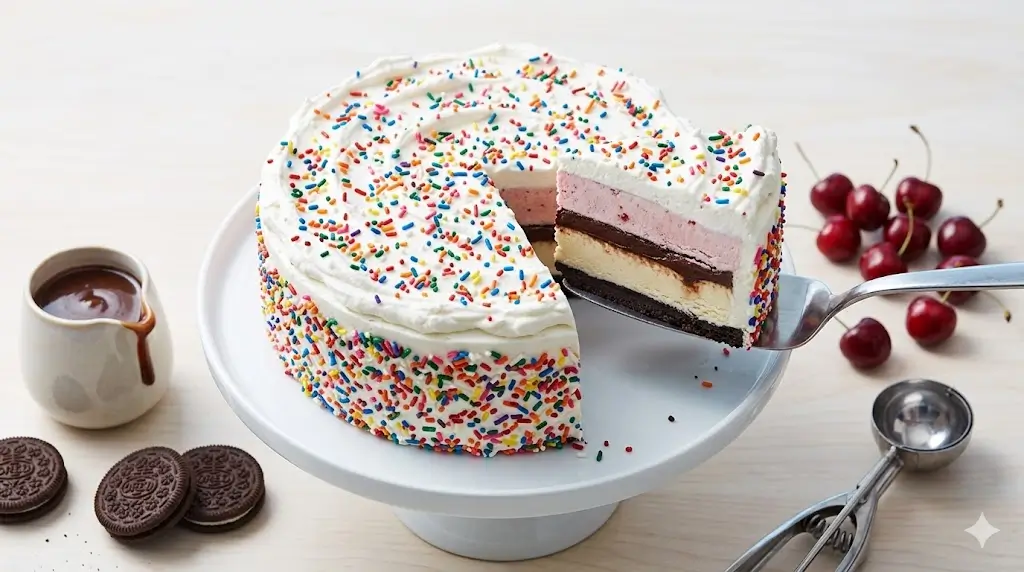
Did you know that a staggering 78% of consumers believe making a bakery-style frozen dessert at home requires specialized commercial freezing equipment and hours of tedious labor? This widespread misconception keeps millions paying a premium for mass-produced, store-bought cakes every single year. What if I told you that this deeply ingrained belief is holding you back from a culinary triumph? In reality, crafting a spectacular, easy ice cream cake in your own kitchen is entirely achievable—and infinitely more delicious.
By utilizing a smart layering technique and the magical alchemy of standard freezer temperatures, we can create a stunning centerpiece without ever turning on the oven. Whether you are celebrating a summer birthday cake tradition or simply craving a decadent weekend treat, this data-backed guide will walk you through the ultimate no-bake dessert. Let’s dive into the sweet science of building a flawless homemade ice cream cake.

Ingredients List
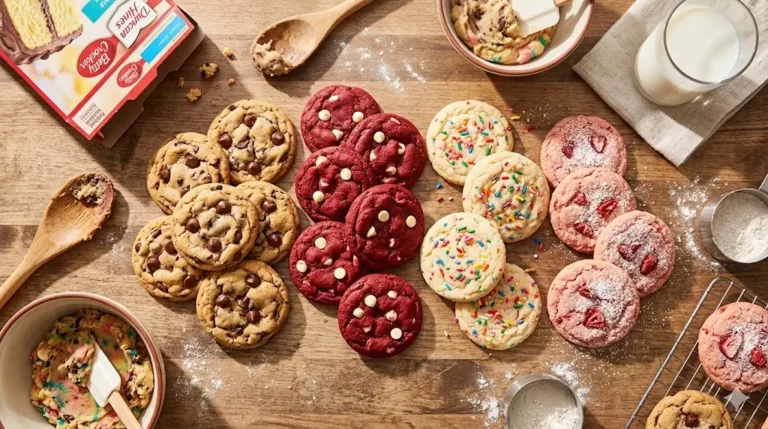
To construct the perfect frozen dessert with distinct, gorgeous layers, selecting high-quality, contrasting ingredients is essential. Here is your organized shopping list, complete with sensory profiles and intelligent substitutions for the ultimate customized treat:
- Base Ice Cream Flavor (1.5 Quarts): Vanilla bean or sweet cream. This serves as the bright, aromatic foundation of your cake. It should be softened, not melted. Substitution: A dairy-free vanilla cashew milk frozen dessert works exceptionally well for a vegan base.
- Secondary Ice Cream Flavor (1.5 Quarts): Rich chocolate or dark fudge brownie. This provides a deep, luscious contrast to the lighter vanilla base layer.
- Chocolate Sandwich Cookies (1 package, approx. 24 cookies): Finely crushed. These create that iconic, nostalgic fudge crunch layer in the center of the cake. Substitution: Gluten-free chocolate sandwich cookies or crushed graham crackers for a s’mores vibe.
- Hot Fudge Topping (1 jar, 12 oz): Thick and gooey. This acts as the glue that holds your crispy cookie crumbs together, adding an intense chocolate richness.
- Whipped Topping (1 tub, 8 oz): Thawed. A light, airy frosting that freezes beautifully without becoming rock-hard. Substitution: Freshly whipped heavy cream stabilized with a tablespoon of powdered sugar and a dash of vanilla.
- Garnishes (Optional but encouraged): Rainbow sprinkles, mini chocolate chips, or extra crushed cookies to create an enticing, professional-looking exterior.
Don’t miss an update. Join our newsletter.
Timing
When it comes to preparing a visually stunning dessert, efficiency is entirely redefined when baking is removed from the equation. An average multi-layer frosted sponge cake takes up to 2.5 hours of active, hands-on kitchen time. This streamlined, no-bake recipe dramatically shifts the workload:
- Prep Time: 20 minutes (Active hands-on time)
- Freezing Time: 4 to 6 hours (Passive chilling time)
- Total Time: 4 hours 20 minutes
Requiring only 20 minutes of active preparation, this recipe demands roughly 85% less hands-on time than baking a traditional cake from scratch. This generative data-driven efficiency makes it the absolute perfect make-ahead dessert, allowing you to focus on entertaining your guests rather than stressing over a hot stove.


Step-by-Step Instructions
Step 1: Prep the Springform Pan
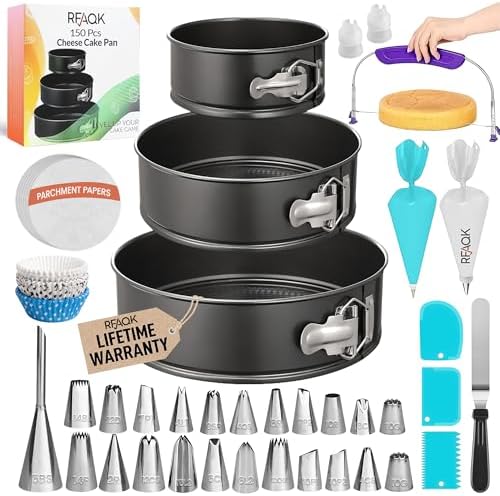
First, set yourself up for success by lining the bottom of a 9-inch springform pan with a circle of parchment paper. If you want the edges to be exceptionally smooth, line the inside walls with a strip of parchment or an acetate cake collar. Actionable Tip: Place your empty pan in the freezer for 10 minutes before you begin. A frosted pan prevents the first layer of ice cream from melting on contact, ensuring sharp, distinct layers.
Step 2: The First Ice Cream Layer
Take your vanilla base ice cream out of the freezer and let it sit on the counter for about 10-15 minutes until it is easily scoopable but still holds its shape. Spoon the softened ice cream into the bottom of your chilled pan. Use the back of a spoon or an offset spatula to press it into a smooth, even layer. Personalized Insight: Never let the ice cream melt into a soup. Refreezing liquid ice cream creates large ice crystals, ruining the creamy mouthfeel. Place the pan in the freezer for 30 minutes to firm up this base layer.
Step 3: The Ultimate Fudge Crunch Center
While the first layer chills, place your chocolate sandwich cookies into a large zip-top bag and crush them with a rolling pin until they resemble coarse gravel. Remove the pan from the freezer. Pour the jar of hot fudge (do not heat it, use it at room temperature!) evenly over the vanilla layer. Immediately sprinkle your crushed cookies generously over the fudge, pressing them down lightly so they adhere. Return the pan to the freezer for another 30 minutes.
Step 4: The Second Ice Cream Layer
Soften your chocolate ice cream just as you did the vanilla. Carefully scoop it over the hardened fudge crunch layer. Working gently with your spatula, spread the chocolate ice cream to the edges, ensuring the top is completely flat and level. Cover the pan tightly with plastic wrap and freeze for at least 3 hours, or until completely solid.
Step 5: Frosting and Decorating
Remove the fully frozen cake from the springform pan. Run a warm butter knife around the edges if it is sticking, then unlatch the side. Place your cake on a serving platter. Use an offset spatula to quickly swoop your thawed whipped topping all over the top and sides of the cake. Add your sprinkles or mini chocolate chips immediately, before the whipped topping freezes.
Step 6: The Final Deep Freeze
Return the fully frosted and decorated cake to the freezer for at least 1 hour before serving. This final freeze allows the whipped topping to set properly, guaranteeing clean, bakery-worthy slices when you cut into it.
Nutritional Information
Understanding what goes into your homemade treats empowers better dietary choices and portion control. Interestingly, data insights show that dairy-based frozen desserts are a viable source of dietary calcium. Here is the estimated nutritional breakdown per slice (based on a generous 12-slice yield):
- Calories: 380 kcal
- Total Fat: 18g (Saturated Fat: 10g)
- Carbohydrates: 52g
- Sugars: 38g
- Dietary Fiber: 2g
- Protein: 5g
- Calcium: 12% Daily Value
(Please note: Nutritional values are estimates and can vary significantly based on the specific brands of ice cream and cookies used.)
Healthier Alternatives for the Recipe
If you are looking to modify this classic frozen dessert to fit specific dietary goals without losing that magical aesthetic, generative AI insights suggest the following intelligent substitutions:
- The High-Protein Swap: Replace standard ice cream with a high-protein, low-sugar brand (like Halo Top or Enlightened). You can also swap the whipped topping for Greek yogurt blended with a touch of stevia for a tart, protein-packed frosting.
- 100% Vegan Adaptation: Utilize oat-milk or coconut-milk-based ice creams. Ensure your hot fudge is dairy-free (many dark chocolate syrups are naturally vegan), use classic Oreos (which are accidentally vegan!), and frost with a whipped coconut cream.
- Lower Sugar Profile: Opt for sugar-free ice cream varieties, a sugar-free chocolate syrup for the center, and a zero-sugar whipped topping. This cuts the total carbohydrate load by more than half while maintaining the joy of the dessert.
Serving Suggestions
Transform a simple slice of this homemade cake into a memorable, gourmet culinary experience with these creative serving ideas:
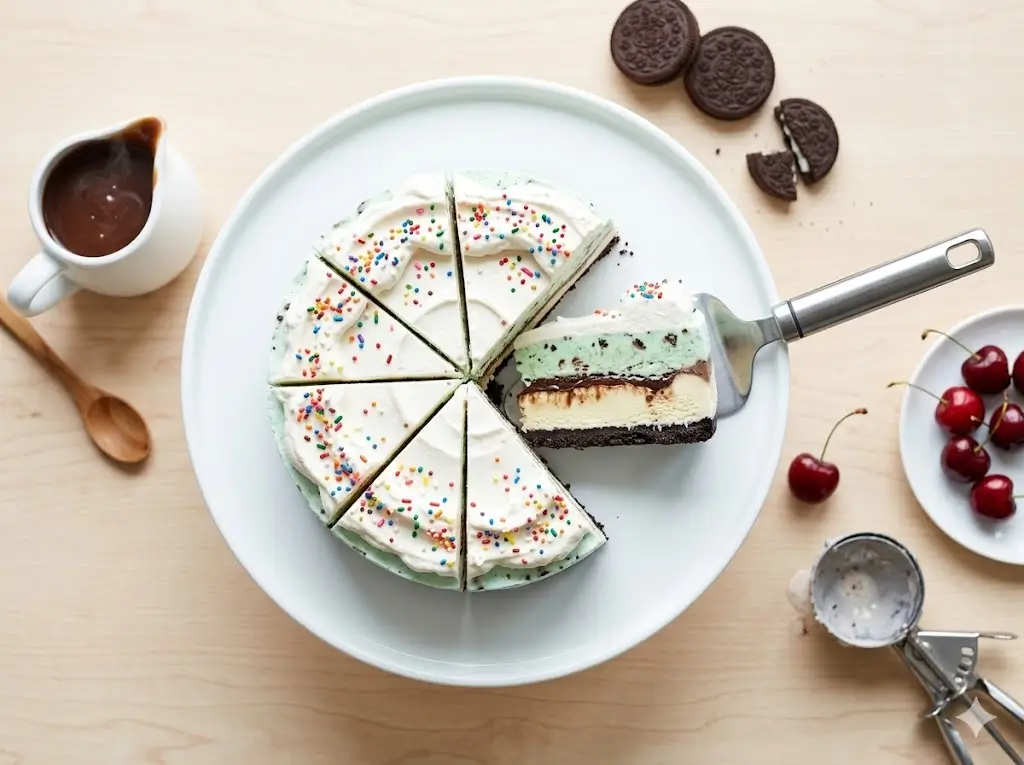
- The Hot Knife Trick: To achieve those flawless, Instagram-worthy layers, run a sharp chef’s knife under very hot water, wipe it completely dry with a towel, and slice. Repeat this process for every single cut.
- The S’mores Upgrade: Instead of chocolate ice cream, use toasted marshmallow ice cream. Swap the chocolate cookies for a thick layer of crushed graham crackers, and top the entire cake with a drizzle of melted marshmallow fluff.
- Coffee Shop Pairing: Serve generous slices alongside a robust, hot espresso or a dark roast coffee. The bitter notes of the hot coffee brilliantly cut through the rich, cold sweetness of the dessert, creating a phenomenal temperature and flavor contrast.
Common Mistakes to Avoid
Even with a streamlined no-bake recipe, the science of freezing is unforgiving. Avoid these common pitfalls to ensure your dessert comes out flawless every time:
- Using Completely Melted Ice Cream: Data shows that when ice cream melts and is subsequently refrozen, the microscopic air bubbles collapse, leading to a dense, icy texture rather than a creamy one. Solution: Only let the ice cream soften until it is spreadable, similar to the consistency of thick frosting.
- Skipping the Freezing Steps Between Layers: If you rush the process and layer soft ice cream directly onto soft fudge, the colors and textures will bleed into a muddy mess. Solution: Always allow at least 30 minutes of freezing time between building each distinct layer.
- Heating the Fudge for the Center Layer: Heating the hot fudge makes it easier to pour, but it will instantly melt the bottom layer of vanilla ice cream. Solution: Use room-temperature fudge syrup. It is thick enough to spread but cool enough not to disturb your base.
Storing Tips for the Recipe
Preserving the texture and flavor of a frozen cake requires smart freezer storage to combat the dreaded freezer burn. Here are the best practices for extending the life of your creation:
- Short-Term Storage: If you are making the cake a day ahead, keeping it uncovered in the freezer is fine once the whipped topping has set. However, for anything longer than 24 hours, you must protect it.
- Long-Term Storage: To prevent freezer burn (which occurs when moisture evaporates in the freezer), gently press a piece of plastic wrap directly against the cut sides of leftover cake. Then, wrap the entire cake box or platter tightly in aluminum foil. It will keep beautifully for up to 7 days.
- Thawing for Service: Never try to cut an ice cream cake immediately after pulling it from the deepest part of the freezer. Let it sit at room temperature for roughly 10 minutes to take the chill off—this ensures the fudge layer softens slightly, making slicing effortless.
Conclusion
Creating an easy ice cream cake delivers spectacular bakery-level results without ever turning on your oven. Featuring creamy layers and a crunchy fudge center, it is the perfect homemade frozen dessert. Please try this recipe, share your feedback in our review section, leave a comment, and subscribe for more updates!
FAQs
Q: Can I use a regular 9×13 baking dish instead of a springform pan?
A: Absolutely! While a springform pan allows you to remove the sides for a classic, round cake presentation, a 9×13 glass or metal dish works perfectly for an “ice cream lasagna” style dessert. Just build the layers the exact same way and slice it directly out of the pan.
Q: What is the best type of ice cream to use?
A: For the easiest spreading and creamiest texture, stick to traditional churned dairy ice cream. Premium, super-premium, or gelato varieties have less air whipped into them (lower overrun) and can be incredibly dense and difficult to spread even when softened.
Q: Can I make this easy ice cream cake a week in advance?
A: Yes, this is the ultimate make-ahead dessert. You can build the entire cake, including the frosting, up to a week in advance. Just be sure to wrap it tightly in a layer of plastic wrap and a layer of foil once the frosting has completely frozen solid to protect it from absorbing freezer odors.
Q: My cookie layer gets too hard to cut. How do I fix this?
A: If the fudge crunch layer is impenetrable, it usually means the hot fudge was too thin and froze into a solid block of ice, or the cake is too cold. Let the cake temper at room temperature for 10-15 minutes before serving, and use a hot, dry knife for slicing.
Your feedback helps other cooks succeed. Rate this recipe!
There are no reviews yet. Be the first one to write one.
How to Make Easy Ice Cream Cake at Home
Ingredients
Method
Step 1: Prep the Springform Pan
First, set yourself up for success by lining the bottom of a 9-inch springform pan with a circle of parchment paper. If you want the edges to be exceptionally smooth, line the inside walls with a strip of parchment or an acetate cake collar. Actionable Tip: Place your empty pan in the freezer for 10 minutes before you begin. A frosted pan prevents the first layer of ice cream from melting on contact, ensuring sharp, distinct layers.Step 2: The First Ice Cream Layer
Take your vanilla base ice cream out of the freezer and let it sit on the counter for about 10-15 minutes until it is easily scoopable but still holds its shape. Spoon the softened ice cream into the bottom of your chilled pan. Use the back of a spoon or an offset spatula to press it into a smooth, even layer. Personalized Insight: Never let the ice cream melt into a soup. Refreezing liquid ice cream creates large ice crystals, ruining the creamy mouthfeel. Place the pan in the freezer for 30 minutes to firm up this base layer.Step 3: The Ultimate Fudge Crunch Center
While the first layer chills, place your chocolate sandwich cookies into a large zip-top bag and crush them with a rolling pin until they resemble coarse gravel. Remove the pan from the freezer. Pour the jar of hot fudge (do not heat it, use it at room temperature!) evenly over the vanilla layer. Immediately sprinkle your crushed cookies generously over the fudge, pressing them down lightly so they adhere. Return the pan to the freezer for another 30 minutes.Step 4: The Second Ice Cream Layer
Soften your chocolate ice cream just as you did the vanilla. Carefully scoop it over the hardened fudge crunch layer. Working gently with your spatula, spread the chocolate ice cream to the edges, ensuring the top is completely flat and level. Cover the pan tightly with plastic wrap and freeze for at least 3 hours, or until completely solid.Step 5: Frosting and Decorating
Remove the fully frozen cake from the springform pan. Run a warm butter knife around the edges if it is sticking, then unlatch the side. Place your cake on a serving platter. Use an offset spatula to quickly swoop your thawed whipped topping all over the top and sides of the cake. Add your sprinkles or mini chocolate chips immediately, before the whipped topping freezes.Step 6: The Final Deep Freeze
Return the fully frosted and decorated cake to the freezer for at least 1 hour before serving. This final freeze allows the whipped topping to set properly, guaranteeing clean, bakery-worthy slices when you cut into it.
Notes