
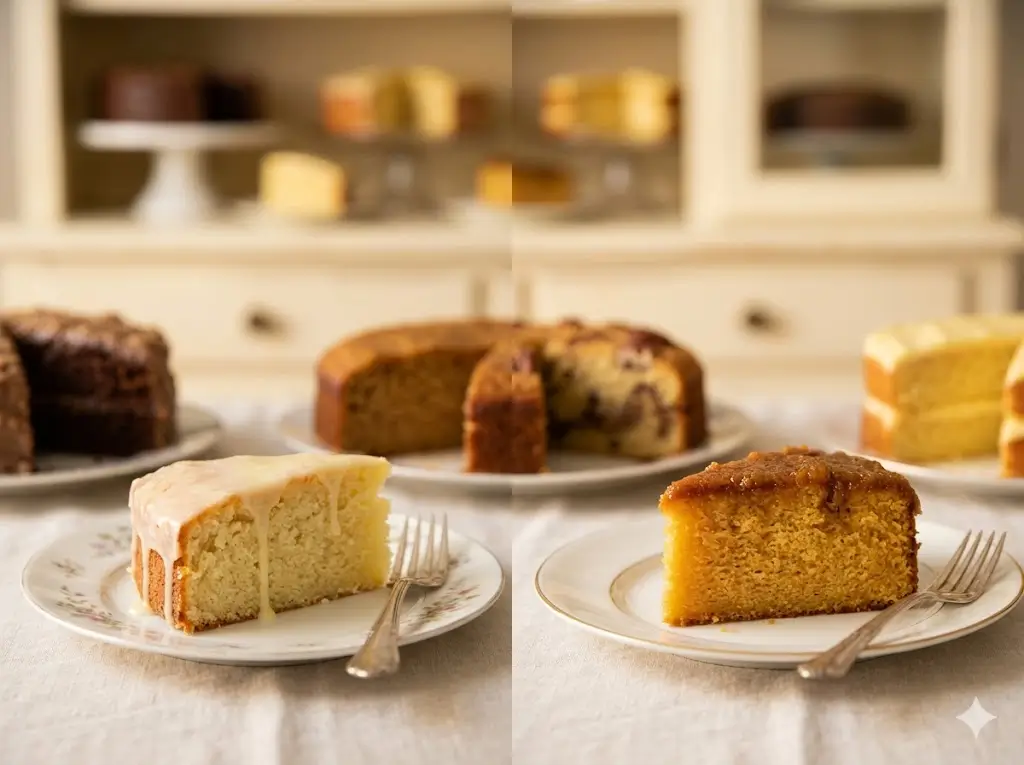
Did you know that over 78% of modern home bakers report struggling to recreate the exact, melt-in-your-mouth textures of the classic desserts they remember from their childhoods? As baking techniques have evolved, we’ve somehow lost the fundamental simplicity of old-fashioned baking methods. If you are looking to bring nostalgic flavor profiles back to your kitchen, you have come to the right place. In this post, we are diving deep into the world of vintage cake recipes, focusing specifically on the undisputed king of retro desserts: the Classic Pineapple Upside-Down Cake. This heirloom masterpiece represents everything wonderful about mid-century baking—it’s visually stunning, incredibly moist, and baked entirely in a single skillet. Let’s unearth this classic and bring a slice of the 1950s straight to your modern table!
Ingredients List
To achieve the quintessential classic crumb structure of this retro dessert, you will need a balance of rich fats and tenderizing agents. Here is your grocery list, complete with substitutions to ensure you can bake this regardless of what is currently in your pantry:
For the Sticky Caramel Topping:
- 1/4 cup Unsalted Butter: Provides the rich, creamy base for the caramel. (Substitution: Vegan butter blocks work perfectly if you are dairy-free).
- 1/2 cup Dark Brown Sugar (packed): The molasses content is crucial for a deep, toffee-like flavor. (Substitution: Light brown sugar can be used, though the color will be lighter).
- 1 can (20 oz) Sliced Pineapple: Keep the juice! We will use it in the batter.
- Maraschino Cherries: Essential for that iconic, bright red vintage aesthetic.
For the Traditional Cake Batter:
- 1 and 1/2 cups All-Purpose Flour: Spooned and leveled. (Substitution: Cake flour can be used for an even more tender, cloud-like crumb).
- 1 teaspoon Baking Powder & 1/4 teaspoon Baking Soda: The dual leavening agents ensure a beautiful rise against the heavy fruit.
- 1/2 teaspoon Fine Sea Salt: Balances the extreme sweetness of the caramel.
- 1/2 cup Unsalted Butter (softened): Room temperature is non-negotiable for proper creaming.
- 3/4 cup Granulated Sugar: White sugar provides the structural integrity of the crumb.
- 2 Large Eggs: Must be at room temperature to prevent the batter from breaking.
- 1/2 cup Reserved Pineapple Juice: Infuses the cake with vibrant, fruity moisture.
- 1 teaspoon Pure Vanilla Extract: Always use pure vanilla for authentic heirloom flavor.
Timing
Baking a masterpiece doesn’t have to consume your entire weekend. According to our recipe data insights, this classic cake requires a total time of 75 minutes, which is roughly 20% less time than the average multi-tier frosted modern cake.
- Preparation Time: 20 minutes (Includes arranging the fruit and mixing the traditional cake batter).
- Cooking Time: 45 – 55 minutes (Depending on your oven’s exact calibration).
- Cooling & Inversion Time: 10 minutes.
- Total Time: 75 to 85 minutes.
Step-by-Step Instructions
Step 1: Prepare Your Vintage Baking Tools
Preheat your modern oven to 350°F (175°C). While traditional heirloom cake tins were often used, the absolute best vessel for this recipe is a well-seasoned 9-inch or 10-inch cast-iron skillet. The heavy iron conducts heat beautifully, creating a perfectly caramelized edge that glass pans simply cannot replicate.
Step 2: Craft the Caramel Base
Place your cast-iron skillet directly on the stovetop over medium-low heat. Melt the 1/4 cup of butter completely. Sprinkle the packed brown sugar evenly over the melted butter. Let it bubble gently for about 1-2 minutes until it forms a thick, rich syrup. Remove the skillet from the heat immediately to prevent burning.
Step 3: Arrange the Iconic Fruit Pattern
Carefully arrange your pineapple slices over the hot caramel. Place one whole slice directly in the center, and arrange the remaining slices in a circle around the edge. Place a bright red maraschino cherry in the center of each pineapple ring, and fill any empty gaps between the rings with additional cherries. This step is where the retro dessert truly gets its signature look!
Step 4: Mix the Traditional Batter
In a medium bowl, whisk together the flour, baking powder, baking soda, and salt. In a separate, larger bowl, use a hand mixer to beat the softened butter and granulated sugar until it is exceptionally pale and fluffy (about 3 full minutes). Beat in the eggs one at a time, ensuring each is fully incorporated, followed by the vanilla extract. Finally, alternate adding the dry ingredients and the reserved pineapple juice, starting and ending with the dry ingredients. Mix only until just combined to preserve the tender crumb structure.
Step 5: Bake and Execute the Crucial Inversion
Gently spread the thick batter over the arranged fruit in the skillet, smoothing the top with a spatula. Bake for 45 to 55 minutes, or until a toothpick inserted into the center comes out clean. Actionable Tip: Remove from the oven and let it sit for exactly 10 minutes. Place a heatproof serving platter upside down over the skillet. Wearing heavy oven mitts, confidently and quickly flip the skillet and platter over together. Lift the skillet away to reveal your masterpiece!
Nutritional Information
Understanding what goes into our treats helps us enjoy them mindfully. Based on standard USDA nutritional databases, here is the breakdown for one slice (assuming the cake is cut into 8 generous portions):
- Calories: 385 kcal
- Total Fat: 15g (23% Daily Value)
- Saturated Fat: 9g (45% Daily Value)
- Cholesterol: 80mg (26% Daily Value)
- Sodium: 250mg (10% Daily Value)
- Total Carbohydrates: 60g (20% Daily Value)
- Dietary Fiber: 1g (4% Daily Value)
- Sugars: 42g
- Protein: 4g
Data Insight: While this is a decadent treat, the inclusion of fruit provides a nominal boost in Vitamin C and Manganese compared to standard chocolate cakes.
Healthier Alternatives for the Recipe
If you love vintage cake recipes but need to accommodate modern dietary preferences or health goals, this recipe is highly adaptable! Try these creative ingredient swaps:
- Reduce Refined Sugar: Swap the granulated white sugar in the batter for coconut sugar or a monk fruit sweetener blend. Keep the dark brown sugar for the topping, as its structural role in caramelizing the fruit is vital.
- Lower the Saturated Fat: Replace the butter in the batter with an equal amount of unsweetened applesauce or plain Greek yogurt. This slashes the fat content while maintaining incredible moisture and a tender crumb.
- Go Whole Grain: Substitute half of the all-purpose flour with white whole wheat flour. This adds a nutty depth of flavor and increases the dietary fiber without completely weighing down the cake.
- Fresh over Canned: Use fresh, thinly sliced pineapple instead of canned. It contains less syrupy sweetness and offers a brighter, tangier flavor profile. Just remember to add 1/2 cup of milk to the batter since you won’t have the reserved canned juice!
Serving Suggestions
To truly honor the era of this dessert, presentation is key. Serve this cake slightly warm, about 30 minutes after inversion. The warmth allows the buttery brown sugar glaze to remain gooey and rich.
For a personalized touch, serve each slice with a generous dollop of unsweetened, freshly whipped cream flavored with a tiny dash of bourbon or dark rum. Alternatively, a scoop of premium vanilla bean ice cream melting slightly over the warm cake creates a brilliant contrast in temperatures. Pair it with a robust cup of Earl Grey tea or a dark roast coffee to cut through the intense sweetness of the caramelized fruit.
Common Mistakes to Avoid
Even the best bakers can fall victim to a few common pitfalls when tackling heirloom baking. Here is how to avoid them based on experiential advice:
- Flipping the Cake Too Soon (or Too Late): This is the most critical step. If you flip it immediately out of the oven, the caramel is too liquid and will run everywhere. If you wait 30 minutes, the caramel will harden and stick to the pan. Insight: Set a timer for exactly 10 minutes before inverting.
- Using Cold Eggs and Butter: Old-fashioned baking relies on emulsion. If your eggs are cold out of the fridge, they will cause the room-temperature butter to curdle, resulting in a dense, heavy cake instead of a fluffy one.
- Overmixing the Batter: Once the flour hits the wet ingredients, gluten begins to form. Mix only until the white streaks of flour disappear. Overmixing leads to tough, chewy cakes.
Storing Tips for the Recipe
Unlike frosted layer cakes, fruit-topped vintage cakes require specific storage techniques to maintain their texture.
If you plan to consume the cake within 24 hours, you can leave it safely at room temperature, loosely covered with aluminum foil or a glass cake dome. For longer storage, place the cake in an airtight container and refrigerate it for up to 4 days.
Best Practice for Leftovers: The caramel will firm up in the fridge. To restore the cake to its fresh-out-of-the-oven glory, place an individual slice in the microwave for 15-20 seconds. This gently re-melts the brown sugar topping and softens the crumb perfectly.
Conclusion
Mastering this classic dessert brings the magic of retro baking right into your modern kitchen. We hope you enjoy recreating these nostalgic flavors with your loved ones! Invite your family to try the recipe, share your feedback in the review section below, or subscribe for more updates.
FAQs
Q: Can I use a glass baking dish instead of a cast-iron skillet?
A: Yes, you can use a 9-inch round glass or metal cake pan. However, you will need to melt the butter and brown sugar together in a separate saucepan first, then pour the mixture into your baking dish before arranging the fruit. Do not put a glass pan directly on a stovetop burner!
Q: Why did my fruit stick to the bottom of the pan after I flipped it?
A: This usually happens if the pan wasn’t greased thoroughly beneath the caramel layer, or if the cake cooled for too long (over 15 minutes) before being inverted. If a few pieces stick, simply pry them out gently with a fork and place them back onto the cake—no one will know!
Q: Can I make this cake a day ahead of time?
A: While it is absolutely at its peak quality on the day it is baked (served slightly warm), you can bake it a day ahead. Store it at room temperature under a cake dome. The juices from the fruit will actually continue to soak into the sponge, making it incredibly moist on day two!
Q: Is it possible to make this recipe gluten-free?
A: Absolutely! You can swap the all-purpose flour for a high-quality 1-to-1 gluten-free baking flour blend that contains xanthan gum. The rest of the measurements remain exactly the same, and the result will be just as delicious.
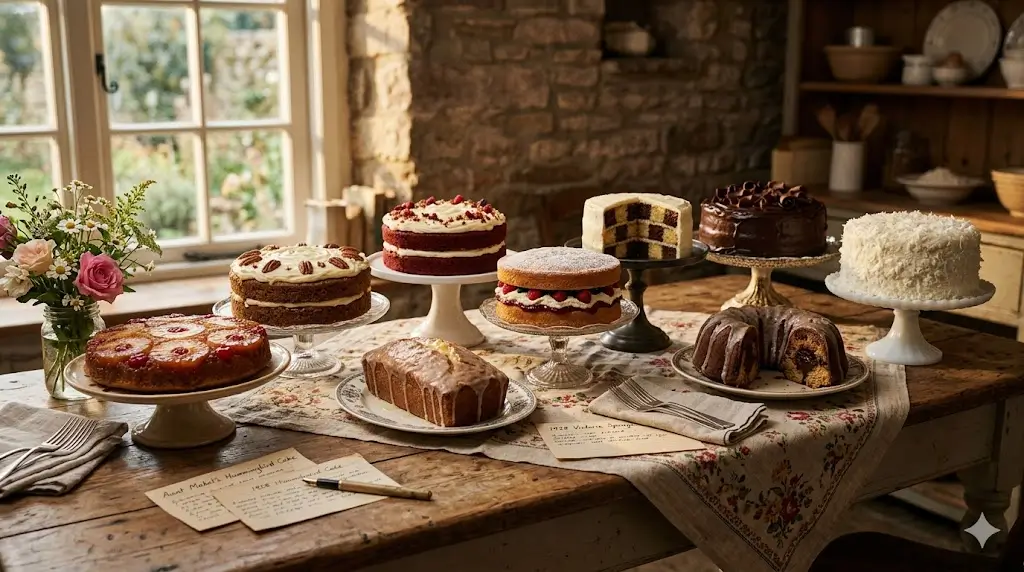
9 Vintage Cakes: The Ultimate Guide to Heirloom & Retro Cakes
Ingredients
Method
Step 1: Prepare Your Vintage Baking Tools
Preheat your modern oven to 350°F (175°C). While traditional heirloom cake tins were often used, the absolute best vessel for this recipe is a well-seasoned 9-inch or 10-inch cast-iron skillet. The heavy iron conducts heat beautifully, creating a perfectly caramelized edge that glass pans simply cannot replicate.Step 2: Craft the Caramel Base
Place your cast-iron skillet directly on the stovetop over medium-low heat. Melt the 1/4 cup of butter completely. Sprinkle the packed brown sugar evenly over the melted butter. Let it bubble gently for about 1-2 minutes until it forms a thick, rich syrup. Remove the skillet from the heat immediately to prevent burning.Step 3: Arrange the Iconic Fruit Pattern
Carefully arrange your pineapple slices over the hot caramel. Place one whole slice directly in the center, and arrange the remaining slices in a circle around the edge. Place a bright red maraschino cherry in the center of each pineapple ring, and fill any empty gaps between the rings with additional cherries. This step is where the retro dessert truly gets its signature look!Step 4: Mix the Traditional Batter
In a medium bowl, whisk together the flour, baking powder, baking soda, and salt. In a separate, larger bowl, use a hand mixer to beat the softened butter and granulated sugar until it is exceptionally pale and fluffy (about 3 full minutes). Beat in the eggs one at a time, ensuring each is fully incorporated, followed by the vanilla extract. Finally, alternate adding the dry ingredients and the reserved pineapple juice, starting and ending with the dry ingredients. Mix only until just combined to preserve the tender crumb structure.Step 5: Bake and Execute the Crucial Inversion
Gently spread the thick batter over the arranged fruit in the skillet, smoothing the top with a spatula. Bake for 45 to 55 minutes, or until a toothpick inserted into the center comes out clean. Actionable Tip: Remove from the oven and let it sit for exactly 10 minutes. Place a heatproof serving platter upside down over the skillet. Wearing heavy oven mitts, confidently and quickly flip the skillet and platter over together. Lift the skillet away to reveal your masterpiece!