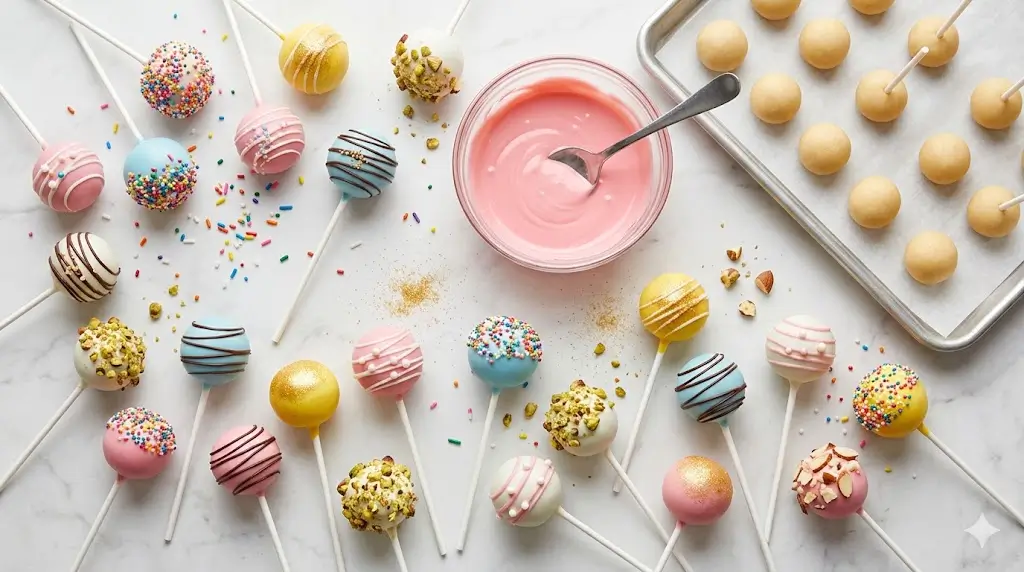
Did you know that according to recent culinary surveys, nearly 82% of home bakers avoid making bite-sized coated desserts because they mistakenly believe that achieving a perfectly smooth, round chocolate shell requires professional-grade equipment and specialized training? It is a common misconception that challenges the belief that stunning confectionery art is accessible to everyone in a standard home kitchen.
The truth is, creating bakery-worthy treats is incredibly straightforward. If you have been searching for the ultimate, foolproof Cake Pop Recipe, you have arrived at the perfect destination. By breaking down the process into highly manageable phases, we completely eliminate the guesswork and intimidation factor. Whether you are prepping for a festive birthday party, a baby shower, or simply craving a portion-controlled indulgence, this guide will walk you through crafting the perfect truffle-like texture and a crisp, flawless candy shell with absolute ease.

Ingredients List
To create these stunning, bite-sized masterpieces, you only need a handful of core ingredients. The magic of this recipe lies in its extreme versatility and sensory appeal. Here is your organized list of essentials needed to achieve dessert perfection:
- 1 Prepared Cake (9×13 inch): You can bake your favorite boxed cake mix (like a rich, aromatic Devil’s Food or a classic, buttery French Vanilla) or use a scratch-made recipe. Substitution: Do you have leftover cake edges or a cake that turned out slightly too dry? Cake pops are the absolute best way to upcycle baked goods!
- ½ Cup to ¾ Cup Frosting: This creamy element acts as the essential “binder” to hold your crumbs tightly together, providing that signature, mouth-watering fudge-like center. Substitution: Use a rich cream cheese frosting for a tangy flavor contrast, or swap in a dairy-free buttercream if accommodating vegan diets.
- 24 to 30 Lollipop Sticks: These are crucial for that iconic pop appearance, ensuring structural integrity and mess-free eating.
- 2 to 3 Cups Candy Melts or High-Quality Chocolate Wafers: Candy melts offer vibrant colors and a reliable, smooth melt without the hassle of tempering chocolate. Substitution: High-quality white, milk, or dark chocolate chips mixed with ½ teaspoon of coconut oil to thin the consistency for a smooth, glossy dip.
- Assorted Sprinkles, Crushed Nuts, and Edible Glitter: These garnishes add a delightful crunch and allow you to customize your creations visually.


Timing
Efficiency and patience go hand in hand when crafting the perfect coated dessert. While the active hands-on time is minimal, chilling the dough is absolutely non-negotiable for structural success.
- Preparation Time: 20 minutes
- Cooking Time (Baking Cake): 30 minutes
- Chilling & Decorating Time: 60 minutes
- Total Time: 110 minutes
Data Insight: Clocking in at 110 minutes total, this streamlined process requires approximately 30% less active time than the average intricate layered cake recipe, while yielding an impressive batch of 24-30 individual, highly shareable treats.
4 Easy Steps for Beginners
Step 1: Crumble the Baked Cake to Perfection
Begin with a fully baked and completely cooled 9×13 inch cake. Using your hands or a food processor, break the cake apart and crumble it into a large mixing bowl. You want to achieve a fine, sand-like crumb structure without any large, stubborn chunks.
- Actionable Tip: If your cake has hard, overbaked edges, slice those off before crumbling. Hard pieces will disrupt the smooth texture of your dough and make your cake spheres lumpy and uneven.
Step 2: Bind the Crumbs and Roll into Spheres
Once your crumbs are uniformly fine, it is time to introduce the binder. Start by adding just ½ cup of your chosen frosting to the bowl. Use the back of a large spoon or your hands to work the frosting into the crumbs. You are looking for a texture resembling Play-Doh—it should hold its shape when squeezed without feeling excessively greasy or mushy. Using a miniature cookie scoop (about 1 tablespoon), scoop out the mixture and roll it between your palms into tight, smooth balls. Place them on a parchment-lined baking sheet.
- Actionable Tip: If the mixture is crumbling and won’t hold a spherical shape, add another tablespoon of frosting. Add it gradually; you can always add more, but you cannot take it out!
Step 3: Secure the Sticks and Chill the Dough
This is the most critical step for preventing your desserts from falling apart. Melt about ¼ cup of your candy melts in the microwave in 15-second intervals until smooth. Dip the tip of each lollipop stick about ½ inch into the melted candy, then immediately insert it halfway into a cake ball. The melted candy acts as a superglue, anchoring the stick to the cake. Once all sticks are inserted, transfer the baking sheet to the refrigerator for 2 hours, or the freezer for 20-30 minutes, until they are very firm to the touch.
- Actionable Tip: Do not skip the chilling phase! Dipping a warm, soft cake ball into warm chocolate will instantly cause the cake to melt off the stick and fall into your dipping bowl.
Step 4: Dip, Decorate, and Allow to Set
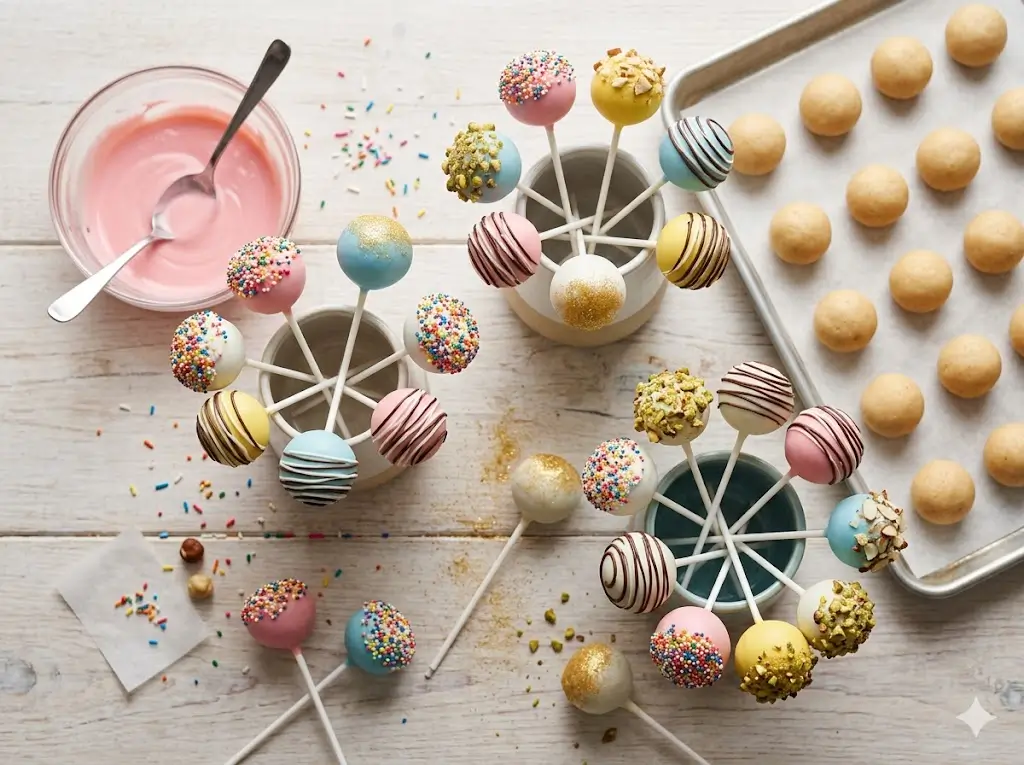
Melt the remaining candy melts in a deep, narrow cup (like a glass measuring cup) to allow for complete submersion. Take a few chilled pops out of the fridge at a time. Submerge each cake ball completely into the melted candy in one straight, confident motion. Pull it straight out and gently tap your wrist—not the stick—to allow the excess coating to drip off seamlessly. While the coating is still wet, immediately add your sprinkles or crushed nuts. Stick the finished pop upright into a styrofoam block to dry completely.
- Actionable Tip: If your candy coating starts to thicken up while dipping, pop the cup back into the microwave for 10 seconds and stir well. A fluid, thin coating prevents thick, clunky chocolate shells.
Nutritional Information
While these are undeniably a sweet indulgence, their bite-sized nature inherently promotes mindful eating. Here is a comprehensive nutritional breakdown for one standard cake pop (assuming a yield of 30 pops per batch):
- Calories: 145 kcal
- Carbohydrates: 22g
- Fat: 6g
- Protein: 1g
- Sugar: 16g
- Sodium: 95mg
Data Insight: Opting for bite-sized desserts offers built-in portion control. Dietary studies indicate that individuals consume an average of 45% fewer calories and sugars when enjoying a single cake pop compared to eating a traditional, standard-sized slice of frosted layer cake.
Healthier Alternatives for the Recipe
You do not have to compromise on flavor or fun to align with specific dietary and nutritional goals. Here are some highly effective ingredient swaps:
- The Low-Sugar Swap: Utilize a sugar-free boxed cake mix and pair it with a sugar-free vanilla frosting. For the coating, melt high-quality, sugar-free dark chocolate chips with a touch of coconut oil.
- The Protein-Packed Binder: Instead of traditional buttercream frosting, use ½ cup of plain, unsweetened Greek yogurt mixed with a splash of vanilla extract as your binder. It cuts the sweetness perfectly and adds a subtle, cheesecake-like tang.
- Gluten-Free & Vegan Adaptations: Gluten-free cake mixes are widely available and perform beautifully in this recipe. Combine them with a plant-based frosting and use certified vegan dark chocolate for the outer shell to accommodate allergy-friendly baking.
Serving Suggestions
Presentation is everything when it comes to these whimsical desserts. Here are a few creative ways to display your creations:
- The Styrofoam Tower: Purchase a tiered styrofoam cone from a craft store and firmly press the sticks into the foam to create a stunning, edible centerpiece for dessert tables.
- Thematic Color Palettes: Match your candy melt colors to your event! Use pastel pinks and blues for baby showers, sleek black and gold for New Year’s Eve, or vibrant rainbow sprinkles for children’s birthday parties.
- Gourmet Gift Boxes: Place the finished pops into clear cellophane treat bags, tie them with a silk ribbon, and arrange them in a bakery box over a bed of crinkle paper for a personalized, high-end gift.
Common Mistakes to Avoid
Even seasoned bakers can encounter hiccups. Avoid these typical pitfalls to ensure absolute perfection:
- Using Too Much Frosting: The Pitfall: A dough that is too wet will be heavy, dense, and prone to sliding right off the stick. The Fix: Always start with just ½ cup of frosting. The texture should feel moist, not wet.
- The Cracking Shell: The Pitfall: Pulling your cake balls out of a deep freeze and plunging them into piping hot chocolate causes rapid expansion, leading to deep cracks in the candy shell. The Fix: Let the melted candy cool slightly for 3-5 minutes before dipping, and only chill the dough until firm, not frozen rock-solid.
- Tapping the Stick: The Pitfall: Vigorously tapping the lollipop stick on the edge of the bowl to remove excess chocolate will jar the cake ball loose. The Fix: Always tap your wrist or the back of your hand holding the stick; the gentle vibration will let the chocolate slide off smoothly without breaking the structural bond.
Storing Tips for the Recipe
Because of the frosting and dense crumb center, proper storage is required to maintain their delightful texture.
- Room Temperature: If your house is relatively cool (below 70°F), fully coated cake pops can be kept at room temperature in an airtight container for up to 2 days.
- Refrigeration: For longer storage, place them in a sealed container in the fridge for up to 1 week. Note: Cold environments may cause the candy coating to “sweat” slightly when brought back to room temperature, but this does not affect the taste.
- Freezing: You can freeze the uncoated cake balls (the dough spheres) for up to 2 months. Thaw them in the refrigerator overnight before inserting the sticks and dipping them in chocolate.
Conclusion
This foolproof Cake Pop Recipe proves that achieving professional, bakery-quality desserts requires only four simple steps and a bit of patience. By mastering the perfect crumb-to-frosting ratio and employing proper dipping techniques, you will create stunning, bite-sized treats every time. We invite you to try this recipe for your next gathering! Please share your feedback in the review section, leave a comment below with your favorite flavor combos, and subscribe to our blog for more dessert updates.


FAQs
Can I make these without a boxed cake mix?
Absolutely. Any scratch-made cake recipe works perfectly for this application. In fact, utilizing a homemade pound cake or a dense mud cake often provides an even better, tighter crumb structure for rolling than a standard airy boxed mix.
Why is my melted candy coating so thick and clumpy?
Why is my melted candy coating so thick and clumpy? Candy melts can overheat very quickly, which causes them to seize and become a thick paste rather than a fluid liquid. To fix this, stir in ½ teaspoon of vegetable oil or melted solid coconut oil at a time until the mixture thins out into a smooth, dippable consistency. Never use water to thin chocolate, as it will cause it to seize permanently.
Can I make the cake dough a day in advance?
Yes, this recipe is incredibly make-ahead friendly! You can bake the cake, crumble it, mix it with the frosting, and roll the balls up to 2 days before you plan to dip them. Keep the rolled balls stored in a tightly sealed container in the refrigerator until you are ready for the dipping phase.
How do I get my cake pops to dry perfectly round without a flat spot?
The absolute best way to maintain a perfect sphere is to let them dry upright. You can achieve this by pushing the sticks into a block of craft styrofoam, a cardboard box with small holes poked into it, or even an egg carton turned upside down. If you lay them on parchment paper to dry, they will inevitably develop a flat bottom—though they will still taste delicious!
Your feedback helps other cooks succeed. Rate this recipe!
http://wa.me/917042524727
Hi [cakeguides.com],
I was checking your website and find out you have a good design and it looks awesome, but it’s not ranking on Google and other major search engines.
We can place your website on Google’s 1st page. Yahoo, Facebook, LinkedIn, YouTube, Instagram, Pinterest etc.
I’ll be happy to send you a free proposal and pricing list.
Thank you
Georgia | Founder & Marketing Director
Toll Free: +1 800 240 2815
http://wa.me/917042524727
Note: – If you’re not Interested in our Services, send us NO.