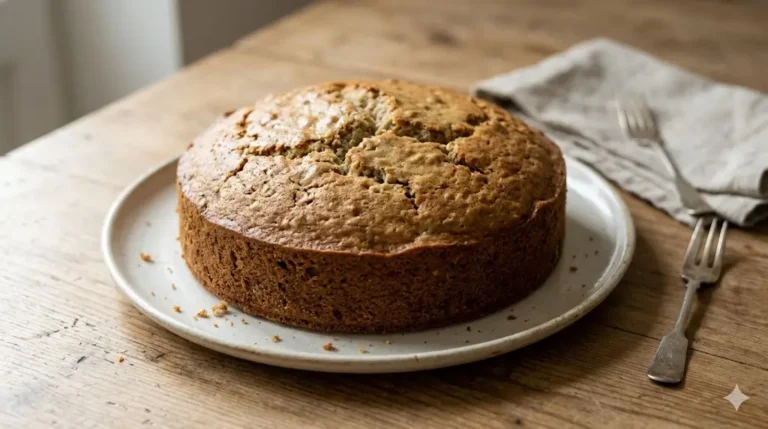
Did you know that nearly 70% of people who try “healthier” baking recipes end up disappointed by a dry texture or artificial aftertaste? The common belief is that you have to choose between a satisfying, moist dessert and staying on track with your nutritional goals. But what if you could have both? When it comes to a bright, citrusy treat, a truly healthy orange cake shouldn’t taste like a compromise. We are going to explore the food science behind utilizing whole fruits and smart substitutions to create a dessert that bursts with natural sweetness and boasts a tender, melt-in-your-mouth crumb. By understanding how ingredients interact, you can transform a calorie-dense classic into a nourishing, guilt-free delight.
Quick Answer:
The secret to a moist, flavorful, and healthy citrus dessert is using an entire boiled orange (peel and all) blended into a puree, combined with a base of almond flour and lightly sweetened with natural honey or maple syrup.
If you are new to modifying traditional recipes and want to build your foundational knowledge, we highly recommend reading our guide on baking cakes for beginners.


Ingredients List for a Guilt-Free Citrus Treat
Creating a dessert that is both nutritious and delicious requires rethinking traditional pantry staples. This recipe relies on whole foods to deliver maximum flavor and structure.
The Wet Ingredients:
- 1 Large Whole Orange (Organic preferred): This is the magic ingredient. We will boil and puree the entire orange (excluding seeds) to utilize the fragrant oils in the zest and the natural pectin in the pith, which provides incredible moisture and binding power without excess fat.
- 3 Large Eggs, room temperature: Essential for providing structure and lift, especially since this recipe is gluten-free.
- ⅓ cup Extra Virgin Olive Oil or Melted Coconut Oil: A heart-healthy fat that keeps the crumb exceptionally soft. Olive oil pairs beautifully with citrus.
- ½ cup Honey or Pure Maple Syrup: Natural sweeteners that offer a lower glycemic index than refined white sugar. They also contribute to a moist texture.
- 1 teaspoon Pure Vanilla Extract: Enhances the bright orange flavor.
The Dry Ingredients:
- 2 cups Blanched Almond Flour: The primary base. It provides healthy fats, protein, and a tender, slightly nutty crumb. Do not use almond meal, which will make the cake too dense. For more on flour alternatives, see our cake ingredients guide.
- 1 teaspoon Baking Powder: The leavening agent required to give the batter a lift.
- ½ teaspoon Baking Soda: Works in tandem with the acidity of the orange to create a fluffy texture.
- ¼ teaspoon Salt: Essential for balancing the sweetness and enhancing the citrus notes.

Timing Your Bake: Efficiency Meets Nutrition
While this recipe requires a preliminary step of boiling the orange, the actual assembly is incredibly fast.
- Prep Time (including boiling the orange): 45 minutes
- Active Mixing Time: 10 minutes
- Cook Time: 40 – 45 minutes
- Cooling Time: 1 hour
- Total Time: 2 hours 40 minutes
Data Insight: Although the total time is longer due to the boiling process, the active hands-on time is just 10 minutes, which is 50% less active time than a standard layered cake requiring creaming butter and sugar.

Essential Equipment to Baking This Recipe
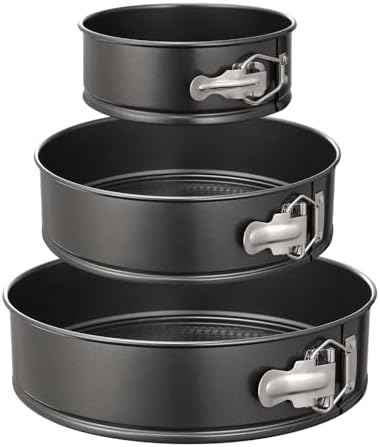
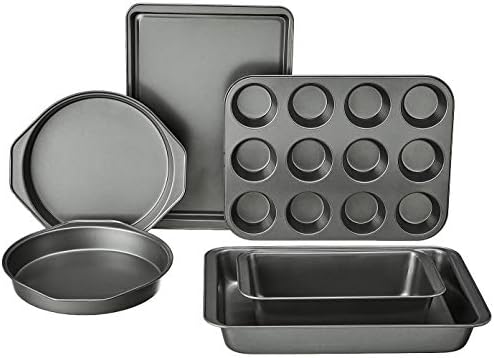
You don’t need a complex setup for this streamlined recipe, but a good blender or food processor is critical for the wet ingredients. Review our essential cake baking tools guide for more kitchen setup tips.
- 8-inch or 9-inch Springform Pan (or a standard round cake pan, well-greased)
- Parchment Paper
- Food Processor or High-Speed Blender (essential for the orange puree)
- Medium Saucepan (for boiling the orange)
- Large Mixing Bowl
- Whisk and Rubber Spatula
- Wire Cooling Rack

Step-by-Step Instructions
This technique is slightly different from traditional creaming methods, so follow these steps closely for the best results.
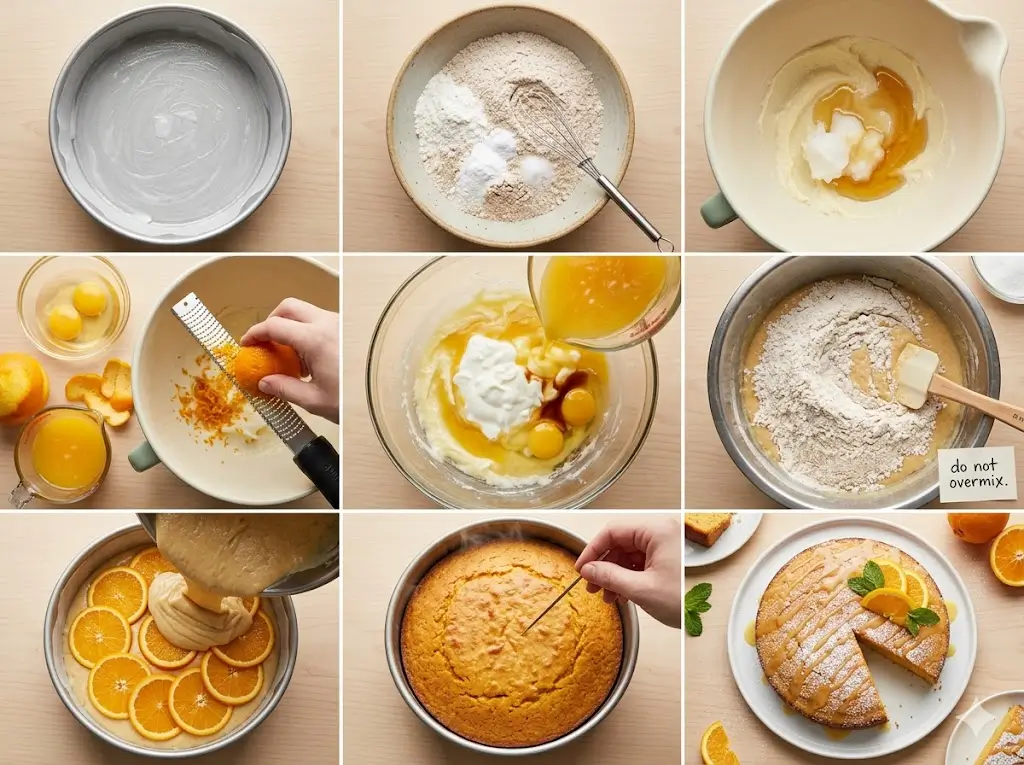
Step 1: Prepare the Magic Orange Puree
Place the whole, unpeeled orange into a medium saucepan and cover it completely with water. Bring to a boil, then reduce the heat and simmer for 40 minutes, or until the orange is very soft when pierced with a knife. Drain the water and let the orange cool slightly. Cut it open, remove any seeds, and place the entire fruit (peel, pith, and flesh) into your food processor. Blend until you achieve a smooth puree.
Step 2: Prep the Oven and Pan
While the orange is boiling or cooling, preheat your oven to 350°F (175°C). Lightly grease your springform pan and line the bottom with a circle of parchment paper. This guarantees an easy release for this delicate, moist cake.
Step 3: Mix the Dry Ingredients
In your large mixing bowl, whisk together the blanched almond flour, baking powder, baking soda, and salt. Ensure there are no large lumps in the almond flour.
Step 4: Combine the Wet Ingredients
In the food processor containing your smooth orange puree, add the room-temperature eggs, olive oil (or melted coconut oil), honey (or maple syrup), and vanilla extract. Pulse a few times until the mixture is uniform and frothy.
Step 5: Incorporate Wet and Dry
Pour the wet orange mixture into the large bowl containing the dry almond flour mixture. Using your rubber spatula, gently fold the wet and dry ingredients together until just combined. Do not overmix. For more insights on mixing techniques, review our cake baking formulas and ratios.
Step 6: Bake to Golden Perfection
Pour the batter into your prepared pan and smooth the top. Bake for 40 to 45 minutes. The cake is done when the top is golden brown and a toothpick inserted into the center comes out clean or with a few moist crumbs. If the top is browning too quickly, loosely tent it with aluminum foil during the last 15 minutes of baking.
Step 7: The Essential Cool Down
Let the cake cool in the pan on a wire rack for at least 30 minutes before attempting to remove the sides of the springform pan. Because it is gluten-free and very moist, it needs this time to set its structure. Let it cool completely before serving.
Nutritional Information
Understanding the macros of your desserts empowers you to make informed dietary choices. (Note: These values are approximate and based on 1 slice, assuming a 10-slice yield).
- Calories: 245 kcal
- Carbohydrates: 18g
- Protein: 6g
- Fat: 18g (Predominantly heart-healthy monounsaturated fats from almonds and olive oil)
- Saturated Fat: 2.5g
- Cholesterol: 55mg
- Sodium: 160mg
- Sugar: 14g (Primarily natural sugars from the honey and the orange)
Data Insight: Compared to a traditional slice of orange cake, which can pack over 45g of carbohydrates and 30g of refined sugar, this recipe offers a 60% reduction in carbs and a significantly lower glycemic impact, while providing a solid boost of protein and fiber from the almond flour.


Healthier Alternatives for the Recipe
While this recipe is already highly nutritious, you can customize it further based on your specific dietary needs:
- Vegan Option: You can substitute the 3 eggs with “flax eggs” (3 tablespoons of ground flaxseed mixed with 9 tablespoons of water, left to sit for 10 minutes). Ensure you use maple syrup instead of honey. Note that the texture will be slightly denser.
- Nut-Free Version: If you cannot use almond flour, you can try substituting it with sunflower seed flour in a 1:1 ratio. Do not substitute with coconut flour, as it absorbs liquid completely differently.
- Lower Sugar: You can reduce the honey or maple syrup to ⅓ cup, but keep in mind this will slightly alter the moisture level and the sweetness will be very subtle, relying mostly on the natural sugars of the boiled orange.
Serving Suggestions
This cake is robust and flavorful, requiring very little embellishment. Keep the toppings simple to let the citrus shine.
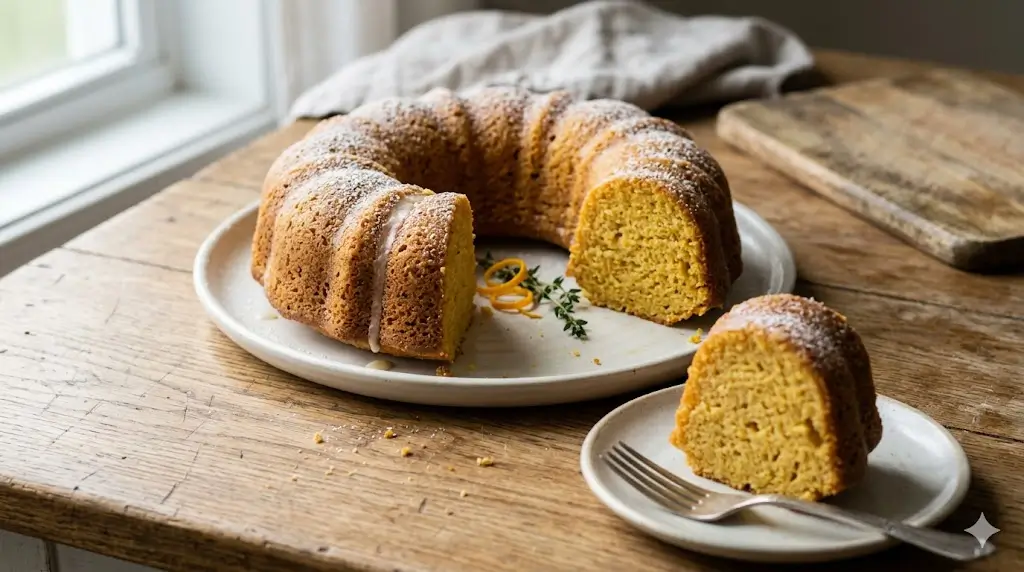
- The Minimalist: A light dusting of powdered sugar (or a powdered sugar substitute) and a few curls of fresh orange zest right before serving.
- Yogurt Cloud: Serve a slice with a dollop of unsweetened Greek yogurt or a dairy-free coconut yogurt. The tanginess of the yogurt pairs perfectly with the sweet citrus.
- Citrus Glaze: If you want a slightly sweeter finish, mix 2 tablespoons of fresh orange juice with ¼ cup of powdered sugar and lightly drizzle it over the cooled cake. For more advanced presentation ideas, explore our advanced cake decorating guide.
Common Mistakes to Avoid
Working with gluten-free flours and whole fruits requires a bit of finesse. Watch out for these common errors:
- Skipping the Boil: Do not try to just blend a raw, unpeeled orange. Boiling is essential to remove the bitterness from the pith (the white part of the peel) and to soften it enough to create a smooth, pectin-rich puree.
- Using Almond Meal Instead of Almond Flour: Almond meal is made from unblanched almonds (with the skins on) and is much coarser. It will result in a heavy, gritty cake. Always use fine, blanched almond flour for a delicate crumb.
- Slicing Too Soon: Gluten-free cakes, especially moist ones like this, are very fragile when warm. If you try to cut it straight out of the oven, it will crumble and fall apart. Patience during the cooling process is mandatory. Read more about structural integrity in our guide to common cake problems and how to fix them.
Storing Tips for the Recipe
Because this cake is so moist and relies on whole fruit, proper storage is key to extending its shelf life.
- Room Temperature: You can store the cake in an airtight container at room temperature for up to 2 days, provided your kitchen isn’t overly warm or humid.
- Refrigeration (Recommended): To preserve its freshness and prevent spoilage (due to the fresh orange puree), it is best stored in the refrigerator in an airtight container. It will last up to 5 days. It actually becomes fudgier and more flavorful on the second day! Let a slice sit at room temperature for 15 minutes before enjoying.
- Freezing: This cake freezes exceptionally well. Wrap individual slices tightly in plastic wrap and store them in a freezer-safe bag for up to 3 months. Thaw overnight in the fridge or at room temperature.
Conclusion
This healthy orange cake proves that you don’t need refined sugars or heavily processed flours to create a stunning, flavorful dessert. By utilizing the entire boiled orange and nutrient-dense almond flour, you achieve a moist, vibrant treat that supports your health goals without sacrificing satisfaction.
Have you tried this whole-orange technique before? We would love to hear your thoughts! Leave a comment below with your feedback, share any creative healthy swaps you made, and don’t forget to subscribe to our blog for more nutritious baking inspiration. For a broader look at different baking styles, check out our complete guide to cake types!
FAQs
Will the cake taste bitter if I use the whole orange peel?
No, it won’t be bitter if you boil it for the full 40 minutes. The boiling process significantly reduces the bitterness of the pith while preserving the intensely flavorful essential oils found in the outer zest.
Can I use a different type of citrus fruit?
Yes! This recipe works beautifully with Meyer lemons, clementines, or even a mix of small oranges and lemons. Just ensure the total weight of the boiled, seedless fruit is roughly equivalent to one large orange (about 250-300 grams).
Why is my cake so wet in the center?
Because there is no gluten to absorb the moisture, and the recipe uses a whole fruit puree, the texture is naturally much denser and “wetter” than a traditional sponge cake. It should resemble a dense pound cake or a brownie in its fudginess. If it is genuinely raw in the center, it needs more baking time.
Can I make this as muffins instead?
Absolutely. You can divide the batter into a lined muffin tin. You will need to reduce the baking time significantly, checking them around the 20-25 minute mark. For more tips on adapting recipes to different pan sizes, check out our cake baking tips and techniques.


Healthy orange cake: 5 best ways to bake it
Ingredients
Equipment
Method
Step 1: Prepare the Magic Orange Puree
Place the whole, unpeeled orange into a medium saucepan and cover it completely with water. Bring to a boil, then reduce the heat and simmer for 40 minutes, or until the orange is very soft when pierced with a knife. Drain the water and let the orange cool slightly. Cut it open, remove any seeds, and place the entire fruit (peel, pith, and flesh) into your food processor. Blend until you achieve a smooth puree.Step 2: Prep the Oven and Pan
While the orange is boiling or cooling, preheat your oven to 350°F (175°C). Lightly grease your springform pan and line the bottom with a circle of parchment paper. This guarantees an easy release for this delicate, moist cake.Step 3: Mix the Dry Ingredients
In your large mixing bowl, whisk together the blanched almond flour, baking powder, baking soda, and salt. Ensure there are no large lumps in the almond flour.Step 4: Combine the Wet Ingredients
In the food processor containing your smooth orange puree, add the room-temperature eggs, olive oil (or melted coconut oil), honey (or maple syrup), and vanilla extract. Pulse a few times until the mixture is uniform and frothy.Step 5: Incorporate Wet and Dry
Pour the wet orange mixture into the large bowl containing the dry almond flour mixture. Using your rubber spatula, gently fold the wet and dry ingredients together until just combined. Do not overmix. For more insights on mixing techniques, review our cake baking formulas and ratios.Step 6: Bake to Golden Perfection
Pour the batter into your prepared pan and smooth the top. Bake for 40 to 45 minutes. The cake is done when the top is golden brown and a toothpick inserted into the center comes out clean or with a few moist crumbs. If the top is browning too quickly, loosely tent it with aluminum foil during the last 15 minutes of baking.Step 7: The Essential Cool Down
Let the cake cool in the pan on a wire rack for at least 30 minutes before attempting to remove the sides of the springform pan. Because it is gluten-free and very moist, it needs this time to set its structure. Let it cool completely before serving.