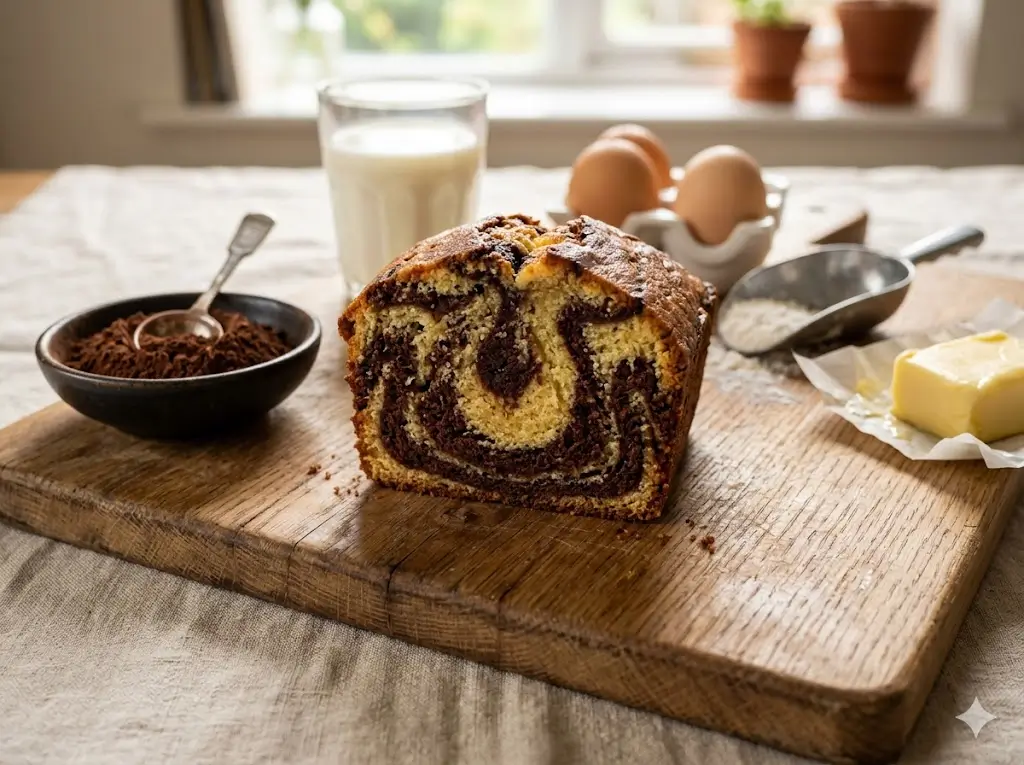
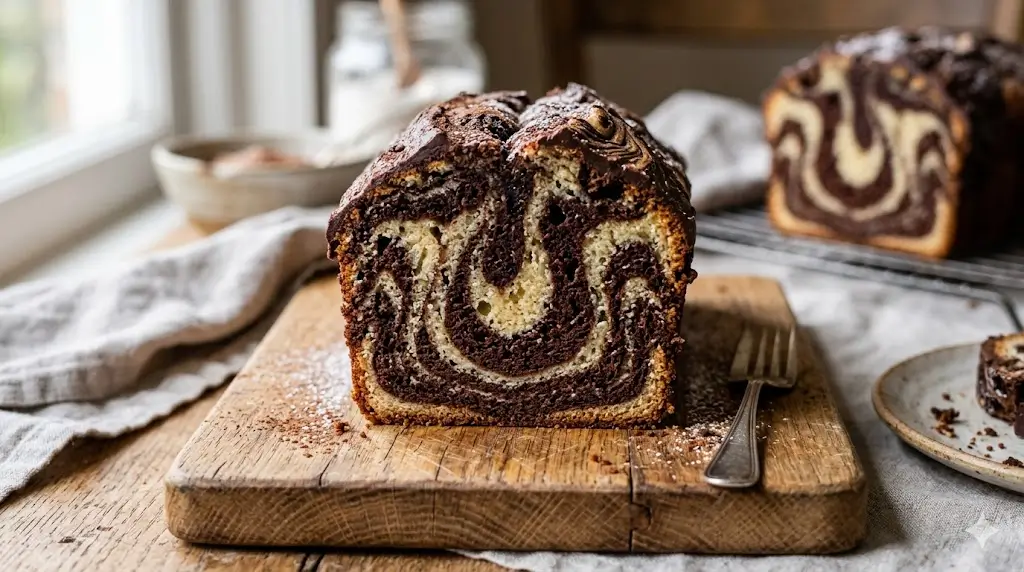
Have you ever baked a marble cake only to find the flavors muddy and the texture dry? You’re not alone. Many bakers struggle to achieve that perfect balance of light, airy vanilla sponge intertwined with rich, decadent chocolate. The secret to a perfect marble cake isn’t just about the ingredients; it’s about the technique. We’ll explore the science behind creating distinct, beautiful swirls and a crumb that’s moist and tender. This guide will walk you through everything you need to know, from selecting the right cocoa powder to mastering the swirling motion.
Quick Answer:
For the best marble cake, use a high-quality Dutch-processed cocoa powder mixed with hot water to create a paste before adding it to a portion of the vanilla batter. This ensures a rich chocolate flavor without altering the batter’s consistency. Swirl the two batters gently with a butter knife or skewer, being careful not to overmix.
If you are new to baking, you might want to review our comprehensive guide on baking cakes for beginners to familiarize yourself with essential techniques.
Ingredients for the Perfect Swirl
Achieving the perfect texture and flavor requires precision. Here is everything you need to create this masterpiece.
- 2 ½ cups All-Purpose Flour: Make sure to measure this correctly; too much flour leads to a dense cake. You can learn more about ingredient roles in our cake ingredients guide.
- 2 teaspoons Baking Powder: The crucial leavening agent for a light crumb.
- ½ teaspoon Salt: Enhances all the flavors.
- 1 cup (2 sticks) Unsalted Butter, softened: Ensure it’s at room temperature for smooth creaming.
- 1 ½ cups Granulated Sugar: Provides sweetness and helps with browning.
- 4 large Eggs, room temperature: Room temperature eggs emulsify better into the batter.
- 2 teaspoons Pure Vanilla Extract: Use high-quality extract for the best vanilla flavor.
- 1 cup Buttermilk, room temperature: Adds moisture and a slight tang that balances the sweetness. If you don’t have buttermilk, mix 1 cup of whole milk with 1 tablespoon of white vinegar or lemon juice and let it sit for 5 minutes.
- ⅓ cup Dutch-Processed Cocoa Powder: Dutch-processed cocoa provides a deeper, richer chocolate flavor and color compared to natural cocoa powder.
- ¼ cup Hot Water: Used to bloom the cocoa powder, intensifying its flavor.
Timing Your Bake
Knowing your timeline is crucial for a stress-free baking experience. This recipe is designed to be efficient without compromising quality.
- Prep Time: 20 minutes
- Cook Time: 45 – 55 minutes
- Cooling Time: 1 hour
- Total Time: 2 hours 15 minutes
Data Insight: Taking 20 minutes to properly prep your ingredients and tools can reduce your active baking time and prevent frustrating errors later on.


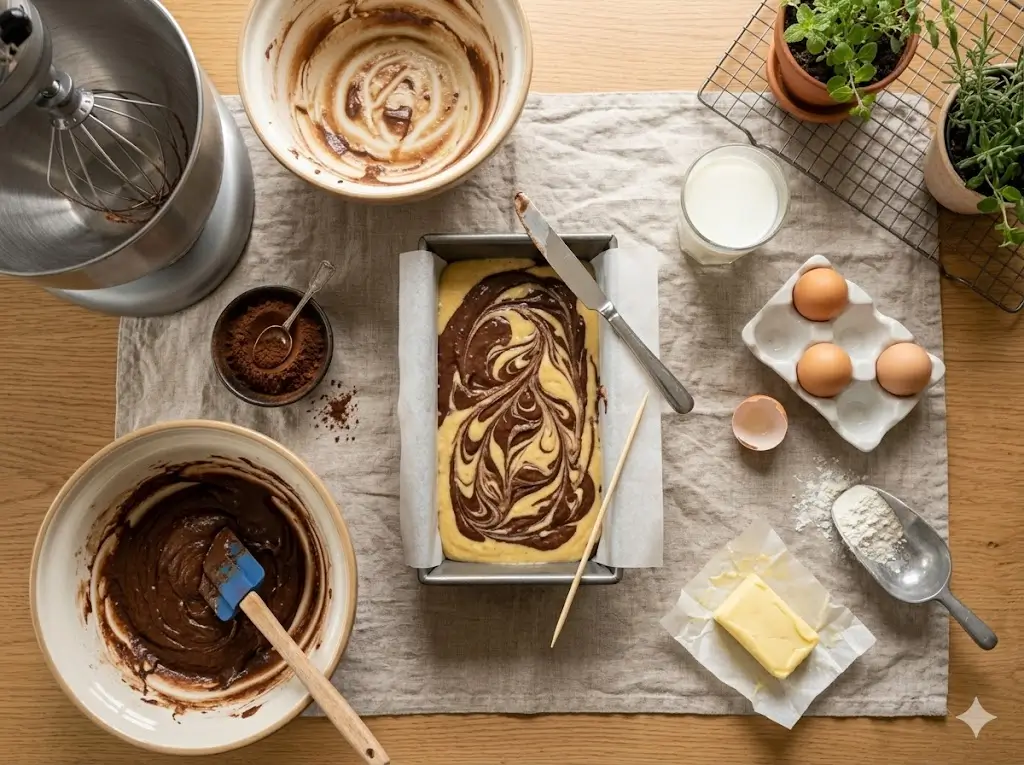
Essential Equipment
Having the right tools makes a significant difference. If you need a refresher, check out our essential cake baking tools guide.
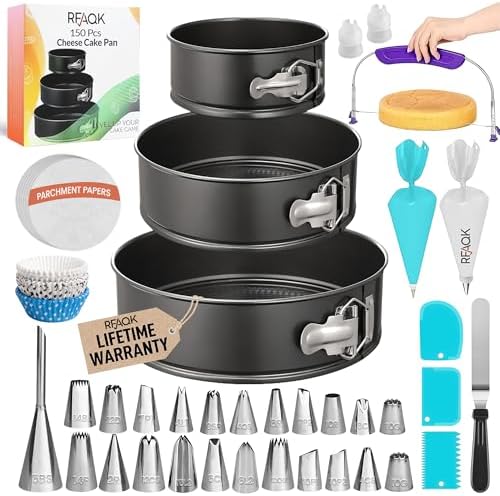
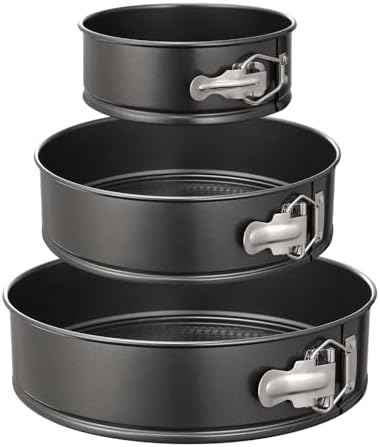
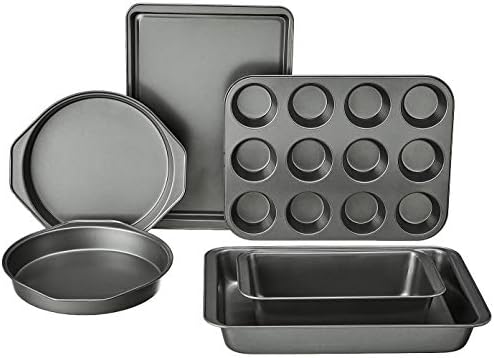
- 9×5 inch Loaf Pan (or a 9-inch round cake pan)
- Parchment Paper
- Stand Mixer or Hand Mixer
- Large Mixing Bowls
- Whisk
- Rubber Spatula
- Butter Knife or Wooden Skewer (for swirling)
- Wire Cooling Rack
Step-by-Step Instructions
Follow these steps closely for a flawless execution. If you encounter any issues, our guide on common cake problems and how to fix them is a great resource.
Step 1: Preparation is Key
Preheat your oven to 350°F (175°C). Grease your 9×5 inch loaf pan and line it with parchment paper, leaving an overhang on the sides for easy removal later. This crucial step prevents the cake from sticking.
Step 2: Whisk the Dry Ingredients
In a medium bowl, vigorously whisk together the all-purpose flour, baking powder, and salt. Whisking not only combines the ingredients but also aerates the flour, contributing to a lighter texture. Set this bowl aside.
Step 3: Cream Butter and Sugar
In a large bowl, using a hand mixer or a stand mixer fitted with a paddle attachment, beat the softened butter and granulated sugar on medium-high speed until pale and fluffy. This should take about 3-4 minutes. Scrape down the sides of the bowl as needed.
Step 4: Add Eggs and Vanilla
Add the room-temperature eggs one at a time, beating well after each addition. Ensure each egg is fully incorporated before adding the next. Beat in the vanilla extract until just combined.
Step 5: Incorporate Dry Ingredients and Buttermilk
With the mixer on low speed, add the dry ingredients in three parts, alternating with the buttermilk in two parts (begin and end with the dry ingredients). Mix until just combined; do not overmix, as this will develop the gluten and result in a tough cake.
Step 6: Create the Chocolate Batter
In a small separate bowl, whisk the Dutch-processed cocoa powder and hot water together until it forms a smooth paste. Take about 1 ½ cups of the vanilla batter and gently fold it into the cocoa paste until uniformly combined. You now have your two distinct batters. For a deeper dive into adjusting recipes, review our cake baking formulas and ratios.
Step 7: The Swirl Technique
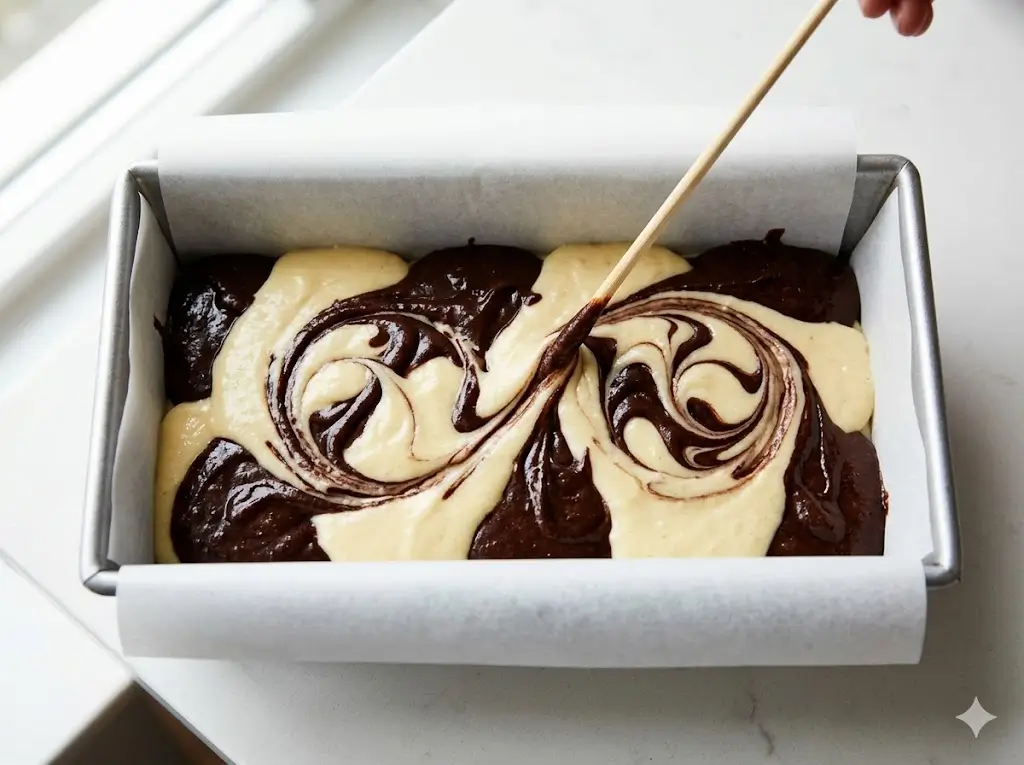
Dollop spoonfuls of the vanilla and chocolate batters alternately into the prepared loaf pan. Once all the batter is in the pan, use a butter knife or a wooden skewer to gently swirl the batters together. Create figure-eight motions, but be careful not to over-swirl, or you’ll lose the distinct marbling effect.
Step 8: Bake and Cool
Bake in the preheated oven for 45 to 55 minutes, or until a toothpick inserted into the center comes out clean or with a few moist crumbs. Let the cake cool in the pan for 15 minutes before using the parchment paper overhang to lift it out onto a wire rack to cool completely.
Nutritional Information
Understanding the nutritional profile of your desserts helps you balance your diet. (Note: These values are approximate and based on 1 slice assuming the cake yields 10 slices).
- Calories: 380 kcal
- Carbohydrates: 48g
- Protein: 5g
- Fat: 19g
- Saturated Fat: 11g
- Cholesterol: 95mg
- Sodium: 280mg
- Sugar: 30g
Data Insight: A standard slice provides a moderate amount of carbohydrates for energy, primarily from the flour and sugar.


Healthier Alternatives for the Recipe
Looking to lighten up this classic? Here are a few smart swaps:
- Flour: Substitute up to half of the all-purpose flour with white whole wheat flour for added fiber.
- Sugar: Reduce the granulated sugar to 1 ¼ cups, or try substituting half the sugar with a low-calorie sweetener designed for baking.
- Butter: Swap half of the butter for unsweetened applesauce or mashed banana. This reduces fat while maintaining moisture.
- Dairy: Use a low-fat buttermilk or an unsweetened almond milk mixed with a little vinegar.
Serving Suggestions
This cake is versatile and can be enjoyed in many ways. Explore more ideas in our ultimate guide to cake recipes.
- Classic Comfort: Serve a warm slice with a dollop of freshly whipped cream and a dusting of cocoa powder.
- Afternoon Tea: Pair a slice with a robust black tea or a smooth latte.
- Decadent Dessert: Top with a scoop of vanilla bean ice cream and a drizzle of warm chocolate ganache. If you want to get fancy with toppings, check out our cake decoration for beginners guide or the advanced cake decorating guide.
Common Mistakes to Avoid
Even experienced bakers can stumble. Watch out for these pitfalls:
- Overmixing the Batter: This is the most common reason for a dense, heavy cake. Mix only until the flour disappears.
- Over-Swirling: If you swirl too aggressively, the vanilla and chocolate batters will blend into a muddy color rather than distinct ribbons.
- Using Cold Ingredients: Cold eggs and buttermilk won’t emulsify properly with the butter, leading to a broken batter and a poor texture.
- Not Blooming the Cocoa: Skipping the step of mixing the cocoa powder with hot water will result in a weaker chocolate flavor and a potentially dry chocolate batter.
Storing Tips for the Recipe
Proper storage ensures your cake stays moist and delicious for days.
- Room Temperature: Store the cooled cake in an airtight container at room temperature for up to 3-4 days.
- Refrigeration: While you can refrigerate it to extend its life to about a week, the cold can dry out the crumb. If refrigerating, bring slices back to room temperature before serving.
- Freezing: This cake freezes beautifully. Wrap individual slices or the whole cake tightly in plastic wrap, then place in a freezer-safe bag or container. Freeze for up to 3 months. Thaw overnight in the refrigerator or at room temperature.
Conclusion
This marble cake combines the best of vanilla and chocolate in a beautiful, tender crumb. By blooming the cocoa and mastering the gentle swirl, you’ll create a visually stunning and delicious dessert every time.
We’d love to hear how your bake turned out! Leave a comment below with your feedback, share a photo of your beautiful swirls, and don’t forget to subscribe to our blog for more delicious updates and baking tips. You can also explore the complete guide to cake types for your next baking adventure!
FAQs
Why is my marble cake dry?
A dry cake is usually the result of overbaking or measuring the flour incorrectly (packing it into the cup). Use the spoon-and-level method for flour and check the cake 5 minutes before the recipe suggests.
Can I use natural cocoa powder instead of Dutch-processed?
Yes, but Dutch-processed yields a darker color and a smoother, more intense chocolate flavor. If using natural cocoa, the chocolate swirl might be slightly lighter in color and have a slightly more acidic taste.
How do I get perfectly defined swirls?
The key is to dollop the batters alternately and then use a thin tool, like a skewer or butter knife, to make just a few figure-eight motions through the batter. Less is more when it comes to swirling!
Can I make this in a different sized pan?
Yes! You can bake this in a 9-inch round cake pan. The baking time will likely be shorter, around 30-40 minutes, so keep a close eye on it. Check our cake baking tips and techniques for more information on pan conversions.
Marble cake: 5 best steps to bake it
Ingredients
Equipment
Method
Step 1: Preparation is Key
Preheat your oven to 350°F (175°C). Grease your 9×5 inch loaf pan and line it with parchment paper, leaving an overhang on the sides for easy removal later. This crucial step prevents the cake from sticking.Step 2: Whisk the Dry Ingredients
In a medium bowl, vigorously whisk together the all-purpose flour, baking powder, and salt. Whisking not only combines the ingredients but also aerates the flour, contributing to a lighter texture. Set this bowl aside.Step 3: Cream Butter and Sugar
In a large bowl, using a hand mixer or a stand mixer fitted with a paddle attachment, beat the softened butter and granulated sugar on medium-high speed until pale and fluffy. This should take about 3-4 minutes. Scrape down the sides of the bowl as needed.Step 4: Add Eggs and Vanilla
Add the room-temperature eggs one at a time, beating well after each addition. Ensure each egg is fully incorporated before adding the next. Beat in the vanilla extract until just combined.Step 5: Incorporate Dry Ingredients and Buttermilk
With the mixer on low speed, add the dry ingredients in three parts, alternating with the buttermilk in two parts (begin and end with the dry ingredients). Mix until just combined; do not overmix, as this will develop the gluten and result in a tough cake.Step 6: Create the Chocolate Batter
In a small separate bowl, whisk the Dutch-processed cocoa powder and hot water together until it forms a smooth paste. Take about 1 ½ cups of the vanilla batter and gently fold it into the cocoa paste until uniformly combined. You now have your two distinct batters. For a deeper dive into adjusting recipes, review our cake baking formulas and ratios.Step 7: The Swirl Technique
Dollop spoonfuls of the vanilla and chocolate batters alternately into the prepared loaf pan. Once all the batter is in the pan, use a butter knife or a wooden skewer to gently swirl the batters together. Create figure-eight motions, but be careful not to over-swirl, or you'll lose the distinct marbling effect.Step 8: Bake and Cool
Bake in the preheated oven for 45 to 55 minutes, or until a toothpick inserted into the center comes out clean or with a few moist crumbs. Let the cake cool in the pan for 15 minutes before using the parchment paper overhang to lift it out onto a wire rack to cool completely.