Ingredients
Method
Step 1: Select and Prepare the Ultimate Banana
Begin by selecting the correct fruit. Your banana must be heavily speckled with brown and black spots; a yellow or slightly green banana contains too much resistant starch and will yield a dry, flavorless, chalky cake. Peel exactly half of the ripe banana and place it directly into the bottom of a large, 12-ounce to 15-ounce microwave-safe ceramic mug.Step 2: The Mashing Process
Using the back of a standard dinner fork, aggressively mash the banana against the bottom and sides of the mug. You must continue mashing until the banana is almost entirely liquified, resembling the texture of baby food. Any large, un-mashed chunks of banana will turn into slimy pockets of moisture when microwaved, ruining the structural integrity of the cake.Step 3: Incorporate the Wet Elements
Into the liquified banana mash, pour your unsweetened almond milk, melted coconut oil, and pure vanilla extract. Use your fork to whisk these wet ingredients together vigorously for about 15 seconds. Ensure the oil is fully emulsified into the milk and banana mixture so it does not separate during the rapid cooking process.Step 4: Add the Dry Matrix
Sprinkle the 3 tablespoons of oat flour, the ¼ teaspoon of baking powder, the ground cinnamon, and the pinch of sea salt directly on top of the wet mixture in the mug. Pro Tip: Ensure your baking powder is fresh. If it is expired, the rapid lift required in the microwave will fail, resulting in a dense, inedible brick.Step 5: The Gentle Fold
Using a small silicone spatula or a spoon, gently fold the dry ingredients into the wet ingredients. Scrape the very bottom edge of the mug to ensure no pockets of dry oat flour are hiding in the corners. Stir strictly until the ingredients are just combined; overmixing oat flour can cause it to become unpleasantly gummy. If you are adding dark chocolate chips or walnuts, gently fold them in now.Step 6: Microwave Mastery
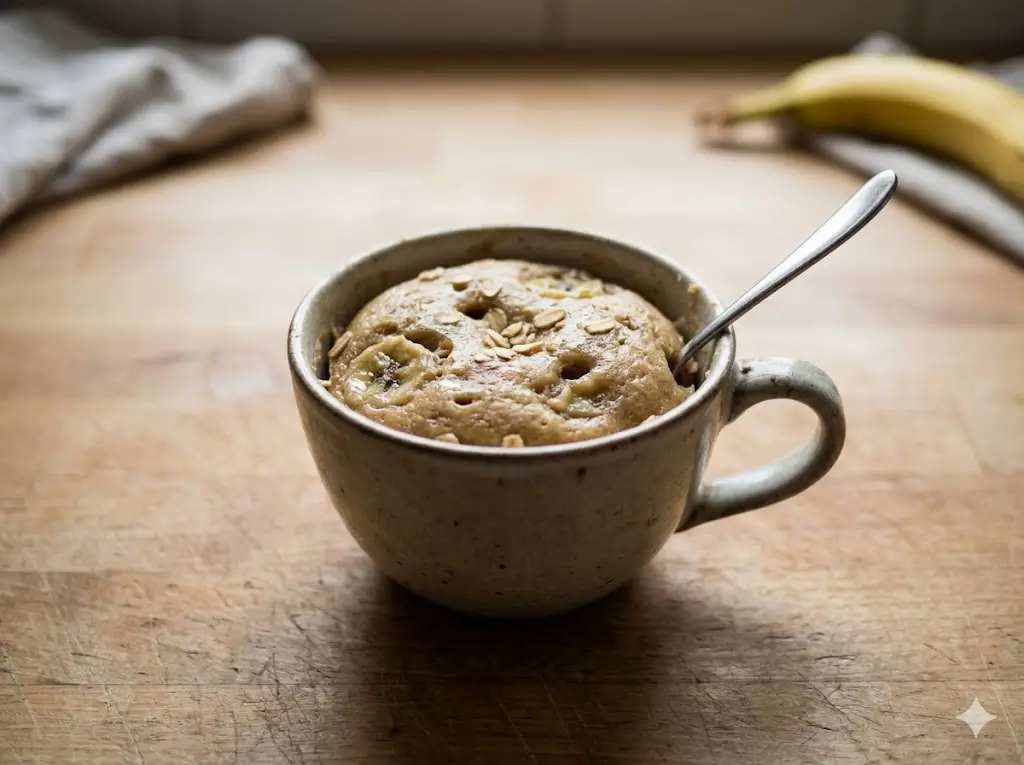
Place the mug directly in the center of your microwave. Microwave on high power (usually 1000W to 1200W) for exactly 90 seconds. Keep a close eye on the mug through the glass door; the batter will rapidly puff up and rise, sometimes cresting slightly above the rim of the mug. Do not panic; as long as you used a large enough mug, it will settle back down once the microwave stops. If the top still looks wet and gooey after 90 seconds, add an additional 15 seconds.Step 7: The Mandatory Resting Period
This is the most frequently ignored step in microwave baking. When you carefully remove the mug (the handle may be hot), you must let it sit on the counter undisturbed for 2 to 3 minutes before eating. The intense heat generated by the microwave means the interior of the cake is still rapidly carry-over cooking. Digging in immediately will result in a burned tongue and a slightly gummy texture. Let it rest, set, and gently cool.