Ingredients
Equipment
Method
Step 1: Prepare Your Pans and Oven
Preheat your oven to 325°F (165°C). A slightly lower temperature ensures this deep cake bakes evenly without burning the exterior. Generously grease and flour both your dome pan and your 8-inch round pan. For a deep dive into pan preparation, you can reference master the cake 100 recipes from simple to showstopping.Step 2: Mix the Dry and Wet Ingredients
In a medium bowl, whisk together your flour and baking powder. In your stand mixer fitted with a paddle attachment, cream the softened butter and granulated sugar on medium-high speed for about 5 minutes until pale and incredibly fluffy.Step 3: Emulsify the Batter
Reduce the mixer speed to low and add the room-temperature eggs one at a time, ensuring each is fully incorporated before adding the next. Pour in the rich vanilla extract. Slowly alternate adding the dry flour mixture and the milk, beginning and ending with the flour. Stop mixing as soon as the batter is combined to avoid a tough cake.Step 4: Bake to Golden Perfection
Pour the batter into the prepared pans, filling the dome pan about 3/4 full and pouring the remaining batter into the round pan. Insert your heating core into the center of the dome pan. Bake the round cake for 30 minutes and the dome cake for 55-65 minutes. A wooden skewer inserted into the center should come out completely clean.Step 5: Cool and Level
Let the cakes cool in their pans for 15 minutes before turning them out onto wire racks to cool completely. Once cold, use a serrated knife to level the flat bottoms of both cakes. Stacking flat cakes is a foundational skill we discuss extensively in mastering the art of traditional layer cakes.Step 6: Assemble the Skirt Structure
Place the 8-inch round cake on your cake board. Spread a thin layer of buttercream over it, then place the flat side of the dome cake directly on top. Using your apple corer, gently carve a vertical hole down the very center of the stacked cakes.Step 7: Crumb Coat and Chill
Insert your plastic-wrapped doll into the center hole. Using your offset spatula, apply a thin "crumb coat" of uncolored buttercream all over the skirt to lock in any loose crumbs. Place the cake in the refrigerator for 30 minutes to firm up.Step 8: The Final Decorating Polish
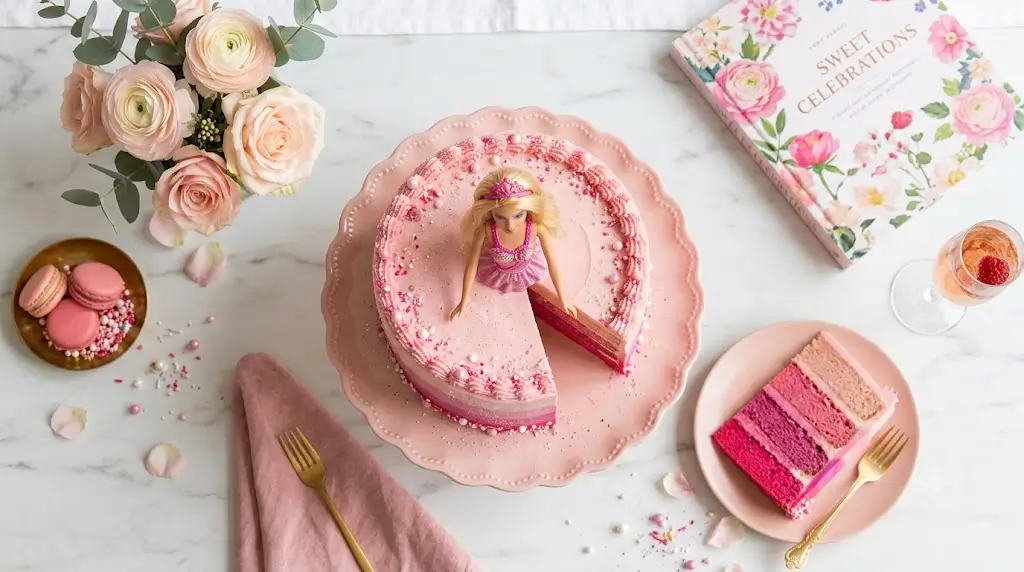
Whip your remaining buttercream with a few drops of pink gel food coloring until you achieve your desired vibrant hue. Apply a thick, smooth layer over the chilled skirt. For an elegant, vintage-inspired look, use a star tip to pipe intricate ruffles around the base, a technique beautifully highlighted in the granny chic renaissance modern lambeth piping. Pipe a matching bodice directly onto the doll to seamlessly connect her to the cake.