Ingredients
Equipment
Method
Step 1: Bake the Chocolate Base
Preheat your oven to 350°F (175°C). Line the bottom of your 9-inch springform pan with parchment paper and grease the sides lightly. In a large bowl, whisk together the flour, sugar, cocoa powder, baking soda, baking powder, and salt. Add the milk, oil, and egg, beating until smooth. Carefully pour in the hot water or coffee, mixing until the batter is thin and glossy. Pour the batter into your prepared pan and bake for 22-25 minutes, or until a toothpick comes out clean. Let the cake cool entirely in the pan.Step 2: Create the Hot Fudge Crunch Layer
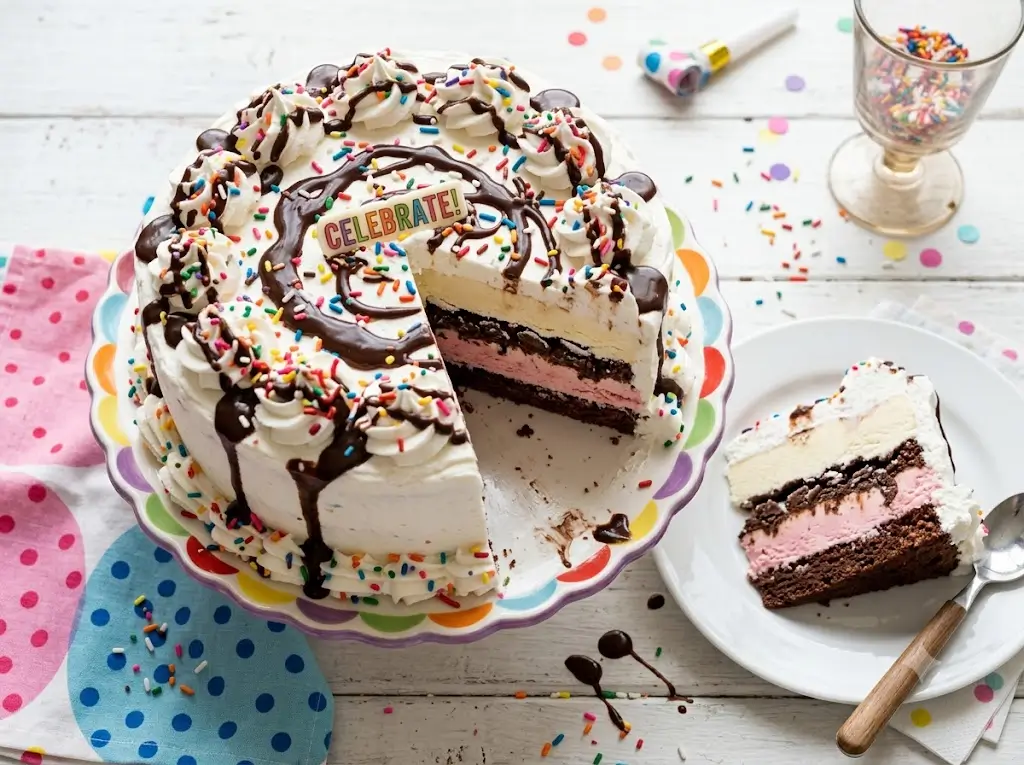
Once the cake has reached room temperature, it is time to build the iconic crunch center. In a medium bowl, combine your crushed chocolate sandwich cookies with the slightly warmed hot fudge sauce. Stir until all the cookie crumbs are thoroughly coated. Gently spread this sticky, crunchy mixture evenly over the top of the cooled chocolate cake inside the springform pan. Place the pan in the freezer for at least 30 minutes to harden this barrier layer.Step 3: Soften and Spread the Ice Cream
Take your chosen ice cream out of the freezer and let it sit at room temperature for about 15-20 minutes until it reaches a spreadable, soft-serve consistency. Do not let it melt into a liquid, as this will result in a hard, icy texture when refrozen. Scoop the softened ice cream over the frozen crunch layer. Use your offset spatula to press it down firmly, removing any air pockets, and smooth the top into a perfectly flat surface. Return the pan to the freezer for a minimum of 4 hours, or until completely solid.Step 4: Prepare the Stabilized Whipped Frosting
To ensure your frosting looks professional, we use stabilized whipped cream. Bloom the gelatin in the cold water for 5 minutes, then microwave it for 5-10 seconds until it turns liquid. Let it cool slightly. In your chilled mixer bowl, whip the heavy cream and powdered sugar until soft peaks form. With the mixer running on low, slowly drizzle in the liquid gelatin. Increase the speed and whip until stiff, pipeable peaks form.Step 5: Frost and Decorate
Remove the frozen cake from the springform pan. If you used an acetate collar, peel it away to reveal stunning, distinct layers. Working quickly, use your offset spatula to coat the top and sides of the cake with the whipped cream. For an extra touch of nostalgia, pipe decorative borders around the top and bottom edges. If you want to dive deep into vintage piping styles, refer to the granny chic renaissance modern lambeth piping. Return the fully frosted dessert to the freezer for another 2 hours to set completely before serving.