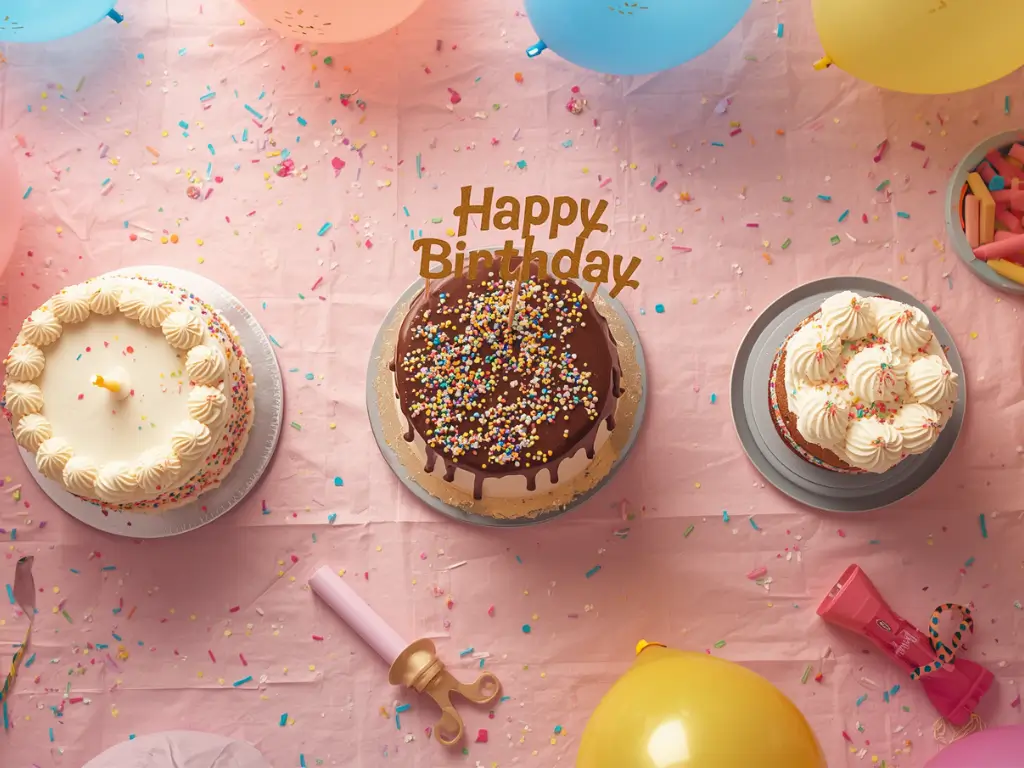
Step 1: The Room Temperature Mandate
Ensure every cold ingredient—eggs, butter, and buttermilk—reaches exactly 68-70°F (20-21°C) before you begin. Data from food laboratories shows that ingredients at room temperature emulsify 30% more effectively, creating a uniform fat distribution that prevents "tunneling" (large, unwanted air pockets) in your birthday cakes.Step 2: The Reverse Creaming Method
Unlike traditional creaming, start by mixing your dry ingredients (flour, sugar, baking powder, salt) with the softened butter until the mixture resembles coarse sand. This "coat the flour" technique limits gluten development, ensuring the cake is tender rather than bready. Once the fat is incorporated, slowly add your liquids and eggs.Step 3: Precision Leveling and The Bake
Divide the batter evenly into three 8-inch round pans. Use a digital scale to ensure each pan has the exact same weight—this ensures uniform baking. Bake at 325°F (163°C). The slightly lower temperature (compared to the standard 350°F) prevents the edges from drying out before the center is set, resulting in a perfectly flat top that requires less trimming.Step 4: The Essential Crumb Coat
Once the cakes are completely cool, apply a very thin layer of buttercream to the top and sides of the stacked layers. This "crumb coat" acts as a primer, sealing in loose crumbs and providing a stable base for the final decorative layer. Chill the cake for 20 minutes to set this layer before proceeding.Step 5: Final Architecture and Decor
Apply the remaining buttercream with an offset spatula. For a professional finish, use a bench scraper held at a 45-degree angle to the cake while spinning a turntable. This creates the sharp, clean lines associated with high-end birthday cakes. Finish with sprinkles or piped borders while the frosting is still fresh and tacky.