Ingredients
Equipment
Method
Step 1: Prepare the Vanilla Sponge Batter
Preheat your oven to 350°F (175°C). Grease your 8-inch pans and line the bottoms with parchment paper. In a medium bowl, whisk together the cake flour, baking powder, baking soda, and salt. In the bowl of your stand mixer, cream the softened butter and granulated sugar on medium-high speed for 4 to 5 minutes until it becomes pale, fluffy, and significantly increased in volume. This aeration step is critical for a light texture.Step 2: Incorporate Eggs and Wet Ingredients
Add the room-temperature eggs one at a time, mixing well after each addition and scraping down the sides of the bowl. Pour in the vanilla extract. Reduce the mixer speed to low and add the dry ingredients in three parts, alternating with the buttermilk. Begin and end with the dry ingredients. Mix just until combined. To master the science of emulsion in batters like this, review mastering the art of traditional layer cakes.Step 3: Bake to Perfection
Divide the batter evenly between the prepared pans. Smooth the tops with a spatula and tap the pans gently on the counter to release any trapped air bubbles. Bake for 30 to 35 minutes, or until a toothpick inserted into the center comes out clean. Let the cakes cool in their pans for 10 minutes before turning them out onto wire racks to cool completely.Step 4: Whip the Buttercream Frosting
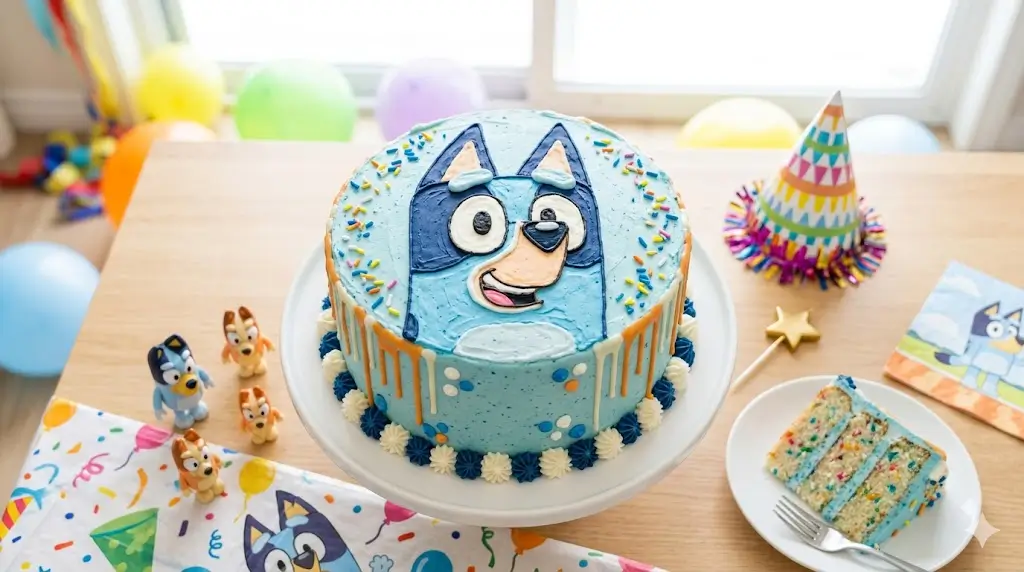
While the cakes cool, clean your mixing bowl and beat the remaining 1 cup of softened butter for 5 minutes until it is almost white. Gradually add the sifted confectioners' sugar, one cup at a time, mixing on low speed. Add the vanilla extract and a splash of heavy cream if the frosting is too stiff. Beat on high for another 3 minutes until light and cloud-like.Step 5: Tint the Frosting
Divide the frosting into three bowls. Leave a small amount white for the character's eyes. Tint the largest portion sky blue for the base of the cake, and tint the remaining portion royal/navy blue for the spots and ears. Remember that gel colors deepen as they sit, so mix the colors an hour ahead of time if possible.Step 6: Assemble, Crumb Coat, and Decorate
Level your cooled cakes using a serrated knife. Place the first layer on a cake stand, add a layer of sky blue frosting, and top with the second cake. Apply a very thin layer of frosting all over the outside—this is your crumb coat—and chill the cake in the fridge for 20 minutes. Once set, apply the final thick layer of sky blue frosting, using your bench scraper to smooth the sides. Use your darker blue frosting in a piping bag to create spots, ears, and borders.