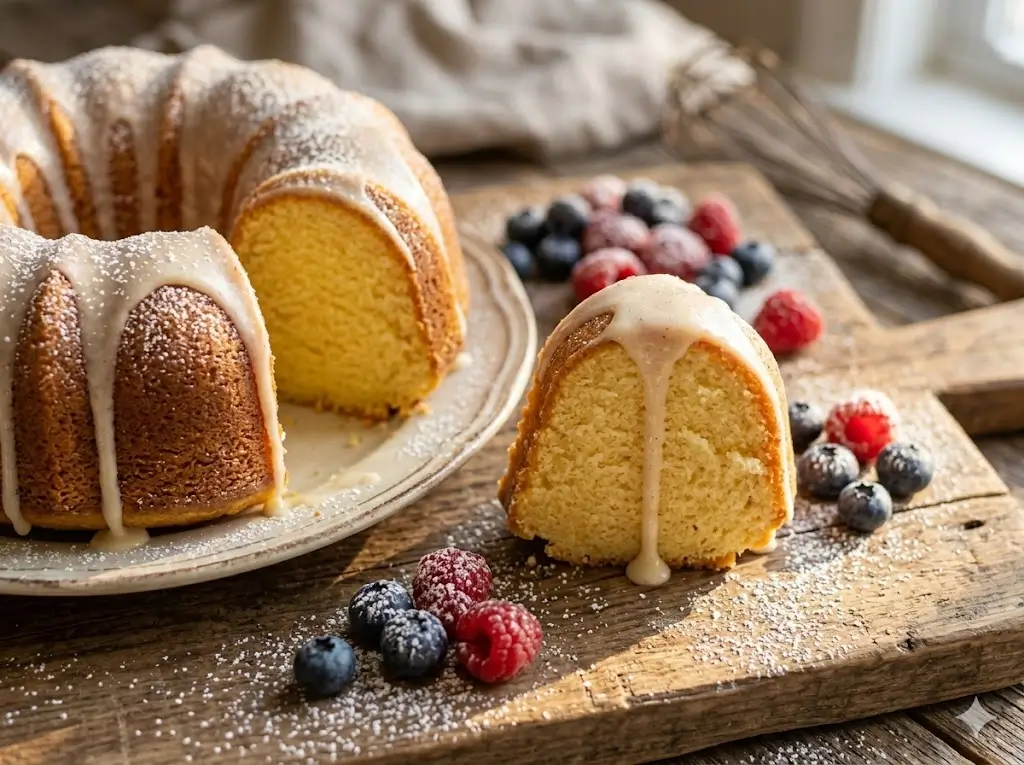
Step 1: The Foolproof Pan Prep
Preheat your oven to 350°F (175°C). The secret to a cake that will release perfectly is in the grease. Skip the standard aerosol baking spray. Instead, use a pastry brush to coat every single crevice of your fluted pan with melted vegetable shortening, followed by a light, even dusting of flour (or cocoa powder if making a chocolate cake). Actionable Tip: Do not prep your pan too early! If you grease the pan before you start your batter, the oil can slide down the non-stick sides and pool at the bottom, leading to a fried, uneven top. Grease it right before you pour.Step 2: Creaming for Maximum Aeration
In the bowl of a stand mixer fitted with a paddle attachment, beat the softened butter and granulated sugar on medium-high speed for a full 4 to 5 minutes. The mixture should transform into a pale, fluffy, cloud-like texture. Add the room-temperature eggs one at a time, allowing each to fully incorporate before adding the next, followed by the vanilla.Step 3: The Alternating Method
In a separate medium bowl, whisk together the flour, baking powder, baking soda, and salt. Turn your mixer down to its lowest speed. Add the dry ingredients in three batches, alternating with the buttermilk in two batches (Dry-Wet-Dry-Wet-Dry). Actionable Tip: Mix just until the flour streaks disappear. Overmixing at this stage overworks the gluten, which leads to a dense, tough crumb structure rather than a tender bite.Step 4: Filling and Dislodging Air Bubbles
Carefully spoon the thick batter into your prepared pan, smoothing the top with a silicone spatula so it is level. Tap the pan firmly on your kitchen counter three or four times. This forces trapped air bubbles to rise to the surface, preventing unsightly craters on the outside of your baked cake.Step 5: The Science of Baking and Cooling
Bake on the middle rack for 50 to 55 minutes. You will know it is done when a wooden skewer inserted into the thickest part comes out clean, and the edges pull slightly away from the pan. Actionable Tip: The cooling time is critical. Let the pan sit on a wire cooling rack for exactly 10 minutes before inverting. If you flip it too soon, the delicate cake will tear; if you wait too long, the sugars will cement the cake to the pan.