Ingredients
Equipment
Method
Step 1: Preparing the Kitchen and Pans
Begin by preheating your oven to 350°F (175°C). Use an oven thermometer to verify the temperature, as many home ovens run hot or cold. Prepare your three 8-inch round cake pans by coating the insides with a thin layer of butter or non-stick baking spray. Place a parchment paper round at the bottom of each pan. This guarantees your layers will release perfectly every time. If you want to scale this down for a very small gathering, you might find our small-batch baking: the cakes for two handbook incredibly useful.Step 2: Mixing the Dry and Wet Ingredients
In a medium mixing bowl, vigorously whisk together the all-purpose flour, baking powder, baking soda, and kosher salt. This aeration distributes the leavening agents evenly. In the bowl of your stand mixer fitted with the paddle attachment, beat the softened unsalted butter on medium speed for about 2 minutes until creamy. Gradually pour in the granulated sugar and continue to beat on medium-high for 3 to 4 minutes. The mixture should become pale yellow and fluffy. This creaming step is vital; it forces tiny air bubbles into the fat, which expand in the oven and give the layers their lift.Step 3: Incorporating Eggs and Flavor
Reduce the mixer speed to low. Add the room-temperature eggs one at a time, ensuring each egg is fully incorporated before adding the next. Stop the mixer occasionally to scrape down the sides and bottom of the bowl with a rubber spatula. Pour in the vanilla extract and mix briefly. If the batter looks slightly curdled at this stage, do not panic; it will come together once the dry ingredients are added.Step 4: The Alternating Method
With the mixer on the lowest speed, add one-third of your dry flour mixture to the bowl. Mix just until the flour disappears. Next, pour in half of the buttermilk, mixing gently. Follow with another third of the flour, the remaining buttermilk, and finally the last of the flour. Stop the mixer immediately once the last streak of flour vanishes. Overmixing develops gluten, which leads to a tough, dense crumb. Finish the mixing by gently folding the batter with a spatula by hand. For more advanced foundational techniques, consult our guide on mastering the art of traditional layer cakes.Step 5: Baking to Perfection
Divide the batter evenly among the three prepared pans. To ensure uniform layers, use your digital kitchen scale to weigh the pans. Smooth the tops with an offset spatula. Bake on the middle rack of your preheated oven for 30 to 35 minutes. Do not open the oven door during the first 25 minutes, or the sudden drop in temperature may cause the centers to collapse. The layers are done when a toothpick inserted into the center comes out clean, and the edges begin to pull away slightly from the sides of the pan.Step 6: Cooling and Leveling
Remove the pans from the oven and let them cool on a wire rack for exactly 10 minutes. Carefully invert the pans to release the layers onto the racks to cool completely. Never attempt to frost a warm layer, as the buttercream will immediately melt into a disastrous puddle. Once completely cool, use a serrated knife to carefully trim off any domed tops, ensuring your layers are perfectly flat.Step 7: Crafting the Buttercream
While the layers cool, prepare your frosting. In a clean stand mixer bowl, beat the softened butter on medium-high speed for 5 minutes until it is incredibly pale and creamy. Reduce the speed to low and gradually add the sifted powdered sugar, one cup at a time. Once all the sugar is incorporated, add the vanilla extract and heavy cream. Increase the speed to medium-high and whip for another 3 to 5 minutes until the frosting is light, airy, and spreadable. Divide the frosting into separate bowls if you plan to tint it with gel food coloring to match the graduation theme. For a deeper dive into decorating aesthetics, read our modern design: the 2025 cake trend report.Step 8: Assembling and Decorating
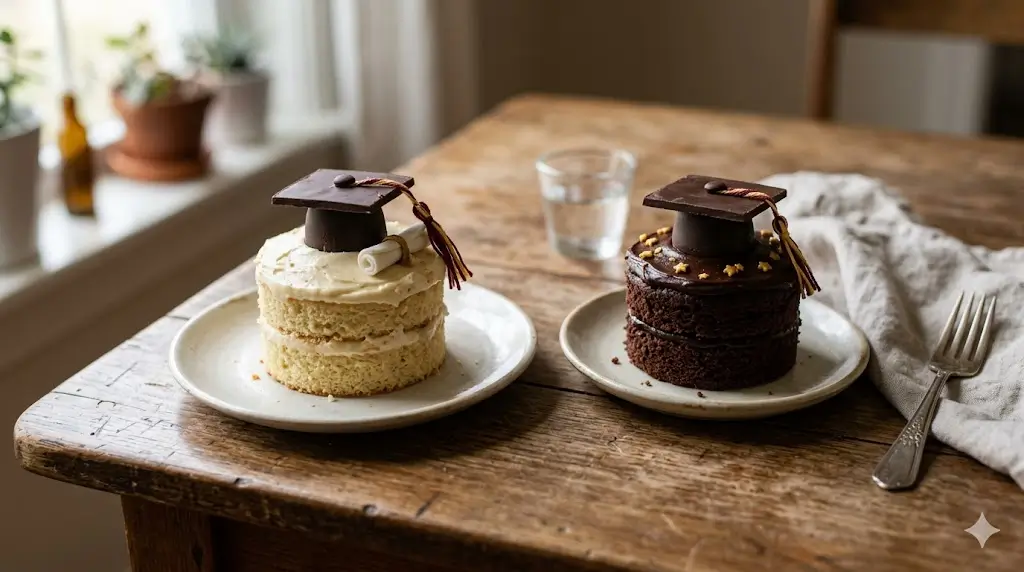
Place a small dab of buttercream on your cake board to anchor the bottom layer. Place the first layer down and spread an even layer of buttercream over the top. Repeat with the second layer, more frosting, and top with the final layer (placed bottom-side up for a perfectly flat top). Apply a very thin layer of frosting over the entire exterior—this is called a "crumb coat"—and chill the whole thing in the refrigerator for 20 minutes to lock in any loose crumbs. Finally, apply a thick, smooth layer of the remaining buttercream using your offset spatula and bench scraper. Pipe decorative borders or rosettes on top. For a truly magnificent finish, you can borrow presentation techniques from the definitive holiday showstopper guide.