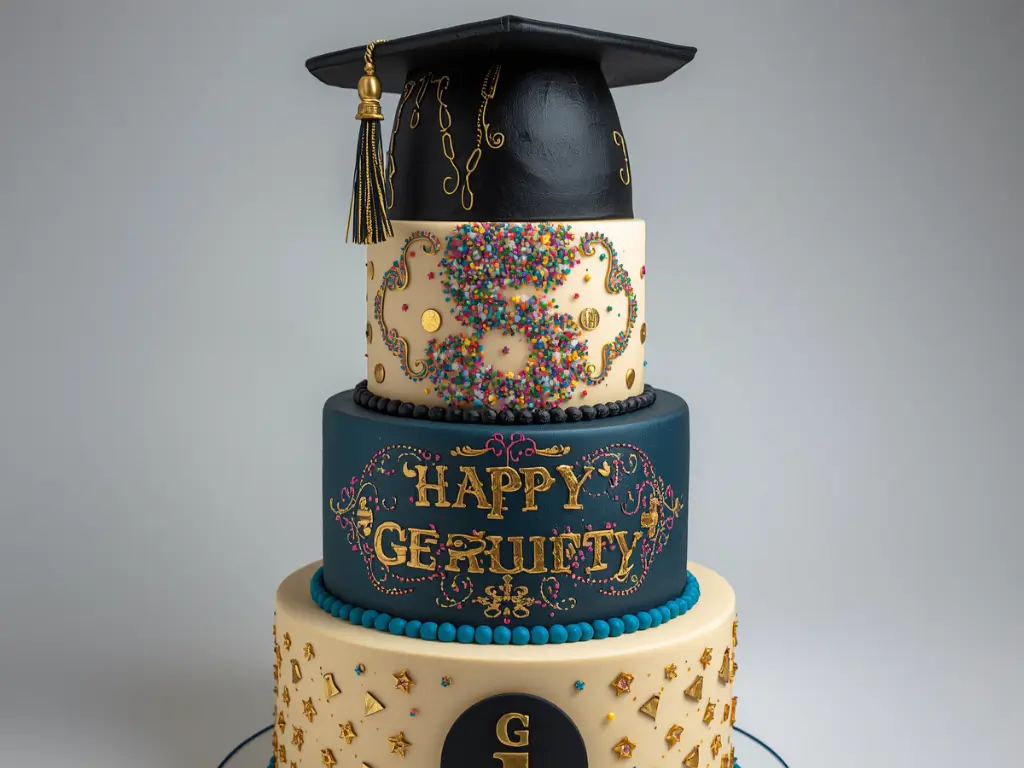
Step 1 Prepare Your Baking Station
Begin by preheating your oven to 350°F (175°C). Proper oven temperature is critical; data indicates that 30% of baking failures stem from inaccurate oven heat. Prepare two 8-inch round cake pans by greasing them thoroughly with butter and lining the bottoms with parchment paper. This actionable tip guarantees your layers will release flawlessly without sticking or crumbling.Step 2 Mix the Dry Ingredients
In a large mixing bowl, whisk together the sifted flour, granulated sugar, cocoa powder, baking soda, baking powder, and fine sea salt. Whisking not only combines the elements but also aerates the mixture, which is a professional secret for achieving a lighter, fluffier texture in your final bake.Step 3 Combine Wet Ingredients
In a separate bowl, lightly beat the room-temperature eggs. Add the whole milk, vegetable oil, and pure vanilla extract, mixing until smooth. Gradually pour the wet ingredients into the dry mixture, stirring gently. Once incorporated, carefully pour in the hot brewed coffee. The batter will seem surprisingly thin, but do not panic—this high-hydration formula is exactly what creates a beautifully moist crumb.Step 4 Bake to Perfection
Divide the thin batter evenly between your two prepared pans. Bake on the middle rack for 30 to 35 minutes. To test for doneness, insert a wooden toothpick into the center; it should come out clean or with a few moist crumbs attached. Remove the pans from the oven and let them sit for 10 minutes before carefully turning the layers out onto wire racks to cool entirely.Step 5 Decorate with Graduation Flair
Once the layers are completely cool to the touch, it is time to assemble. Beat the softened butter until creamy, gradually adding powdered sugar and heavy cream until you reach a smooth, spreadable consistency. Frost the layers evenly. Divide the remaining frosting and tint it with food coloring to match the graduate's school colors. Pipe decorative borders and top the creation with your miniature graduation cap toppers and edible fondant diplomas for a personalized finish.