Go Back
Healthy lava cake 7 best steps for gooey centers

Healthy lava cake 7 best steps for gooey centers

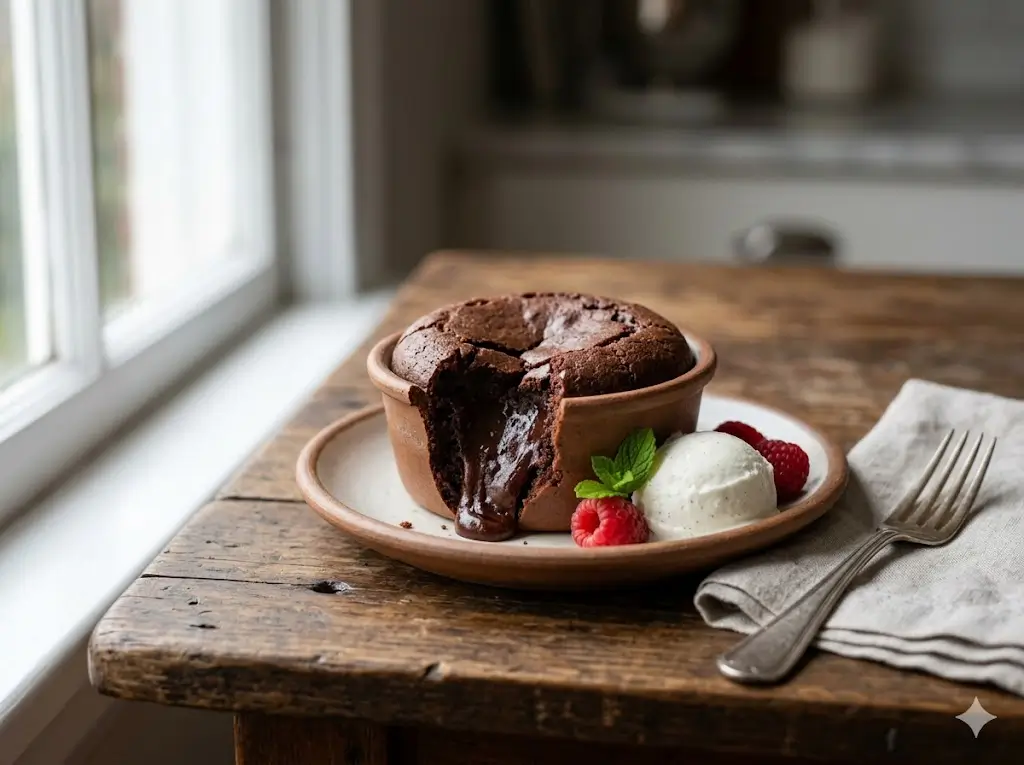
Craving a molten chocolate dessert? This healthy lava cake satisfies your sweet tooth with fewer calories and rich flavor. Discover your new favorite treat!
Prep Time 15 minutes
Cook Time 15 minutes
Total Time 29 minutes
Servings: 4 people
Course: Dessert
Cuisine: American
Calories: 150

Ingredients
  

The Chocolate Core:4 ounces of premium quality, 70% to 85% cacao dark chocolate baking bars (not chips). High-percentage dark chocolate is loaded with flavonoids and antioxidants, providing deep flavor without the excessive refined sugars found in standard semi-sweet morsels.¼ cup of virgin, unrefined coconut oil. This acts as the primary fat source, offering medium-chain triglycerides (MCTs) that the body easily converts into usable energy rather than storing as adipose tissue.The Binding Agents & Sweeteners:2 large pasture-raised eggs, plus 2 additional pasture-raised egg yolks. The extra yolks provide the necessary lipid density and emulsification required to create that signature, velvety "lava" texture when heated. Ensure they are completely at room temperature.⅓ cup of coconut sugar or a granulated monk fruit sweetener blend. Coconut sugar provides a lower glycemic index and a subtle caramel note, preventing the harsh blood sugar spikes associated with bleached white sugar.1 teaspoon of pure, high-quality Madagascar bourbon vanilla extract. Vanilla scientifically enhances the perception of sweetness and rounds out the bitter notes of the dark cacao.The Dry Structure:2 tablespoons of superfine blanched almond flour. Because lava cakes require minimal gluten development to remain tender, almond flour is structurally perfect, adding a nutty richness and a boost of vitamin E.1 tablespoon of unsweetened Dutch-process cocoa powder, primarily used for dusting the ramekins to ensure a flawless release from the baking vessels.¼ teaspoon of fine Himalayan pink salt. Salt is not optional; it actively suppresses the brain's perception of bitterness and massively amplifies the depth of the chocolate flavor profile.
Method
 

  1. Step-by-Step Instructions

    Step 1: Prepare the Ramekins with Precision

    First, preheat your oven to a blazing 425°F (220°C). High heat is the absolute critical secret to this dessert, as it rapidly sets the outside crumb while leaving the core completely liquid. Take two 6-ounce ceramic ramekins and grease them aggressively with coconut oil. Next, dust the insides generously with your Dutch-process cocoa powder, tapping out any excess. This creates a non-stick barrier that ensures the cake releases smoothly.

    Step 2: Melt the Chocolate and Oil Emulsion

    Create a makeshift double boiler by placing a heat-proof glass bowl over a small saucepan of gently simmering water (ensure the bottom of the bowl does not touch the water). Add your roughly chopped dark chocolate and coconut oil. Stir gently and constantly with a silicone spatula until the mixture is 100% melted, glossy, and perfectly smooth. Remove from the heat and let it cool slightly for three minutes so you don't accidentally scramble your eggs in the next step.

    Step 3: Aerate the Eggs and Sugar

    In a separate, medium-sized mixing bowl, combine your room-temperature eggs, the extra egg yolks, the coconut sugar (or monk fruit sweetener), the pure vanilla extract, and the fine Himalayan pink salt. Using an electric hand mixer on medium-high speed, beat this mixture vigorously for roughly 2 to 3 minutes. You are looking for the mixture to become significantly paler in color, noticeably thickened, and slightly frothy. This aeration is crucial for the cake's delicate lift.

    Step 4: The Gentle Integration

    Gradually pour the slightly cooled, melted chocolate mixture into your aerated egg mixture. Using a flexible silicone spatula, fold the two liquids together using a sweeping, bottom-to-top motion until fully incorporated. Do not use the electric mixer for this step, as you will deflate the precious air bubbles you just created.

    Step 5: Incorporate the Almond Flour

    Once the wet batter is uniform, gently sprinkle the 2 tablespoons of superfine almond flour over the top of the batter. Fold it in with the same gentle, sweeping motion just until the white streaks of almond flour disappear. Overmixing here will yield a denser, heavier crumb, which you want to avoid. Because this recipe yields exactly two portions, it perfectly utilizes the philosophies found in the small-batch baking the cakes for two handbook.

    Step 6: Bake for Molten Success

    Divide the rich, dark batter evenly between your two prepared ramekins. Place the ramekins on a small metal baking sheet for stability and transfer them to the center rack of your preheated 425°F oven. Bake for exactly 9 to 11 minutes. The critical indicator of doneness is when the outer edges look firm, dry, and slightly pulled away from the ramekin, but the very center (about the size of a quarter) still looks slightly sunken and jiggles when gently shaken.

    Step 7: The Masterful Inversion

    Remove the baking sheet from the oven and let the ramekins sit completely undisturbed for exactly 1 minute. Place a dessert plate upside down over the top of the hot ramekin. Using oven mitts to protect your hands, securely grip the plate and ramekin together and swiftly invert them. Let it sit for 10 seconds to allow gravity to pull the cake down, then gently lift the ramekin straight up to reveal your perfect dessert.