Ingredients
Method
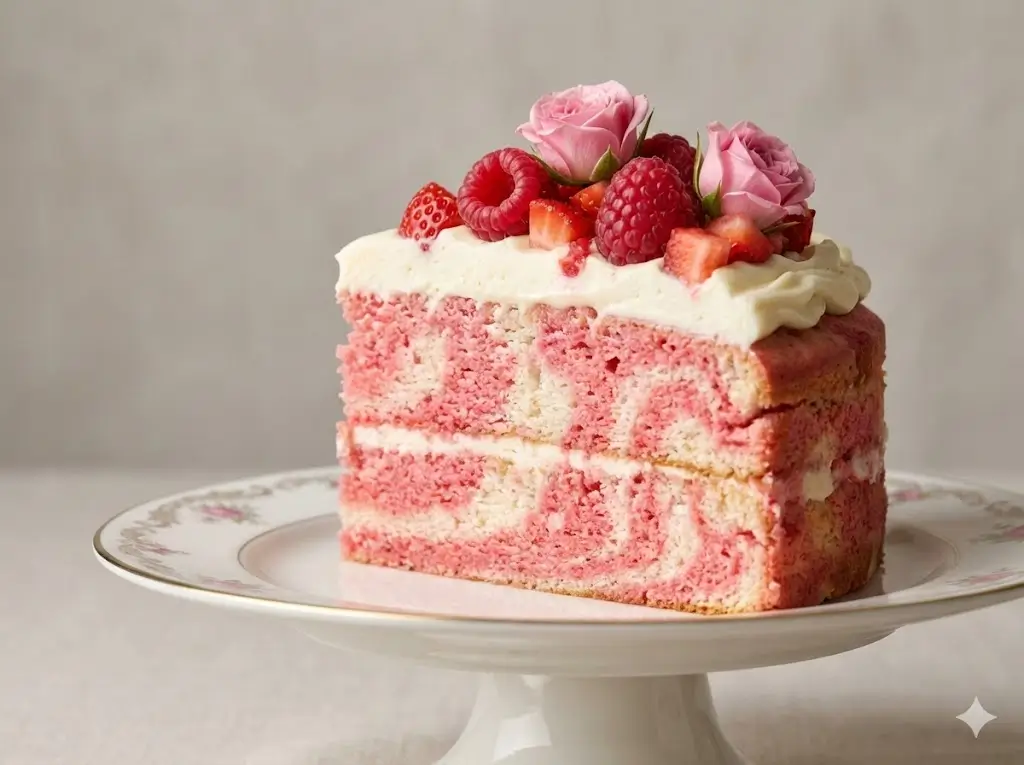
Step 1: Baking the Velvet-Soft Sponges
Start by preheating your oven to 350°F (175°C). Prepare three 6-inch round cake pans by greasing them and lining the bottoms with parchment paper. In a large bowl, cream the softened butter and sugar together for exactly 4 minutes until pale and fluffy—this aeration is scientifically proven to increase cake volume by up to 15%. Beat in the eggs one at a time, followed by the vanilla bean paste. Alternate adding your dry ingredients (flour, baking powder, salt) and the buttermilk, beginning and ending with the dry mix. Divide the batter evenly, bake for 35-40 minutes, and let them cool completely. Pro Tip: Dropping the filled pans onto the counter once before baking releases trapped air bubbles, ensuring a flat, professional top.Step 2: Whipping Up the Cloud-Like Buttercream
Swiss Meringue Buttercream is the preferred choice for coquette cakes because of its silky texture and supreme pipeability. Create a double boiler by placing a heatproof bowl over a pot of simmering water. Whisk the egg whites and sugar until the mixture reaches 160°F (71°C) on a candy thermometer—this makes the eggs safe to consume and dissolves the sugar entirely. Transfer to a stand mixer and whip on high until stiff, glossy peaks form and the bowl is cool to the touch (about 10 minutes). Slowly add the cool butter cubes one at a time, whipping until the frosting transforms into a smooth, cloud-like consistency.Step 3: The Crumb Coat and Chill
A flawless exterior requires a sturdy foundation. Level your cooled cake layers using a serrated knife. Place the first layer on a cake turntable, spread an even layer of buttercream, and repeat. Once stacked, apply a very thin layer of buttercream over the entire exterior of the cake. This is called the "crumb coat," and its purpose is to trap any loose cake crumbs so they don't ruin your final aesthetic. Chill the cake in the refrigerator for 20 minutes. Data shows that skipping the crumb coat increases the likelihood of a messy final layer by 80%.Step 4: Achieving the Perfect Pastel Base
Divide your remaining buttercream. Keep a small portion white for piping details, and tint the rest with your chosen pastel gel food coloring. Dip a toothpick into the gel and swirl it into the frosting—remember, the coquette aesthetic is soft and muted, so less is more. Apply a thick, even layer of the pastel frosting over the chilled crumb coat. Use a bench scraper, holding it at a 45-degree angle against the cake, and slowly spin the turntable to achieve a razor-sharp, smooth finish.Step 5: Piping and Bow Placement (The Coquette Magic)
This is where the magic happens! Equip a piping bag with a star tip (like Wilton 1M or 32) and fill it with the reserved white buttercream. Pipe vintage-style shell borders along the top and bottom edges of the cake. To add the signature coquette charm, gently press edible sugar pearls into the piped borders using tweezers for precision. Finally, tie your food-safe satin ribbons into perfect, dainty bows and secure them to the sides or base of the cake using a tiny dab of buttercream as "glue."
Notes
Title
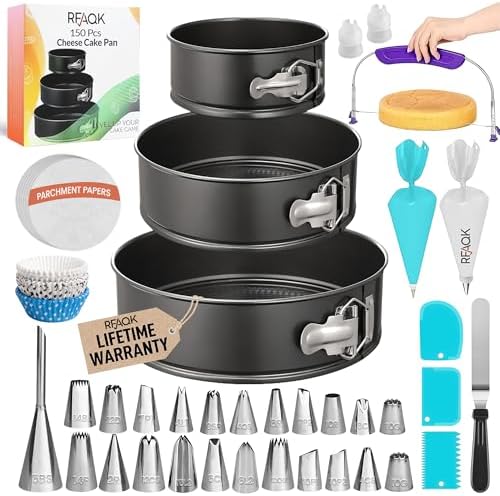
Thumbnail


Price
$20.22
$23.38
$23.98
More information
Title
Thumbnail
Price
$20.22
More information
Title
Thumbnail
Price
$23.38
More information
Title
Thumbnail
Price
$23.98
More information