Step 1: Preparing Your Equipment
Begin by preheating your oven to 350 degrees Fahrenheit. Generously grease a standard 9x5 inch loaf pan or a 10-inch Bundt pan with butter, and dust it lightly with flour to prevent sticking. Actionable tip: Using parchment paper to line your loaf pan creates a sling, making it incredibly easy to lift the baked dessert out without cracking the delicate crust.Step 2: Creaming Butter and Sugar
In a large mixing bowl, use an electric hand mixer or stand mixer to beat the softened butter and granulated sugar together on medium-high speed. Continue beating for about four to five minutes until the mixture turns pale yellow and fluffy. This aeration process is the secret to a tender, melt-in-your-mouth crumb that does not dry out.Step 3: Incorporating Eggs and Vanilla
Add the room temperature eggs to your butter mixture one at a time, beating well after each addition. Scraping down the sides of the bowl with a spatula ensures a uniform batter. Pour in the pure vanilla extract and mix until just combined.Step 4: Alternating Dry and Wet Ingredients
In a separate medium bowl, whisk together your flour, baking powder, and salt. Gradually add this dry mixture to your wet ingredients in three parts, alternating with the whole milk. Begin and end with the dry ingredients. Mix on low speed until just combined to avoid overworking the gluten, which can cause density.Step 5: Creating the Chocolate Batter
Divide the finished vanilla batter by transferring about one-third of it into a separate bowl. In a small dish, whisk the unsweetened cocoa powder and hot water until it forms a smooth, glossy paste. Fold this chocolate paste into the separated third of the batter until no streaks remain.Step 6: The Art of Swirling
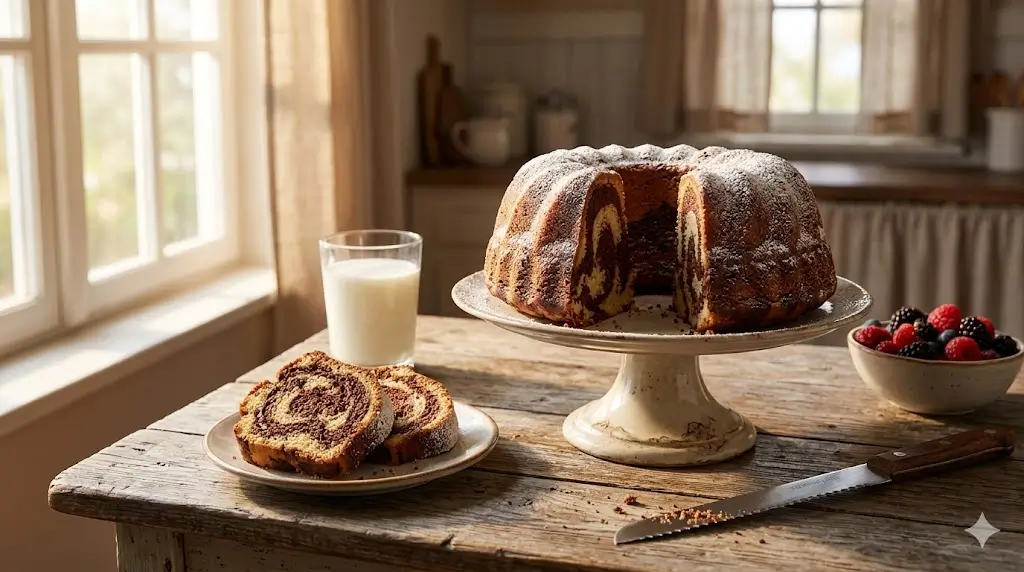
Spoon alternating dollops of vanilla and chocolate batter into your prepared pan. Once all the batter is added, take a butter knife or a wooden skewer and gently run it through the batters in a figure-eight motion. Do not over-swirl, or the distinct colors will muddy into a uniform brown.Step 7: Baking and Cooling
Bake for 55 to 60 minutes. Insert a toothpick into the center; it should come out clean. Let it rest in the pan for 15 minutes before transferring the loaf to a wire cooling rack to cool completely.