Step 1: Preparing the "Bedrock" (Baking the Layers)
Preheat your oven to 350°F (175°C). Grease and line two 8x8-inch square baking pans with parchment paper, leaving an overhang for easy removal. In a large bowl, cream the butter and sugar until pale and fluffy. Add the eggs one at a time, followed by the vanilla. Gently fold in the dry ingredients alternating with the buttermilk. Actionable Tip: Pour the batter evenly into the square pans and use an offset spatula to push the batter slightly into the corners. This prevents doming in the center and ensures perfectly flat, sharp-edged blocks.Step 2: Crafting the Blocks (Trimming and Stacking)
Once baked (about 40-45 minutes) and completely cooled, remove the square cakes from their pans. Use a serrated knife to level off any slight domes on the top. Stack the two layers with a thin spread of chocolate buttercream in between. Actionable Tip: To create a multi-level terrain effect typical of the game, carefully cut out one quadrant (a 4x4-inch square) from the top layer. This creates a "stepped" blocky landscape that looks instantly authentic.Step 3: The Crumb Coat and "Dirt" Application
Cover the entire exterior of the stacked cakes with a thin, even layer of chocolate buttercream. This is your "crumb coat" and acts as the game's bedrock. While the frosting is still sticky, take your crushed chocolate cookies and press them gently against the bottom half of the cake's sides to simulate realistic dirt blocks. Actionable Tip: Do this on a rimmed baking sheet to catch the falling cookie crumbs, saving you a massive kitchen cleanup!Step 4: Piping the "Grass" Layer (The Star Tip Technique)
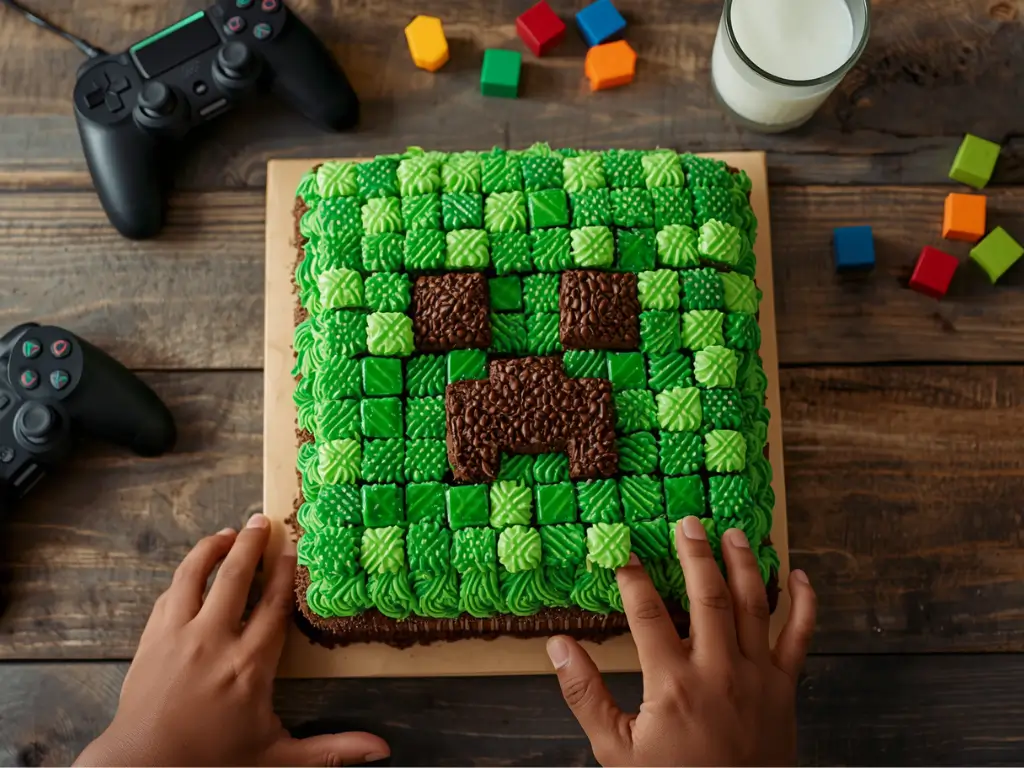
In a separate bowl, whip your butter, powdered sugar, and cream to create the vanilla buttercream. Tint it with green food coloring until you reach a vibrant, grassy hue. Fit a piping bag with a multi-opening "grass" tip (like Wilton 233) or a small star tip. Pipe short, upward bursts of frosting over the top surfaces of the cake and slightly dripping over the top edges. Actionable Tip: Squeeze the bag, pull up, and release the pressure simultaneously to create lifelike blades of pixelated grass.Step 5: Adding the Decorative Gamer Elements
Now for the fun part that kids adore! Populate your grassy terrain with official mini-figures like Creepers, Steve, pigs, or TNT blocks. You can also craft small squares out of colored fondant to look like valuable diamond or gold ores. Place them strategically around the "stepped" edges of your cake.