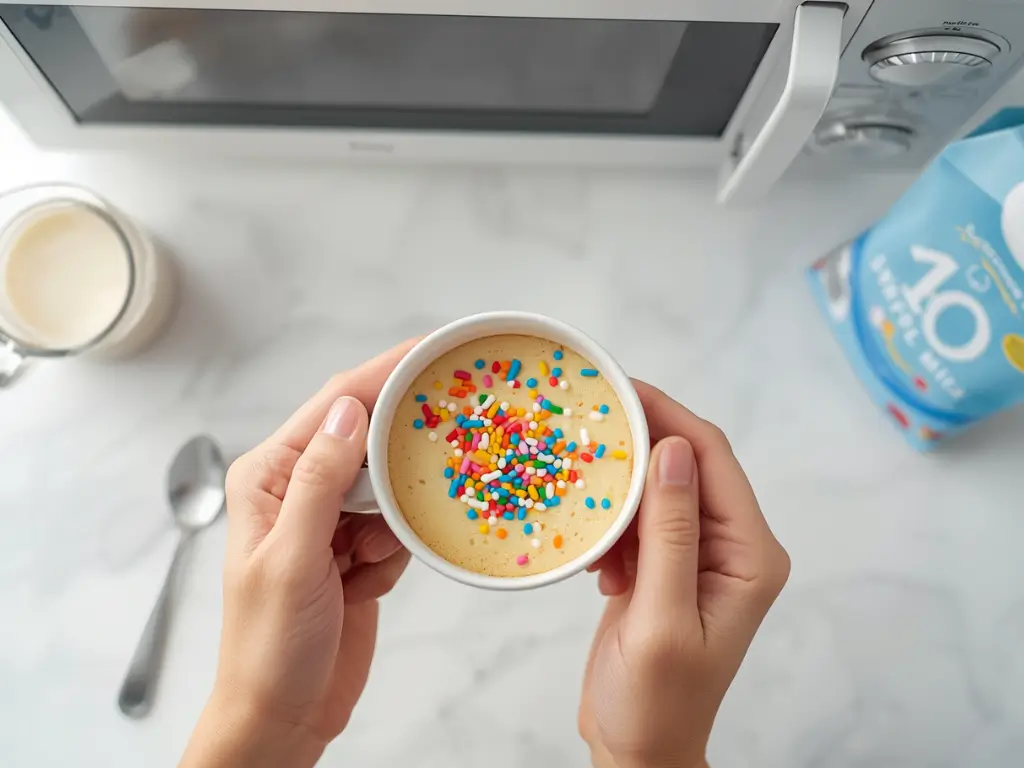
Step 1: Whisking the Dry Foundation
Start by selecting a microwave-safe mug with at least a 12-ounce capacity. A common mistake is using a small coffee cup that doesn't allow for the "rise." Add your flour, cocoa powder, sugar, baking powder, and salt directly into the mug. Use a small whisk or a fork to stir these ingredients until the color is uniform. Breaking up any cocoa clumps now ensures a smooth, velvet-like texture later.Step 2: Incorporating the Liquid Gold
Create a small well in the center of your dry ingredients. Pour in the milk, oil, and vanilla extract. Stir gently but thoroughly. You want to reach the bottom "corners" of the mug where dry flour often hides. The batter should look glossy and thick, similar to a traditional brownie batter. Do not over-mix; we want to keep the air bubbles intact to ensure a light, airy rise.Step 3: Engineering the Molten Lava Center
This is the "pro-tip" that elevates a standard microwave sponge into a gourmet experience. Take your chocolate hazelnut spread or a high-quality dark chocolate square and drop it right into the center of the batter. Do not stir it in. As the microwave waves penetrate the cake, this center will melt at a different rate than the batter sets, creating a warm, liquid core that mimics a professional fondant.Step 4: The Precision Microwave Burst
Place your mug on the outer edge of the microwave turntable (not the center) to ensure more even heat distribution. Microwave on high for 60 seconds. You will see the cake rise significantly—sometimes even above the rim—before settling back down. A key indicator of readiness is a slightly "tacky" but not wet top. If it looks raw, add 10-second bursts, but be careful: every extra second increases the risk of the proteins becoming rubbery.Step 5: The Essential Resting Phase
Resistance is difficult, but you must let the cake rest for 1 to 2 minutes after the microwave stops. This allows the internal steam to finish cooking the very center and permits the sugar structures to set. This rest period is the difference between a cake that falls apart and one that has a perfect, tender crumb.