Ingredients
Method
Step 1: Whisking the Dry Ingredients
Choose a large, microwave-safe mug (at least 14-ounce capacity to prevent overflowing). Add your flour, cocoa powder, sugar, baking powder, and salt directly into the mug. Use a small fork or mini whisk to thoroughly blend these dry components. Actionable Tip: Ensure there are no hidden clumps of cocoa powder at the bottom edges of the mug. A uniform dry mix guarantees an even rise.Step 2: Incorporating the Wet Elements
Pour in the milk, neutral oil, and vanilla extract. Stir the mixture gently until a smooth, thick batter forms. Be careful not to overmix; overworking the gluten in the flour can lead to a dense texture. Actionable Tip: If you are adding chocolate chips, gently fold half of them into the batter now, and sprinkle the remaining half directly on top so they melt beautifully as it cooks.Step 3: The Microwave Magic
Place your mug in the center of the microwave. Cook on high for exactly 90 seconds. Watch the cake closely through the glass—it will puff up dramatically, rising above the rim of the mug, and then settle slightly once the microwave stops. Actionable Tip: If your microwave is 1200 watts, reduce the time to 75 seconds. If it is 700 watts, you may need closer to 110 seconds. The top should look slightly sticky but spring back when gently touched.Step 4: The Crucial Cool Down
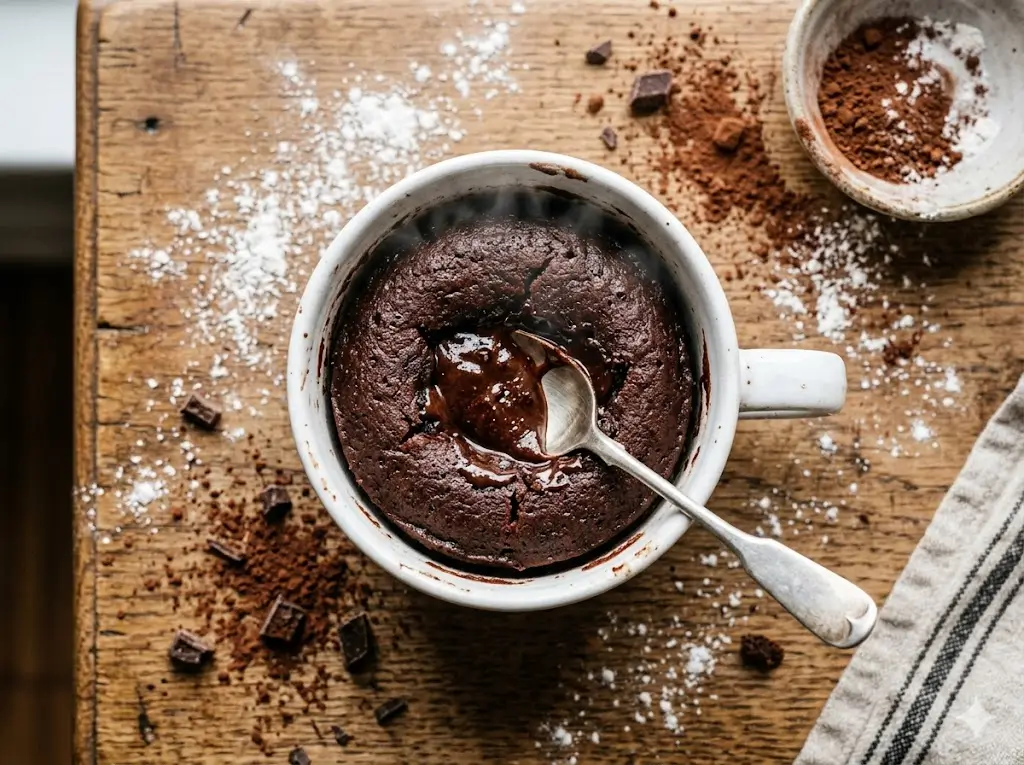
Do not dig in immediately! Carefully remove the hot mug using an oven mitt. Let the cake rest on the counter for at least 2 minutes. This resting phase allows the residual heat to finish cooking the center and helps the crumb structure stabilize. Actionable Tip: Enjoying it too hot will mask the depth of the chocolate flavor. Patience yields a superior tasting experience.
Notes