Step 1: Scientific Prep and Aeration
Start by preheating your oven to $350^{circ}F$ ($175^{circ}C$). Use a digital scale to measure your ingredients—volume measurements can be off by as much as 20% depending on how you scoop flour. Cream your butter and sugar for exactly five minutes on medium-high. This step incorporates the air bubbles necessary for the "lift" in your Valentines Cake.Step 2: The Emulsion and Color Integration
Add your eggs one at a time. This is where you incorporate your gel coloring and vanilla. Data Insight: Mixing your color into the wet fats ensures a more even, vibrant distribution than adding it to the dry flour. The result is a deep, romantic red that doesn't look "splotchy" when sliced.Step 3: The Low-Stir Folding Technique
Alternating between your dry ingredients and buttermilk, fold the mixture gently. Over-mixing at this stage is the #1 reason for a "rubbery" cake. Stop as soon as no white streaks remain. This protects the delicate air pockets you spent five minutes creating in Step 1.Step 4: The Finishing Touch
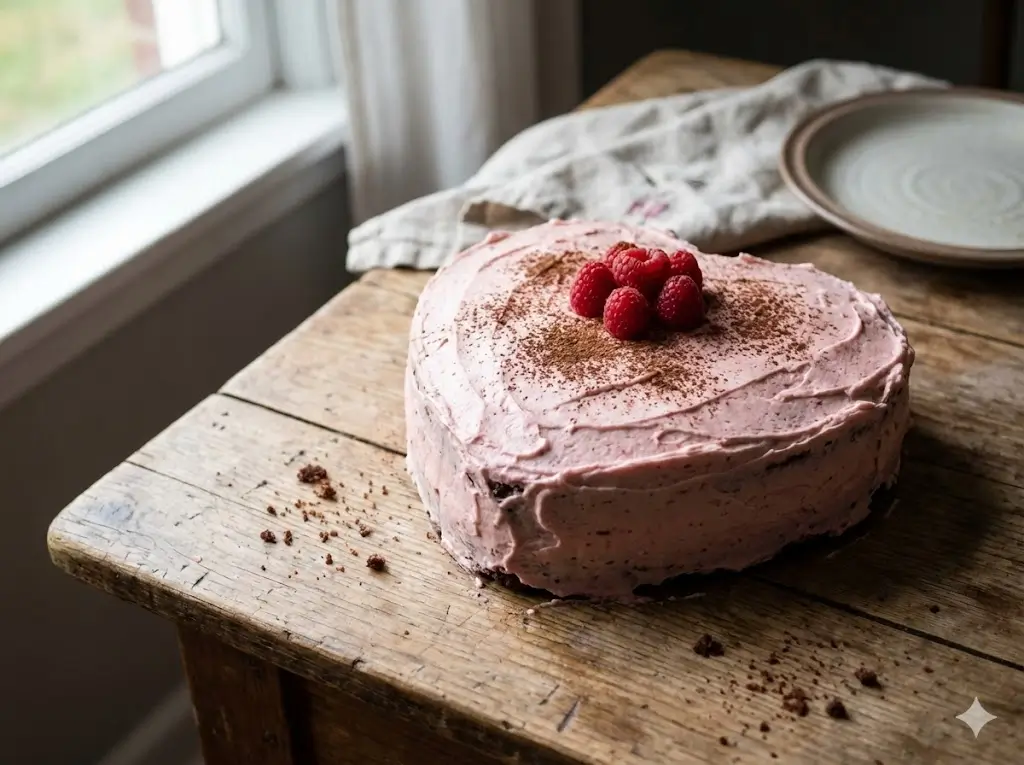
Once cooled, apply your cream cheese frosting. For a truly professional Valentines Cake look, use a piping bag to create small "rosettes" or use a bench scraper for a minimalist, smooth finish. If your kitchen is warm, chill the cake for 15 minutes before serving to ensure the frosting has the perfect "snap."