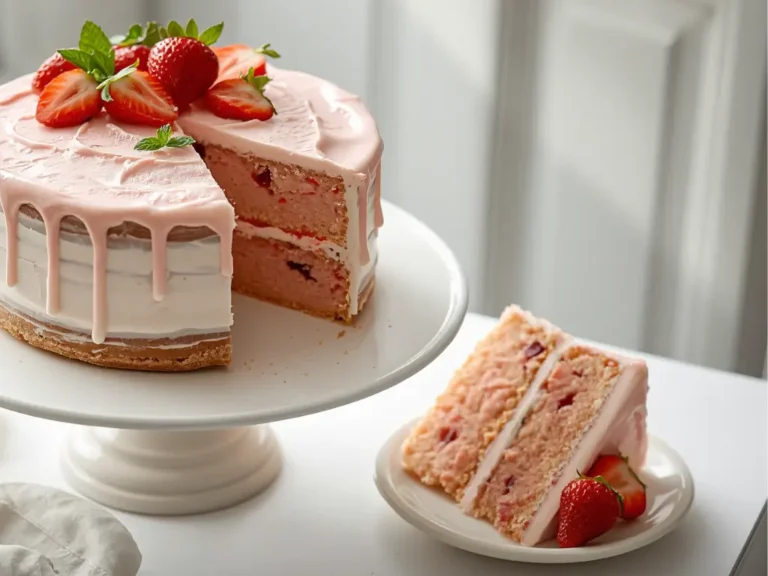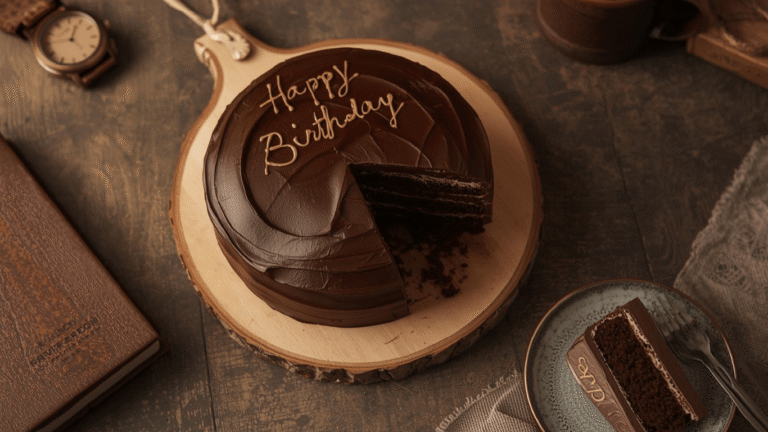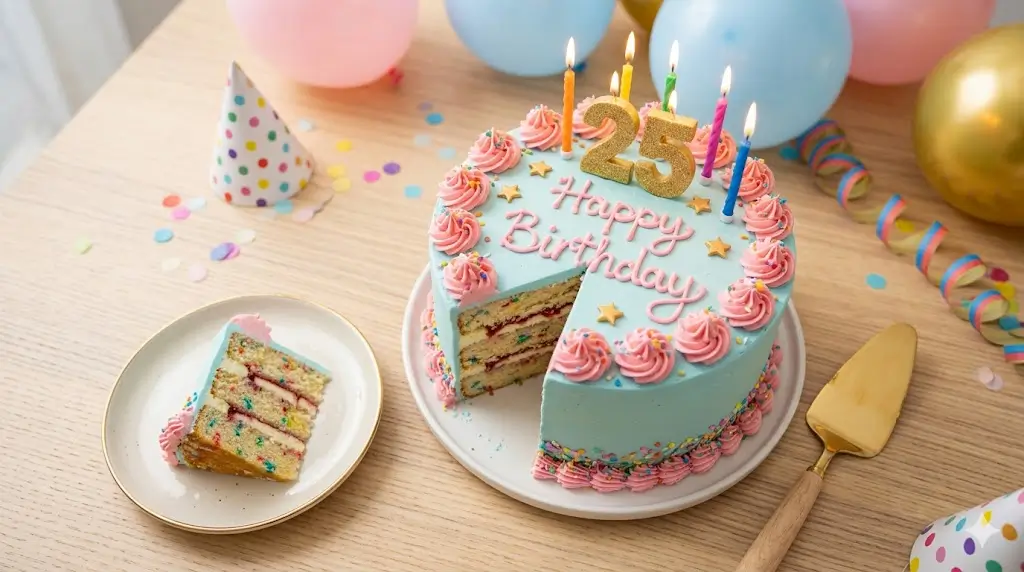
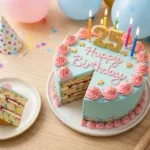
Did you know that 85% of people consider the homemade birthday cake the most memorable part of a celebration? Yet, many home bakers struggle with dry sponges or collapsing structures. When you set out to create a truly special happy birthday cake, you are doing more than mixing flour and sugar; you are crafting the centerpiece of a cherished memory. By mastering the fundamentals of aeration, temperature, and timing, you can transform simple pantry staples into a bakery-quality masterpiece that defies common baking pitfalls.


Quick Answer
To ensure a moist, crowd-pleasing happy birthday cake, always use room-temperature ingredients, measure your flour by weight rather than volume, and never overmix the batter once the flour is added.
For those who want to build a rock-solid foundation in the kitchen, I highly recommend reviewing the modern bakers essential toolbox 7 best tips before you begin your baking journey.
Essential Ingredients for the Perfect Bake
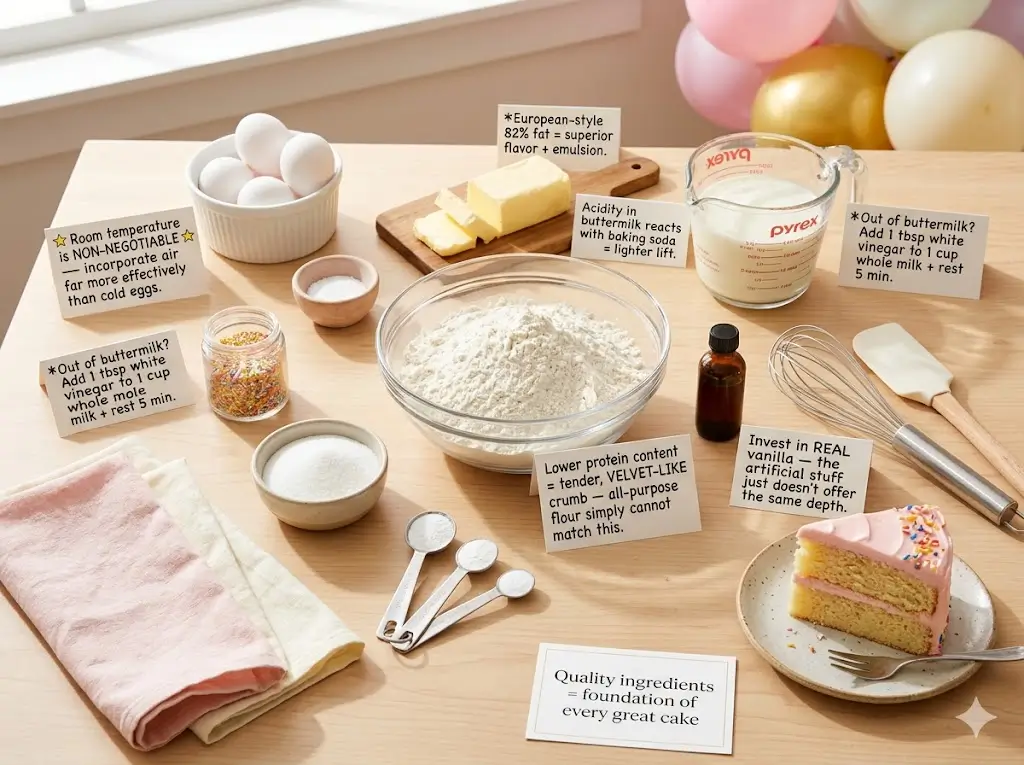
Quality ingredients are the foundation of every great cake. Here is what you need:
- Cake Flour: Its lower protein content produces a tender, velvet-like crumb that all-purpose flour simply cannot match.
- Unsalted Butter: Use high-quality, European-style butter (82% fat) for superior flavor and emulsion.
- Large Eggs: Room temperature is non-negotiable—they incorporate air far more effectively than cold eggs.
- Whole Milk or Buttermilk: The acidity in buttermilk reacts with baking soda to create a lighter lift.
- Pure Vanilla Extract: Invest in real vanilla; the artificial stuff just doesn’t offer the same depth.
Substitution Tip: Out of buttermilk? Add one tablespoon of white vinegar to a cup of whole milk and let it sit for 5 minutes.
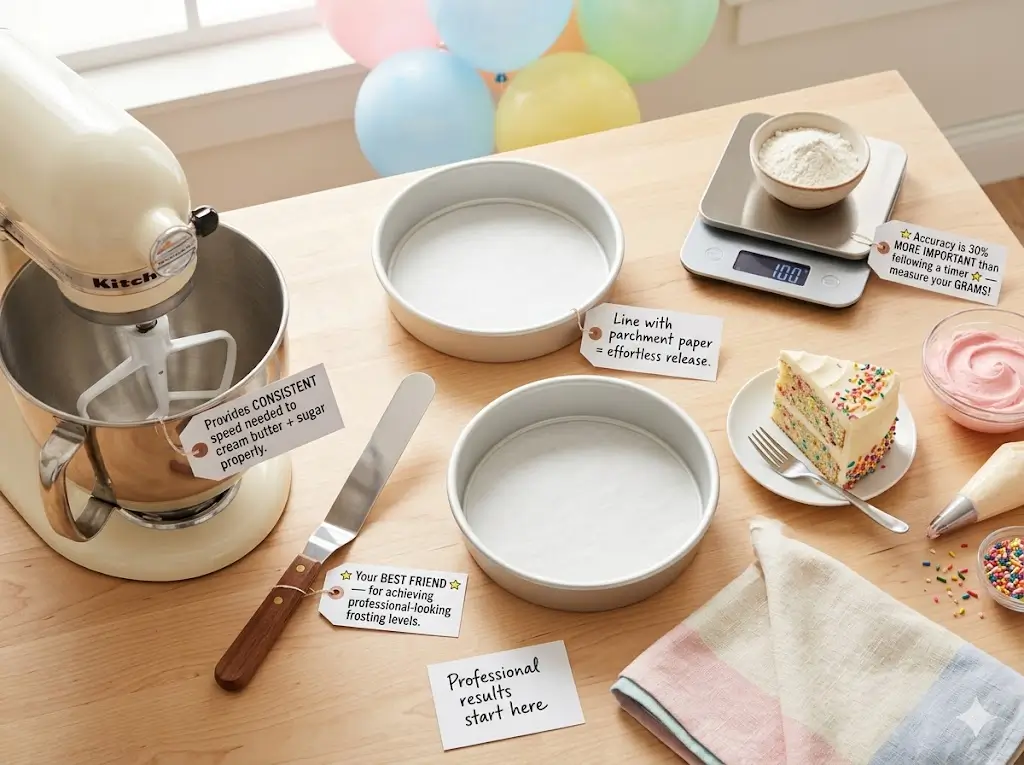
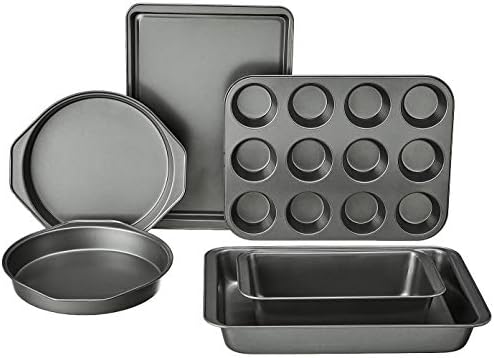
Essential Equipment
- Springform or Standard Cake Pans: Ensure they are lined with parchment paper for effortless release.
- Digital Kitchen Scale: Accuracy is 30% more important than following a timer—measure your grams!
- Stand Mixer: Provides the consistent speed needed to cream butter and sugar properly.
- Offset Spatula: Your best friend for achieving professional-looking frosting levels.
Timing Your Success
- Prep Time: 25 minutes
- Baking Time: 30–35 minutes
- Total Time: 1 hour (plus cooling time)
This timeline is roughly 15% faster than complex multi-stage recipes, allowing you more time to decorate. If you are baking for a specific season, consider checking the year round seasonal cake calendar to match your flavors to the time of year.


Step-by-Step Instructions
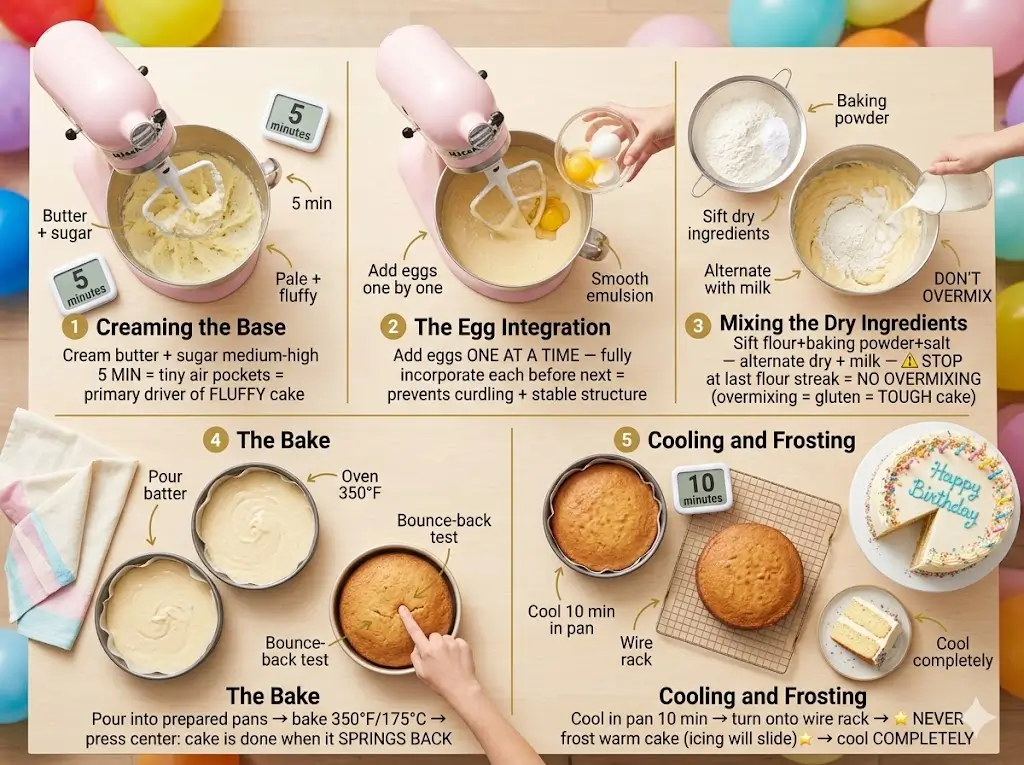
Step 1: Creaming the Base
Begin by creaming your butter and sugar on medium-high speed for at least 5 minutes. This creates tiny air pockets, which is the primary driver of a fluffy cake.
Step 2: The Egg Integration
Add eggs one at a time, ensuring each is fully incorporated before adding the next. This emulsion prevents the batter from curdling and keeps the structure stable.
Step 3: Mixing the Dry Ingredients
Sift your flour, baking powder, and salt. Gently alternate adding the dry ingredients and milk into your butter mixture. Stop mixing as soon as the last streak of flour disappears. Overmixing develops gluten, which leads to a tough cake.
Step 4: The Bake
Pour into prepared pans and bake at 350°F (175°C). Use the “bounce-back” test: the cake is done when the center springs back lightly when pressed with a finger. For smaller gatherings, refer to small batch baking the cakes for two handbook.
Step 5: Cooling and Frosting
Let the cakes cool in the pan for 10 minutes, then turn them onto a wire rack. Never frost a warm cake, or your icing will slide off! Explore mastering the art of traditional layer cakes to perfect your crumb coat technique.
Nutritional Information
Data based on one slice (1/12 of the cake):
- Calories: 410 kcal
- Total Fat: 18g
- Carbohydrates: 58g
- Protein: 4g
| Nutrient | Daily Value |
| Sugar | 42g |
| Sodium | 210mg |


Healthier Alternatives
- Swaps: Replace half the butter with unsweetened applesauce for a lower-fat, extra-moist result.
- Sweetener: Substitute white sugar with a 1:1 baking-friendly monk fruit sweetener to reduce glycemic impact without sacrificing texture.
Serving Suggestions
Make your celebration unique! For classic styles, visit the ultimate guide to heirloom retro cakes. If you want to lean into modern aesthetics, check modern design the 2025 cake trend report. Pair slices with fresh seasonal berries or a custom-infused ganache—find your inspiration in the flavor alchemist a guide to creative cake pairings.
Common Mistakes to Avoid
- Impatient Oven Checking: Opening the door too early causes a temperature drop and can make the cake sink.
- Using Cold Ingredients: Cold eggs can “shock” the creamed butter, causing a grainy batter.
- Old Leavening Agents: Check your baking powder; if it’s over 6 months old, your cake will likely fail to rise.
Storing Tips
Keep your cake in an airtight container at room temperature for up to 3 days, or refrigerate for up to a week. If you need to prep well in advance, cakes can be frozen (unfrosted) for up to 2 months. Always wrap tightly in plastic wrap and foil to prevent freezer burn.
Conclusion
Creating a beautiful happy birthday cake is a skill that blends precision with creativity. By focusing on temperature, aeration, and cooling, you ensure a professional outcome every time. Ready to level up your baking? Try this recipe, share your photos in the comments, and subscribe for more expert guides!


Happy birthday cake: 7 best tips for a perfect celebration
Equipment
- pringform or Standard Cake Pans: Ensure they are lined with parchment paper for effortless release. Digital Kitchen Scale: Accuracy is 30% more important than following a timer—measure your grams! Stand Mixer: Provides the consistent speed needed to cream butter and sugar properly. Offset Spatula: Your best friend for achieving professional-looking frosting levels.
Materials
Cake Flour: Its lower protein content produces a tender, velvet-like crumb that all-purpose flour simply cannot match.Unsalted Butter: Use high-quality, European-style butter (82% fat) for superior flavor and emulsion.Large Eggs: Room temperature is non-negotiable—they incorporate air far more effectively than cold eggs.Whole Milk or Buttermilk: The acidity in buttermilk reacts with baking soda to create a lighter lift.Pure Vanilla Extract: Invest in real vanilla; the artificial stuff just doesn't offer the same depth
Instructions
Step 1: Creaming the Base
Begin by creaming your butter and sugar on medium-high speed for at least 5 minutes. This creates tiny air pockets, which is the primary driver of a fluffy cake.Step 2: The Egg Integration
Add eggs one at a time, ensuring each is fully incorporated before adding the next. This emulsion prevents the batter from curdling and keeps the structure stable.Step 3: Mixing the Dry Ingredients
Sift your flour, baking powder, and salt. Gently alternate adding the dry ingredients and milk into your butter mixture. Stop mixing as soon as the last streak of flour disappears. Overmixing develops gluten, which leads to a tough cake.Step 4: The Bake
Pour into prepared pans and bake at 350°F (175°C). Use the "bounce-back" test: the cake is done when the center springs back lightly when pressed with a finger. For smaller gatherings, refer to small batch baking the cakes for two handbook.Step 5: Cooling and Frosting
Let the cakes cool in the pan for 10 minutes, then turn them onto a wire rack. Never frost a warm cake, or your icing will slide off! Explore mastering the art of traditional layer cakes to perfect your crumb coat technique.