Ingredients
Equipment
Method
Step 1: Prepare and Crumble the Base
Start with a baked dessert that has completely cooled. If it is even slightly warm, your frosting binder will melt, resulting in a greasy paste. Cut the sponge into large quarters and rub the pieces together over a large bowl to create fine, sand-like crumbs. Discard any hard, over-baked crust edges, as these will create lumpy, misshapen spheres. For advice on baking the perfect foundational sponge, see mastering the art of traditional layer cakes.Step 2: Incorporate the Frosting Binder
Add 1/3 cup of your frosting to the fine crumbs. Use your hands to knead the mixture together. You are looking for a play-dough consistency. Squeeze a handful of the mixture; if it holds a solid shape without crumbling apart, it is ready. If it feels dry, add frosting one tablespoon at a time.Actionable Tip: Stop mixing immediately once the dough holds together. Over-saturating the crumbs with frosting will make the spheres too heavy, causing them to slide right off the stick later.Step 3: Portion, Roll, and Chill
Use a small cookie scoop (about 1 tablespoon in volume) to portion the dough. Roll each portion between your palms until perfectly spherical and smooth. Place the spheres on a parchment-lined baking sheet. Chill them in the refrigerator for exactly 2 hours, or in the freezer for 15 to 20 minutes until firm but not frozen solid.Step 4: Secure the Lollipop Sticks
Melt a small handful of your candy melts in a microwave-safe bowl. Remove the chilled spheres from the fridge. Dip the tip of a lollipop stick about half an inch into the melted candy, then gently insert it about halfway into the center of a chilled sphere. Place them back on the baking sheet and chill for another 10 to 15 minutes. This step creates a crucial "glue" that locks the stick to the heavy center.Step 5: Prepare the Dipping Chocolate
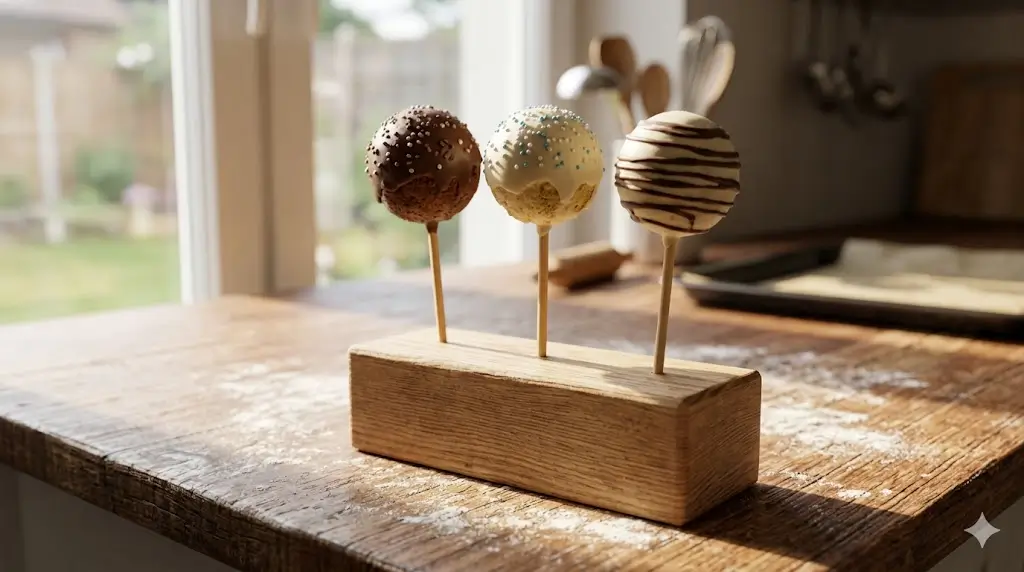
Melt the remaining candy wafers in your tall, narrow mug using the microwave on 50% power, stirring vigorously every 30 seconds until silky smooth. If the coating seems too thick, stir in 1 teaspoon of solid vegetable shortening or refined coconut oil to thin it out to a fluid, pourable consistency.Step 6: The Final Dip and Decorate
Take a few spheres out of the fridge at a time. Hold a stick and submerge the entire sphere straight down into the melted coating until it meets the stick. Pull it straight up—do not swirl it in the cup. Hold it over the cup and gently tap your wrist (not the stick itself) to allow the excess chocolate to drip off. While the coating is still wet, immediately apply your sprinkles. Stick the finished treat upright into your styrofoam block to dry completely at room temperature.