Ingredients
Equipment
Method
Step-by-Step Instructions
Step 1: Establish the Thermal Environment and Pan Release
Preheat your oven to 350°F (175°C) with the baking rack positioned exactly in the center dead-zone. Prepare your 9x13-inch aluminum pan by lightly greasing the interior walls with a thin film of softened butter or commercial pan grease. Press your tailored sheet of parchment paper firmly into the bottom. Greasing the pan before laying the parchment down anchors the paper, preventing it from sliding around when you drag the heavy, thick cake batter across it later.Step 2: Sift the Dry Structural Matrix
In a medium mixing bowl, whisk together the unbleached all-purpose flour, granulated sugar, baking powder, baking soda, and fine sea salt. Whisking these dry components together for a full 30 seconds ensures the chemical leaveners are dispersed with absolute mathematical uniformity, preventing your finished cake from developing lopsided, hilly domes during the bake.Step 3: Emulsify the Butter and Sugar (The Creaming Stage)
Transfer your dry ingredient mixture into the bowl of your stand mixer fitted with the paddle attachment. Add the softened room-temperature butter cubes directly into the dry flour mixture. Turn the mixer to low speed and beat for roughly 2 to 3 minutes. The butter will slowly absorb the dry ingredients, transforming the contents of the bowl into a moist, sandy, uniform texture that looks remarkably like wet brown beach sand. This advanced technique—known in professional French patisserie as reverse creaming—coats the flour's gluten proteins in fat before any liquid is introduced, practically guaranteeing a hyper-tender, melt-in-your-mouth crumb.Step 4: The Hydration and Egg Emulsion Cycle
In a separate large glass measuring cup, thoroughly whisk together the room-temperature buttermilk, the 4 large eggs, and the vanilla bean paste until completely homogenized. With your stand mixer running on low speed, slowly pour roughly one-third of this liquid buttermilk mixture into the sandy flour-butter base. Increase the speed to medium-high and beat for 1 full minute to develop the cake's primary structural integrity. Turn the mixer back down to low, add the remaining two-thirds of the liquid, and beat for a final 45 seconds just until the batter is thick, glossy, and completely smooth. For more on the science of batter emulsions, explore our Master the Cake recipe handbook.Step 5: The Level Spread and the Precision Bake
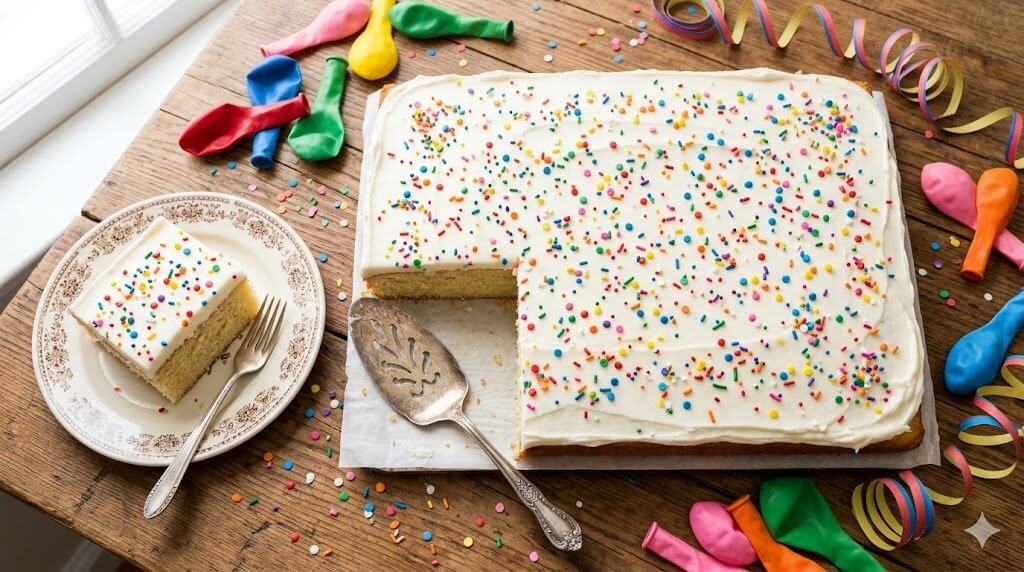
Pour the lush, pale yellow batter directly into your prepared pan. Use your offset spatula to gently nudge the batter into the deep 90-degree corners, smoothing the top surface until it is completely flat. Place the pan into the oven and bake for 32 to 35 minutes. Watch for the visual cues of perfection: the perimeter of the cake will pull away from the metal pan walls by roughly 1/8 of an inch, the top will turn a light golden color, and an instant-read digital thermometer inserted into the exact center of the sponge will read between 200°F and 205°F (93°C–96°C). Remove the pan and set it on a wire rack.Step 6: Execute the Warm Pour-Over Frosting Technique
While the cake is cooling during its first 15 minutes out of the oven, prepare your frosting. In a small heavy-bottomed saucepan, combine the 1/2 cup of butter, milk, and Dutch-processed cocoa powder over medium heat. Whisk constantly until the butter melts and the mixture comes to a rolling, glossy boil. Remove the pan immediately from the heat source. Add the sifted powdered sugar and vanilla extract directly into the hot liquid, whisking vigorously for 60 seconds until you achieve a smooth, glossy, liquid fudge that resembles warm chocolate lava.Pour this hot frosting immediately over the surface of the warm sheet cake. Because the cake is still warm, the liquid frosting will self-level, seeping slightly into the top layer of the open crumb before setting into a gorgeous, smooth, crackly fudge shell. Let the cake cool completely at room temperature for at least 1 hour before slicing.