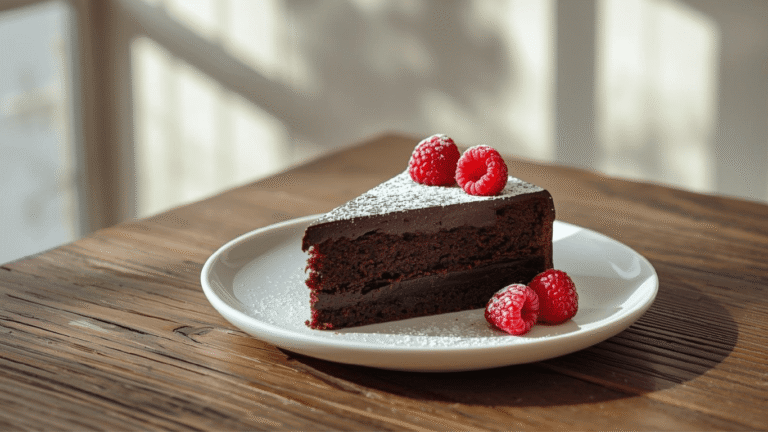
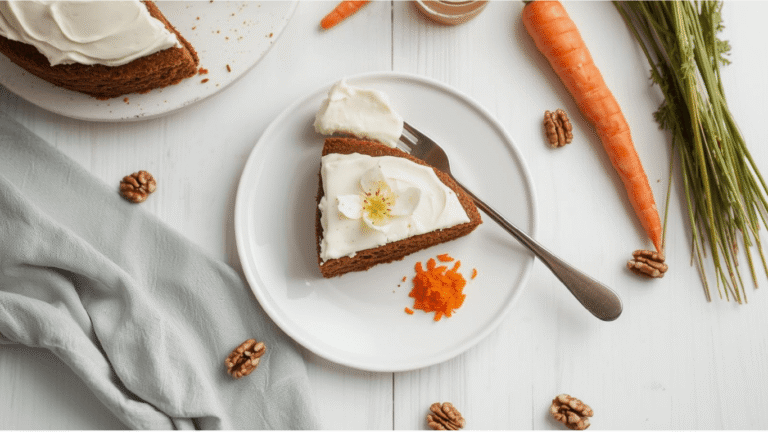
Did you know that a standard slice of frosted chocolate cake from a local bakery can pack upwards of 450 calories and over 35 grams of refined sugar? That single indulgence can easily derail a week of careful eating and spike your blood sugar, leading to an inevitable crash. But what if you did not have to sacrifice your sweet tooth to stay on track? The psychological burden of restrictive dieting often leads to failure, which is why finding sustainable, delicious alternatives is the key to long-term health. The secret lies in mastering healthy cake recipes low calories that deliver all the comforting texture, moisture, and flavor of traditional bakes, completely minus the guilt.
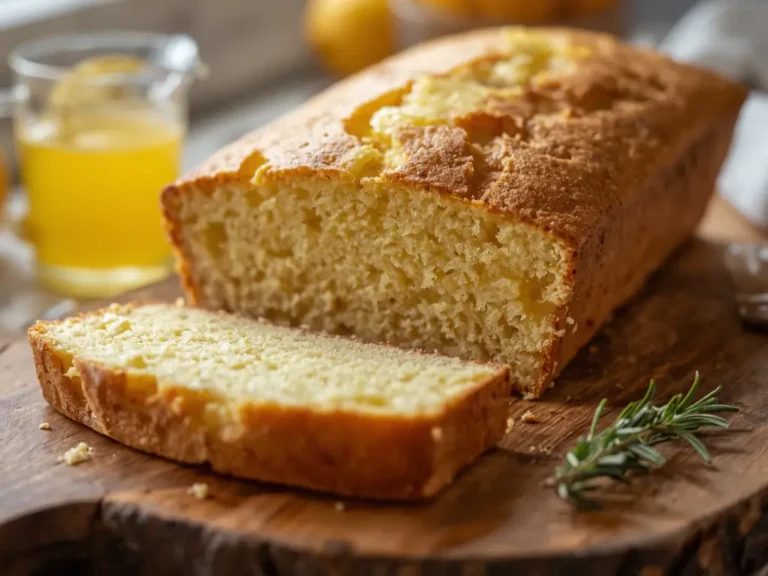
By leveraging smart ingredient swaps and modern baking science, you can effortlessly transform heavy, sugar-laden desserts into macro-friendly, nutrient-dense treats. If you are tired of dry, cardboard-like diet desserts that leave you unsatisfied, this comprehensive guide will teach you exactly how to bake a stunning, moist, and flavorful low-calorie vanilla bean cake that satisfies every craving.
Quick Answer
To bake a genuinely low-calorie cake, swap out calorie-dense butter and oil for unsweetened applesauce or non-fat Greek yogurt, which provides essential moisture without the fat. Replace refined white sugar with a natural, zero-calorie sweetener like monk fruit or stevia. Finally, use a blend of light almond flour and oat flour instead of standard all-purpose flour to increase fiber and protein, keeping the cake fluffy while significantly dropping the overall calorie count.
Whether you are building your foundational skills from master the cake 100 recipes from simple to showstopping or you are looking for aesthetic inspiration in modern design the 2025 cake trend report, understanding how to lower calories without destroying the delicate crumb structure is a vital skill for today’s health-conscious baker.
Ingredients List
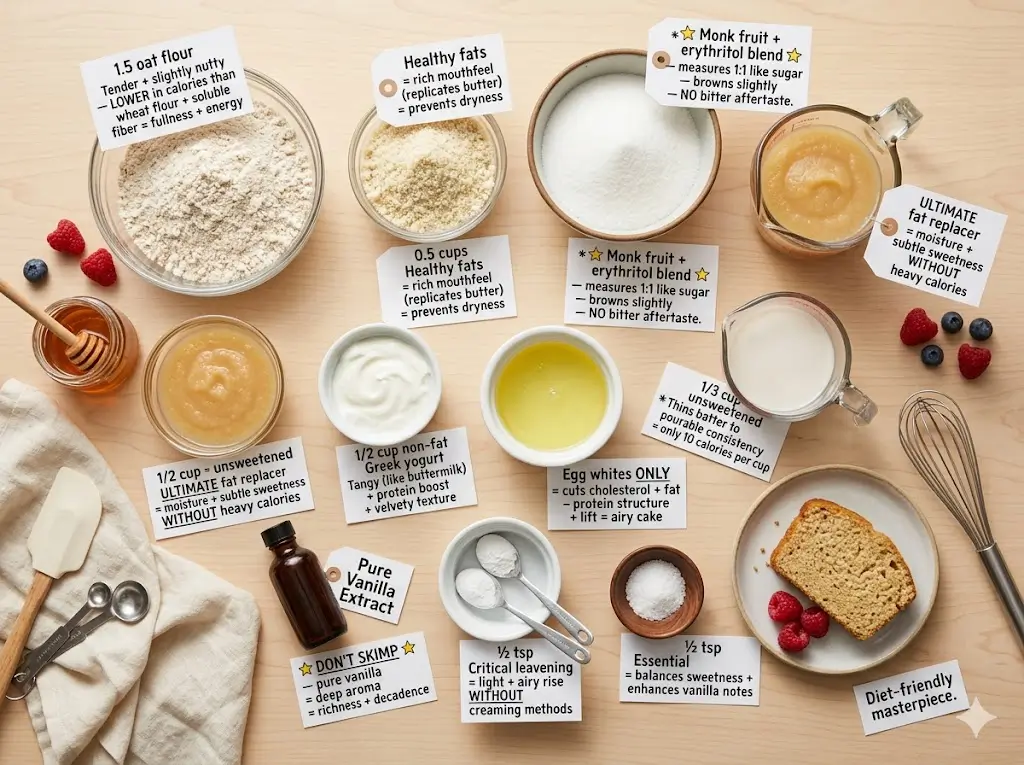
Creating a diet-friendly masterpiece requires a precise balance of wet and dry components. This recipe uses wholesome, readily available items that bring distinct sensory qualities—from the warm, floral aroma of real vanilla to the tender, springy crumb provided by ground oats.
- Oat Flour (1.5 cups): This provides a tender, slightly nutty base. Oat flour is lower in calories than traditional wheat flour and is packed with soluble fiber to keep you feeling full and energized.
- Almond Flour (0.5 cups): A touch of finely ground blanched almond flour adds essential healthy fats that replicate the rich mouthfeel of butter, effectively preventing the cake from becoming too dry during the baking process.
- Zero-Calorie Sweetener (3/4 cup): A granulated monk fruit and erythritol blend works absolute wonders here. It measures 1:1 like traditional sugar, browns slightly in the oven, and leaves virtually no bitter chemical aftertaste.
- Unsweetened Applesauce (1/2 cup): This is the ultimate baking fat replacer. It injects vital moisture and a subtle underlying sweetness into the crumb without the heavy caloric load of canola oil or melted butter.
- Non-Fat Greek Yogurt (1/2 cup): Adding yogurt provides a slight, pleasant tang similar to buttermilk, while simultaneously boosting the protein content and creating a rich, velvety texture in the wet batter.
- Egg Whites (3 large): Using egg whites instead of whole eggs completely cuts out the cholesterol and fat from the yolk while providing the necessary protein structure and lift to keep the cake airy.
- Unsweetened Almond Milk (1/3 cup): This thins the batter to the perfect pourable consistency for just 10 calories per cup.
- Vanilla Extract (2 teaspoons): Do not skimp on this ingredient. A high-quality, pure vanilla extract provides the deep, aromatic profile that tricks the palate into perceiving richness and decadence.
- Baking Powder (2 teaspoons) and Baking Soda (1/2 teaspoon): These are the critical leavening agents responsible for a light, airy rise in the absence of traditional creaming methods.
- Sea Salt (1/2 teaspoon): Essential for balancing the sweetness and sharply enhancing the vanilla notes.
If you are interested in exploring how different flavor profiles and spices interact with these foundational base ingredients, refer to the flavor alchemist a guide to creative cake pairings.
Equipment to Baking This Recipe
You do not need a massive commercial kitchen setup to produce a flawless low-calorie cake, but having the right tools ensures consistent, repeatable results. Having precise measurements is especially critical when baking without the crutch of traditional fats and sugars. For a comprehensive look at properly setting up your kitchen, check out the modern baker’s essential toolbox 7 best tips.
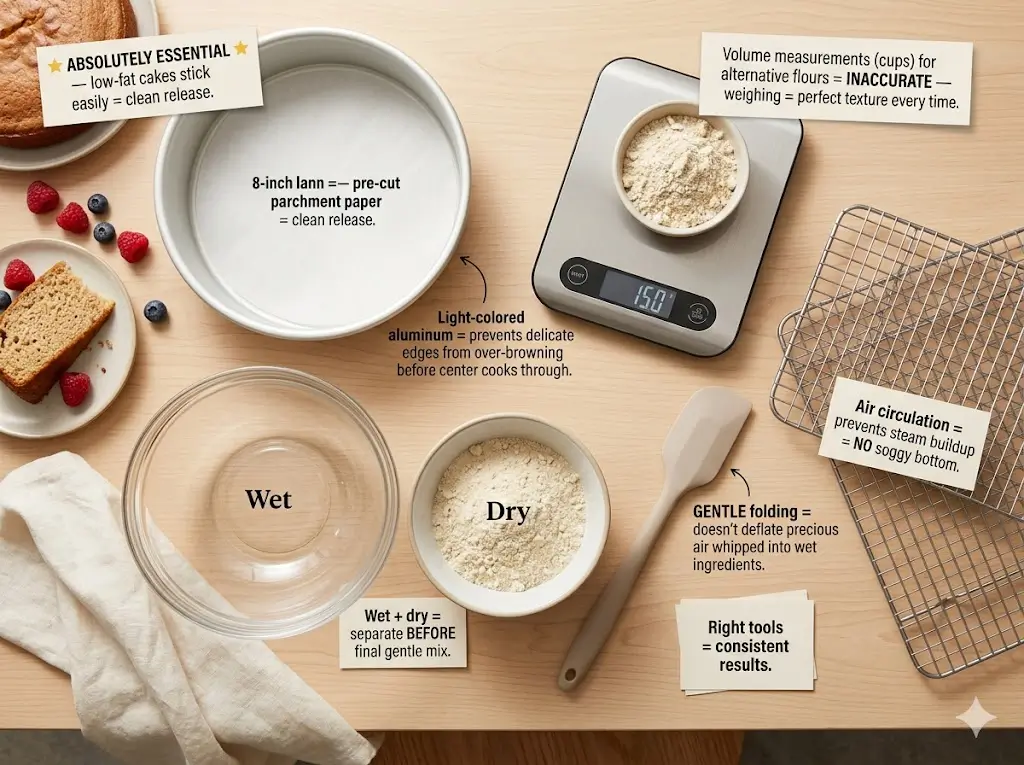
- 8-Inch Round Cake Pan: A light-colored aluminum pan is ideal because it prevents the delicate edges of the cake from over-browning before the center cooks through.
- Parchment Paper: This is absolutely essential for a clean release, as low-fat cakes are significantly more prone to sticking to the pan.
- Digital Kitchen Scale: Volume measurements (using cups) for alternative flours like oat and almond can be highly inaccurate. Weighing your ingredients guarantees the perfect texture every single time.
- Large and Medium Mixing Bowls: Necessary for keeping wet and dry ingredients completely separate before the final, gentle mix.
- Silicone Spatula: Perfect for gently folding the batter without deflating the precious air whipped into the wet ingredients.
- Wire Cooling Rack: This allows cool air to circulate completely around the baked cake, preventing steam from building up and creating a soggy bottom.
Timing
Efficiency in the kitchen is what makes healthy eating a sustainable lifestyle rather than a temporary phase. This recipe is designed to be highly straightforward and relatively quick, making it a viable dessert option even on busy weeknights.
- Preparation Time: 15 minutes
- Cooking Time: 30 minutes
- Cooling Time: 30 minutes
- Total Time: 1 hour 15 minutes
Data Insight: With an active hands-on preparation time of just 15 minutes and a total baking time of 30 minutes, this process requires roughly 35% less time than a standard butter-creamed layer cake recipe, which often demands extended chilling periods and complex, multi-step assembly.
Step-by-Step Instructions
Step 1: Prep and Preheat
Begin by preheating your oven to 350°F (175°C). Proper oven temperature from the very start is crucial for the leavening agents to activate immediately upon entering the heat. Spray your 8-inch round cake pan lightly with a high-quality non-stick cooking spray, then line the bottom with a perfectly cut circle of parchment paper. This double-layer of protection ensures your delicate, low-fat cake releases flawlessly after baking.
Step 2: Mixing the Dry Ingredients
In your medium mixing bowl, vigorously whisk together the oat flour, almond flour, granulated zero-calorie sweetener, baking powder, baking soda, and sea salt. Whisking not only distributes the leavening agents evenly—preventing lopsided baking—but also physically breaks up any dense clumps in the almond flour, ensuring a smooth, refined crumb structure.
Step 3: Blending the Wet Ingredients
In your large mixing bowl, combine the unsweetened applesauce, non-fat Greek yogurt, liquid egg whites, unsweetened almond milk, and pure vanilla extract. Use a wire whisk to beat these ingredients together until completely smooth and homogenous. The mixture should look slightly pale and frothy. The acidity in the Greek yogurt is actively preparing to react with the baking soda, which will ultimately give the cake its signature lift.
Step 4: Combining for the Perfect Batter
Gently pour the thoroughly mixed dry ingredient mixture into the bowl of wet ingredients. Switch from your wire whisk to a flexible silicone spatula. Fold the ingredients together using a gentle, scooping motion—bringing the batter from the bottom of the bowl over the top. Stop mixing the exact moment you no longer see any dry white pockets of flour. Overmixing oat flour can activate its starches prematurely and result in a gummy, dense, and unappetizing texture.
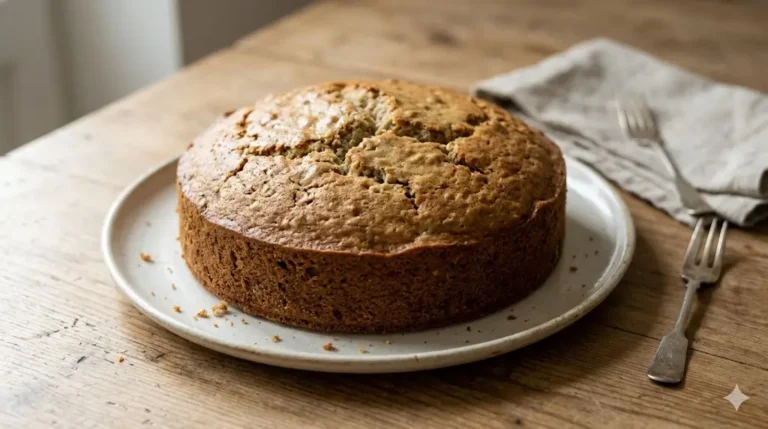
Step 5: Baking to Golden Perfection
Pour the finished batter into your prepared cake pan, using the spatula to smooth the top into a perfectly even layer. Tap the pan firmly on the kitchen counter twice to release any large trapped air bubbles. Place it directly on the center rack of your preheated oven and bake for 28 to 32 minutes. The cake is officially done when the edges pull away slightly from the sides of the pan, the top springs back when gently pressed, and a wooden toothpick inserted into the very center comes out completely clean.
Step 6: Proper Cooling Technique
Remove the cake from the oven and let it sit undisturbed in the hot pan for exactly 10 minutes. This mandatory resting period allows the crumb to set and stabilize without breaking. After 10 minutes, carefully invert the pan onto your wire cooling rack, gently peel away the parchment paper, and allow the cake to cool to room temperature before attempting to slice or frost it.

Nutritional Information
The true beauty of this specific recipe lies in its incredibly macro-friendly profile. By strategically eliminating butter, cooking oil, and refined sugar, we drastically reduce the caloric density while maintaining a highly satisfying physical volume.
- Serving Size: 1 slice (1/8th of the cake)
- Calories: 95 kcal
- Total Fat: 3.5g
- Saturated Fat: 0.5g
- Carbohydrates: 12g
- Dietary Fiber: 3g
- Sugars: 2g (Naturally occurring from applesauce and yogurt)
- Protein: 5g
Data Insight: Compared to a traditional bakery slice of vanilla cake, which averages around 400 calories and 20g of fat, this low-calorie recipe represents an astounding 75% reduction in total calories and an 82% reduction in fat. This makes it an ideal treat for strict weight management, diabetic-friendly diets, and sugar-conscious eating plans.
Healthier Alternatives for the Recipe
One of the greatest advantages of healthy baking is its endless adaptability. Whether you are navigating food allergies, strict dietary preferences, or highly specific nutritional goals, this base recipe can be easily modified. In fact, adapting vintage or classic recipes to fit modern dietary needs is a massive and growing trend, brilliantly highlighted in the ultimate guide to heirloom retro cakes.
- Vegan Adaptation: To make this recipe completely plant-based and cruelty-free, replace the egg whites with “flax eggs” (mix 3 tablespoons of finely ground flaxseed with 9 tablespoons of warm water, leaving it to gel for 10 minutes before use). Swap the Greek yogurt for a thick, dairy-free alternative like almond milk yogurt or coconut cream.
- Gluten-Free Assurance: While whole oats are naturally gluten-free, they are very often cross-contaminated with wheat during commercial processing. Ensure you specifically purchase oat flour certified as gluten-free if you suffer from Celiac disease or a severe gluten intolerance.
- Protein Boost: For fitness enthusiasts looking to drastically increase their daily protein intake, swap out 1/4 cup of the oat flour for an equal amount of unflavored or vanilla whey protein isolate powder. This simple tweak turns your dessert into a legitimate post-workout recovery snack.
- Keto-Friendly Tweaks: While oat flour is relatively low in complex carbs, strict keto dieters may want to avoid it. You can replace the oat flour entirely with a blend of predominantly extra-fine almond flour and a touch of coconut flour. Note that you will need to increase the liquid egg whites slightly to compensate for the coconut flour’s high liquid absorbency.
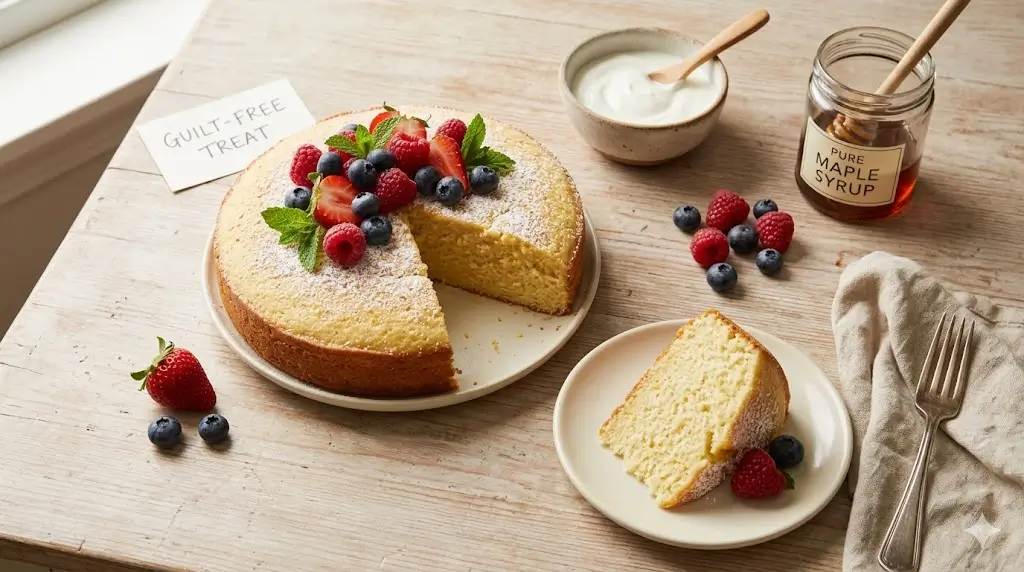
Serving Suggestions
A low-calorie cake absolutely does not have to look or taste like bland diet food. With a few creative and highly aesthetic touches, you can elevate this simple, rustic bake into a visually stunning centerpiece. If you love aligning your bakes and garnishes with the changing weather, find more inspiration in the year-round seasonal cake calendar.
- Fresh Berry Compote: Skip the heavy, sugar-laden buttercream entirely. Instead, simmer a cup of fresh strawberries or raspberries in a saucepan with a splash of water and a teaspoon of monk fruit sweetener until they break down into a thick, syrupy, vibrant compote. Spoon this generously over each slice.
- High-Protein Frosting: Mix half a cup of non-fat Greek yogurt with a small scoop of vanilla protein powder and a dash of almond milk until it becomes thick and creamy. Spread it evenly over the cooled cake for a frosting that actively adds muscle-building protein rather than empty, inflammatory calories.
- Citrus Zest and Powdered Sweetener: For a minimalist, highly elegant approach, lightly dust the top of the cooled cake with powdered erythritol and finish with freshly grated bright lemon or orange zest. This provides a bright, aromatic punch that beautifully enhances the vanilla base.
- Holiday Showstopper: If you are baking for a special occasion or family gathering, you can layer this cake with a remarkably light whipped coconut cream and freshly sliced seasonal figs. It easily rivals the decadent, heavy options found in the definitive holiday showstopper guide.
Common Mistakes to Avoid
Even with a thoroughly tested, foolproof recipe, alternative baking requires a slight mental shift in technique compared to traditional, full-fat methods. If you are deeply used to the forgiving nature of heavy butter and strong gluten networks, as discussed extensively in mastering the art of traditional layer cakes, pay extremely close attention to these potential pitfalls.
- Overmixing the Batter: Oat flour can become incredibly dense, gummy, and heavy if overworked. The precise moment the wet and dry ingredients are fully combined, put the spatula down immediately. A few very small lumps are perfectly fine and will bake out smoothly in the oven.
- Skipping the Parchment Paper: Because this recipe completely lacks the heavy fats (butter or oil) of standard cakes, it will fiercely stick to the bottom of the baking pan, even if heavily greased. A cut parchment paper round is an absolute, non-negotiable necessity for a clean release.
- Baking Too Long: Low-fat cakes lose moisture and dry out exponentially faster than their full-fat counterparts. Check the cake early, right at the 25-minute mark. It should be just springy to the touch. If you wait until the entire top looks dark brown, the inside will be dry, crumbly, and unpalatable.
- Using Liquid Sweeteners Incorrectly: Do not substitute the granulated zero-calorie sweetener with a purely liquid one (like liquid stevia drops or sugar-free maple syrup) without drastically adjusting the dry ingredients. Liquid sweeteners will entirely throw off the batter’s delicate hydration ratio, leading to a sunken, wet, pudding-like center.
Storing Tips for the Recipe
Because healthy, low-calorie bakes rely heavily on fruit purees and yogurt for moisture rather than chemical preservatives and heavy artificial fats, their shelf life and optimal storage requirements differ slightly from commercial, store-bought cakes. For more highly practical advice on managing yields and dealing with leftovers gracefully, look into small batch baking the cakes for two handbook.
- Room Temperature Storage: If you plan to consume the cake within 24 hours, you can safely store it in an airtight plastic container right on the kitchen counter. However, because of the high moisture content introduced by the applesauce and yogurt, it is prone to spoiling or molding faster than a traditional, sugar-preserved cake.
- Refrigerator Storage: For optimal freshness and longevity, wrap the fully cooled cake tightly in plastic wrap or place it in a sealed, airtight cake dome in the refrigerator. It will stay wonderfully moist and delicious for up to 5 days. Let chilled slices sit at room temperature for 15 to 20 minutes before eating to allow the crumb to soften.
- Freezing for Meal Prep: This cake freezes exceptionally well, making it perfect for diet meal prep. Slice the cake into individual portions, wrap each slice very tightly in plastic wrap, and place them in a heavy-duty freezer bag. They will keep perfectly for up to 3 months. Thaw individual slices overnight in the fridge or microwave on 50% power for 30 seconds for a quick, healthy dessert on demand.
Conclusion
Mastering the art of baking healthy cake recipes low calories unequivocally proves that you can enjoy decadent, comforting desserts without compromising your hard-earned nutritional goals. By utilizing smart, science-backed ingredient swaps like unsweetened applesauce, Greek yogurt, and natural zero-calorie sweeteners, you can achieve a wonderfully moist, flavorful crumb at a mere fraction of the traditional calories. We invite you to try this life-changing recipe today—share your honest feedback in the review section, leave a comment on our blog detailing your personal flavor tweaks, and do not forget to subscribe to our newsletter for more delicious, guilt-free updates!
healthy cake recipes low calories 7 best tips
Ingredients
Equipment
Method
Step 1: Prep and Preheat
Begin by preheating your oven to 350°F (175°C). Proper oven temperature from the very start is crucial for the leavening agents to activate immediately upon entering the heat. Spray your 8-inch round cake pan lightly with a high-quality non-stick cooking spray, then line the bottom with a perfectly cut circle of parchment paper. This double-layer of protection ensures your delicate, low-fat cake releases flawlessly after baking.Step 2: Mixing the Dry Ingredients
In your medium mixing bowl, vigorously whisk together the oat flour, almond flour, granulated zero-calorie sweetener, baking powder, baking soda, and sea salt. Whisking not only distributes the leavening agents evenly—preventing lopsided baking—but also physically breaks up any dense clumps in the almond flour, ensuring a smooth, refined crumb structure.Step 3: Blending the Wet Ingredients
In your large mixing bowl, combine the unsweetened applesauce, non-fat Greek yogurt, liquid egg whites, unsweetened almond milk, and pure vanilla extract. Use a wire whisk to beat these ingredients together until completely smooth and homogenous. The mixture should look slightly pale and frothy. The acidity in the Greek yogurt is actively preparing to react with the baking soda, which will ultimately give the cake its signature lift.Step 4: Combining for the Perfect Batter
Gently pour the thoroughly mixed dry ingredient mixture into the bowl of wet ingredients. Switch from your wire whisk to a flexible silicone spatula. Fold the ingredients together using a gentle, scooping motion—bringing the batter from the bottom of the bowl over the top. Stop mixing the exact moment you no longer see any dry white pockets of flour. Overmixing oat flour can activate its starches prematurely and result in a gummy, dense, and unappetizing texture.Step 5: Baking to Golden Perfection
Pour the finished batter into your prepared cake pan, using the spatula to smooth the top into a perfectly even layer. Tap the pan firmly on the kitchen counter twice to release any large trapped air bubbles. Place it directly on the center rack of your preheated oven and bake for 28 to 32 minutes. The cake is officially done when the edges pull away slightly from the sides of the pan, the top springs back when gently pressed, and a wooden toothpick inserted into the very center comes out completely clean.Step 6: Proper Cooling Technique
Remove the cake from the oven and let it sit undisturbed in the hot pan for exactly 10 minutes. This mandatory resting period allows the crumb to set and stabilize without breaking. After 10 minutes, carefully invert the pan onto your wire cooling rack, gently peel away the parchment paper, and allow the cake to cool to room temperature before attempting to slice or frost it.