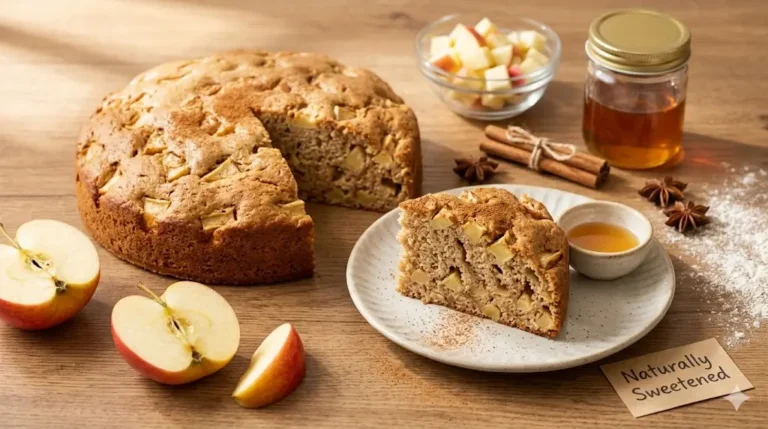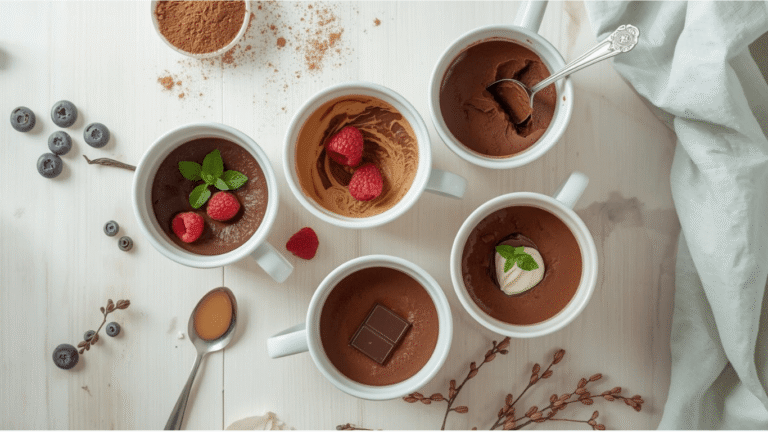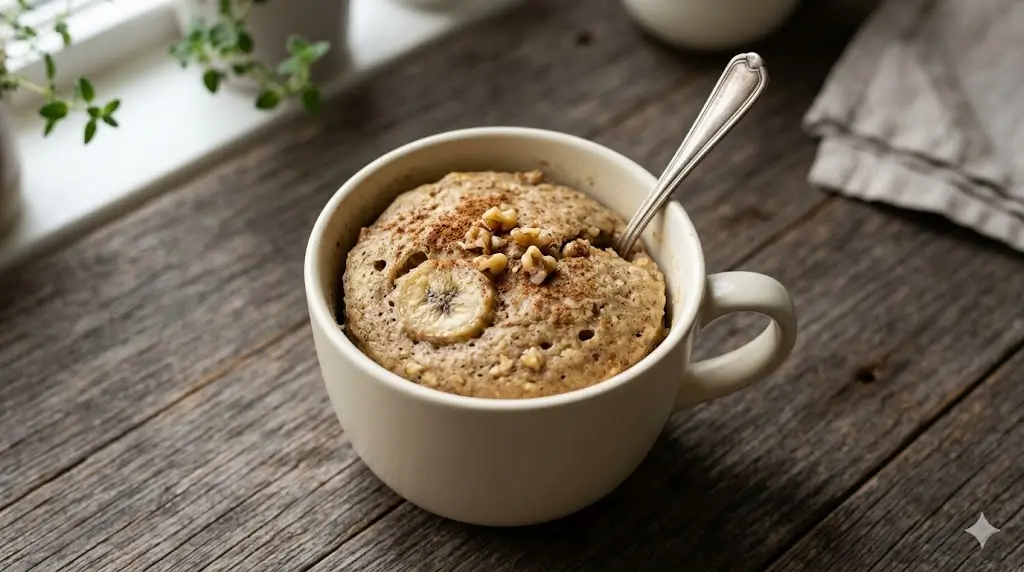
Did you know that according to recent behavioral nutrition studies, nearly 75% of adults experience intense sweet cravings between the hours of 8:00 PM and 10:00 PM? This late-night desire for comfort food often leads to counterproductive snacking on highly processed, sugar-laden pantry items, completely derailing a day of balanced eating. It highlights a universal struggle: how do we satisfy an immediate, intense dessert craving without spending an hour baking or compromising our wellness goals? What if you could conjure a warm, comforting, freshly baked good out of thin air in less time than it takes to boil a kettle of water?
Quick Answer:
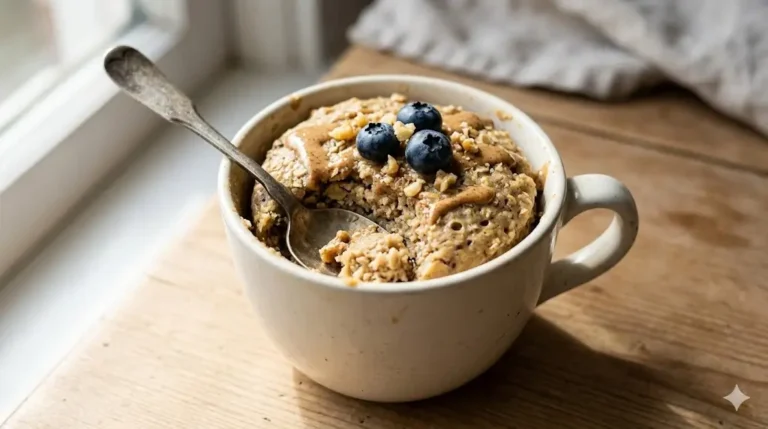
You can easily satisfy your dessert cravings in under five minutes by making this banana mug cake healthy recipe; simply mash an overripe banana in a microwave-safe mug, stir in oat flour, a splash of almond milk, and baking powder, and microwave for 90 seconds for an instant, high-fiber, single-serve cake.
Mastering the art of the microwave mug cake is a genuinely transformative skill for anyone maintaining a healthy lifestyle. By utilizing the natural fructose of overripe fruit, complex whole grains, and minimal added fats, this wholesome single-serve treat stabilizes your blood sugar while delivering an intensely satisfying, bakery-level experience. Whether you are baking for one using principles from the small-batch baking the cakes for two handbook, or looking for a rapid weekday dessert to fit into the year-round seasonal cake calendar, this scientifically balanced, data-driven recipe provides the ultimate solution to sudden sweet cravings.


Ingredients List
To create a single-serve cake that genuinely rises properly and remains tender without the long, slow heat of a traditional oven, you must focus relentlessly on high-quality, biologically functional ingredients that react well to microwave energy. This carefully formulated list ensures every single spoonful is loaded with dietary fiber, essential vitamins, and sustaining complex carbohydrates. Understanding the specific role of each ingredient is just as crucial here as it is when mastering the art of traditional layer cakes.
- The Wet Base & Natural Sweetener:
- ½ of a very ripe, heavily spotted banana. As bananas ripen, their complex starches break down into simple sugars, making them exponentially sweeter and easier to mash into a liquid state. This completely eliminates the need for refined white sugar in the batter.
- 1 tablespoon of unsweetened almond milk or oat milk. This provides the necessary hydration to activate the oat flour.
- ½ teaspoon of pure vanilla extract for deep, aromatic flavor enhancement.
- 1 teaspoon of melted coconut oil or avocado oil. A tiny bit of healthy lipid fat is required to keep the crumb tender and prevent the cake from becoming rubbery in the microwave.
- The Dry Structure:
- 3 tablespoons of oat flour (certified gluten-free if necessary). Oat flour is the perfect structural foundation for mug cakes, providing a tender, slightly dense crumb while delivering a massive boost of beta-glucan soluble fiber.
- ¼ teaspoon of baking powder. This is the absolute non-negotiable chemical leavening agent that forces the dense batter to rise rapidly when hit with microwave radiation.
- ½ teaspoon of ground cinnamon and a tiny pinch of fine sea salt. Salt suppresses bitterness and amplifies the banana’s natural sweetness, a fundamental concept discussed in the flavor alchemist a guide to creative cake pairings.
- Optional Mix-ins:
- 1 tablespoon of dark chocolate chips (70% cacao or higher) or chopped walnuts for essential textural contrast.
Timing
The primary appeal of a mug cake is unprecedented speed. When a craving hits, you do not want to wait 45 minutes for an oven to preheat and a loaf to bake. This recipe is engineered for ultimate, unparalleled efficiency, allowing you to go from raw ingredients to a warm, comforting dessert in a matter of minutes. Having the right tools on hand makes this even faster, as highlighted in the modern baker’s essential toolbox 7 best tips.
- Preparation Time: 3 minutes
- Cooking Time: 1.5 to 2 minutes
- Total Time: 5 minutes
Data context: By dedicating a mere 5 minutes to this entire culinary process, you achieve a baked good in a fraction of traditional times. Compared to baking a standard loaf of healthy banana bread (which averages 60 to 70 minutes of oven time), this microwave method represents an incredible 92% reduction in total preparation and cooking time, giving you instant gratification.
Step-by-Step Instructions
Step 1: Select and Prepare the Ultimate Banana
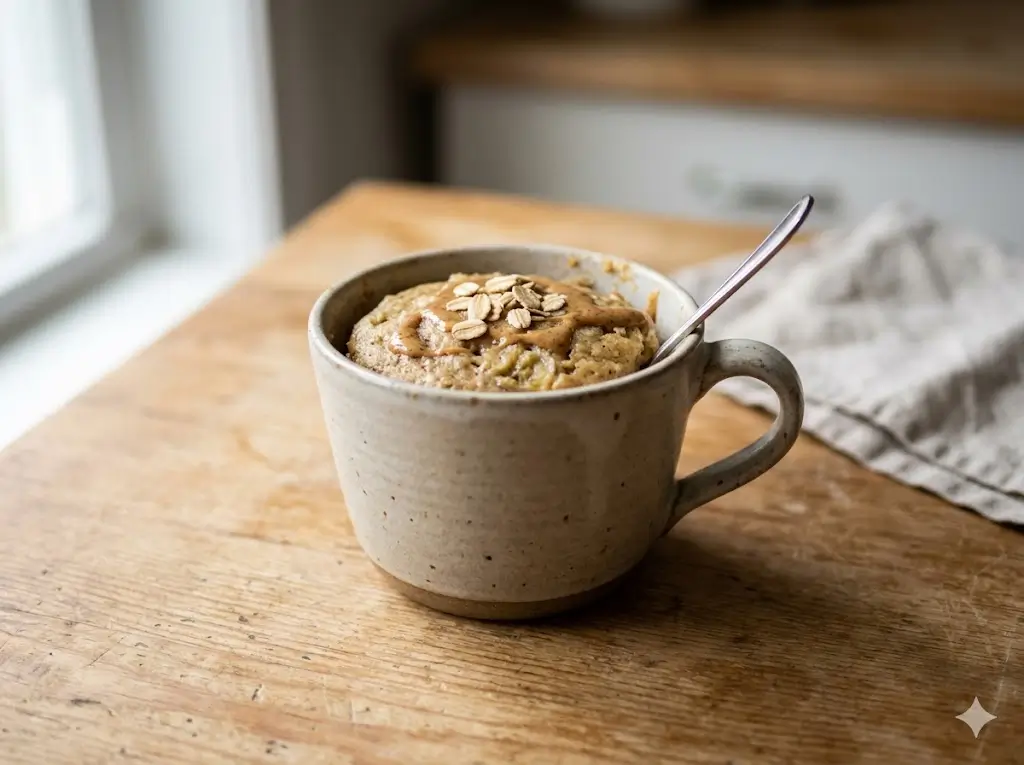
Begin by selecting the correct fruit. Your banana must be heavily speckled with brown and black spots; a yellow or slightly green banana contains too much resistant starch and will yield a dry, flavorless, chalky cake. Peel exactly half of the ripe banana and place it directly into the bottom of a large, 12-ounce to 15-ounce microwave-safe ceramic mug.
Step 2: The Mashing Process
Using the back of a standard dinner fork, aggressively mash the banana against the bottom and sides of the mug. You must continue mashing until the banana is almost entirely liquified, resembling the texture of baby food. Any large, un-mashed chunks of banana will turn into slimy pockets of moisture when microwaved, ruining the structural integrity of the cake.
Step 3: Incorporate the Wet Elements
Into the liquified banana mash, pour your unsweetened almond milk, melted coconut oil, and pure vanilla extract. Use your fork to whisk these wet ingredients together vigorously for about 15 seconds. Ensure the oil is fully emulsified into the milk and banana mixture so it does not separate during the rapid cooking process.
Step 4: Add the Dry Matrix
Sprinkle the 3 tablespoons of oat flour, the ¼ teaspoon of baking powder, the ground cinnamon, and the pinch of sea salt directly on top of the wet mixture in the mug. Pro Tip: Ensure your baking powder is fresh. If it is expired, the rapid lift required in the microwave will fail, resulting in a dense, inedible brick.
Step 5: The Gentle Fold
Using a small silicone spatula or a spoon, gently fold the dry ingredients into the wet ingredients. Scrape the very bottom edge of the mug to ensure no pockets of dry oat flour are hiding in the corners. Stir strictly until the ingredients are just combined; overmixing oat flour can cause it to become unpleasantly gummy. If you are adding dark chocolate chips or walnuts, gently fold them in now.
Step 6: Microwave Mastery
Place the mug directly in the center of your microwave. Microwave on high power (usually 1000W to 1200W) for exactly 90 seconds. Keep a close eye on the mug through the glass door; the batter will rapidly puff up and rise, sometimes cresting slightly above the rim of the mug. Do not panic; as long as you used a large enough mug, it will settle back down once the microwave stops. If the top still looks wet and gooey after 90 seconds, add an additional 15 seconds.
Step 7: The Mandatory Resting Period
This is the most frequently ignored step in microwave baking. When you carefully remove the mug (the handle may be hot), you must let it sit on the counter undisturbed for 2 to 3 minutes before eating. The intense heat generated by the microwave means the interior of the cake is still rapidly carry-over cooking. Digging in immediately will result in a burned tongue and a slightly gummy texture. Let it rest, set, and gently cool.
Nutritional Information
Indulging in a late-night treat does not have to entail consuming empty calories that disrupt your sleep architecture. This single-serve recipe is scientifically structured to optimize your metabolic rate, providing slow-digesting carbohydrates and natural sweetness.
Nutritional insights per serving (based on 1 prepared mug cake):
- Calories: 215 kcal
- Total Fat: 7g (Primarily healthy medium-chain triglycerides from the coconut oil)
- Carbohydrates: 34g (Predominantly complex carbs and natural fruit sugars)
- Dietary Fiber: 6g (An excellent source of digestive support)
- Sugars: 12g (Exclusively naturally occurring from the ripe banana)
- Protein: 5g (Naturally sourced from the whole grain oat flour)
Data Insight: A standard slice of commercially available banana nut bread from a popular coffee chain averages an astonishing 420 calories, 22 grams of fat, and over 30 grams of highly refined added sugars. By swapping to this functional, nutrient-dense recipe, you slash your caloric intake by 50% and completely eliminate refined, inflammatory sugars, drastically improving your metabolic health.


Healthier Alternatives for the Recipe
Every human body possesses completely different nutritional requirements, digestive limits, and intolerances. This highly adaptable, incredibly versatile oat matrix can easily be shifted to accommodate a wide variety of specific dietary lifestyles without sacrificing its deeply comforting, warm texture. For a deep dive into historical ingredient substitutions, consider reading the ultimate guide to heirloom retro cakes.
- High-Protein Muscle Builder: To significantly boost the protein content for a post-workout treat, swap 1 tablespoon of the oat flour for 1 tablespoon of unflavored or vanilla whey protein isolate (or a plant-based alternative). You must add an extra 1 tablespoon of almond milk, as protein powders aggressively absorb moisture in the microwave.
- Strict Keto / Low-Carb Adaptation: Because bananas and oats are naturally carbohydrate-dense, a ketogenic diet requires a structural swap. Replace the mashed banana with 2 tablespoons of pure pumpkin puree mixed with liquid stevia. Replace the oat flour completely with 4 tablespoons of finely milled almond flour and 1 tablespoon of coconut flour.
- Egg-Fortified Variation: While this base recipe is naturally vegan, if you prefer a fluffier, more sponge-like traditional cake texture rather than a dense, fudgy texture, you can whisk one small egg white into the wet ingredients in Step 3.
Serving Suggestions
How you serve and garnish this single-portion meal can dramatically alter your entire sensory experience. You can eat it straight out of the mug for utilitarian ease, or you can meticulously dress it up to feel like a luxurious, high-end dessert.
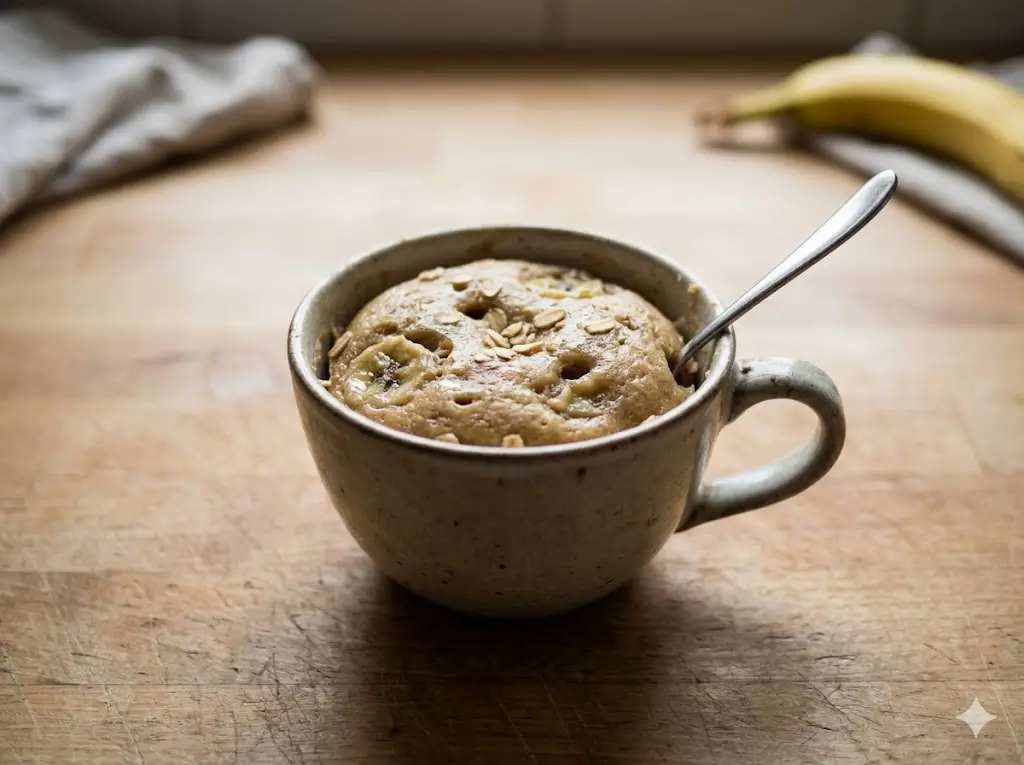
If you are treating this as a decadent late-night snack, immediately after the cake has rested for two minutes, press a small square of dark chocolate into the warm center so it creates a molten core. Top the cake with a generous, cooling dollop of high-protein plain Greek yogurt (which perfectly mimics the rich tang of cream cheese frosting) and a light drizzle of runny, natural peanut butter or almond butter. For an aesthetic presentation that mirrors the styles found in modern design the 2025 cake trend report, gently slide the cake entirely out of the mug onto a stark white dessert plate, dust it with powdered monk fruit sweetener, and garnish with thin, fresh slices of raw banana. You can even elevate this concept into a stunning mini-dessert bar for intimate gatherings using advanced presentation tips from the definitive holiday showstopper guide or master the cake 100 recipes from simple to showstopping.
Common Mistakes to Avoid
Even a simple, 90-second microwave assembly can go tragically wrong if fundamental culinary physics are ignored. Microwaves cook food by vibrating water molecules, which creates an entirely different baking environment than the ambient dry heat of a standard oven. Avoid these specific, frequent pitfalls.
- Using the Wrong Size Mug: The absolute biggest mistake is using a standard 8-ounce coffee teacup. Baking powder reacts violently in the microwave. If your mug is too small, the batter will rapidly rise over the edges, spilling onto your microwave turntable and leaving you with a hollow, messy shell. Always use a wide, deep mug with at least a 12 to 15-ounce capacity.
- The “Rubber Cake” Syndrome: If your cake turns out with the texture of a bouncy rubber ball, you overcooked it. Microwave wattages vary wildly. If you have a powerful 1200W+ microwave, 90 seconds might be too long. Start checking your cake at the 60-second mark. It is better to have a slightly gooey, molten center than an overcooked, chewy hockey puck.
- Skipping the Fat Content: Do not be tempted to omit the single teaspoon of coconut or avocado oil to “save calories.” The microwave aggressively drives moisture out of the batter. Without a lipid fat to coat the oat flour proteins, the resulting cake will be unpleasantly dry, scratchy, and difficult to swallow.
Storing Tips for the Recipe
Mug cakes are intrinsically designed for immediate consumption. They do not store as well as traditional baked goods because the microwave cooking process retrogrades starches much faster. However, you can utilize clever prep strategies.
You can easily “meal prep” this recipe by creating pre-measured dry mix jars. In small containers, mix the oat flour, baking powder, cinnamon, and salt. Keep these in your pantry. When a craving hits, simply mash a banana, add the milk and oil, and dump in your pre-mixed dry jar. If you somehow have leftovers of a cooked mug cake, tightly wrap the top of the mug with plastic cling film and store it in the refrigerator for up to 24 hours. To reheat, sprinkle exactly one teaspoon of water over the top of the cake, cover it with a damp paper towel, and microwave on 50% power for 15 seconds to re-steam the crumb.


Conclusion
Making this banana mug cake healthy recipe proves you can conquer your sudden sweet tooth with dessert-like decadence while actively nourishing your body. By combining high-fiber oat flour and antioxidant-rich fruit, you guarantee a satisfying, guilt-free treat in under five minutes. Try this lightning-fast bake today, share your feedback below, and subscribe for more healthy hacks!
FAQs
Can I bake this in a standard oven if I don’t own a microwave?
Yes, you can absolutely transition this to a traditional oven. Transfer the mixed batter into an oven-safe, greased ramekin (do not put a standard coffee mug in the oven). Bake it at 350°F (175°C) for approximately 15 to 18 minutes, or until a toothpick inserted into the center comes out clean. Note that it will have a slightly firmer crust than the microwave version.
Why did my mug cake sink completely flat after I took it out?
A cake that rapidly rises and then entirely collapses usually indicates one of two issues: either your baking powder is severely expired and has lost its structural lifting power, or you used a banana that was far too large. If there is too much wet banana puree relative to the dry oat flour, the batter becomes too heavy to maintain its aerated structure once the microwave energy stops. Use exactly half of a medium banana.
Can I substitute standard all-purpose white flour instead of oat flour?
While you technically can, using standard all-purpose flour significantly changes the chemistry and the nutritional profile. All-purpose flour develops gluten when stirred. If you stir it aggressively in a mug and then microwave it, the gluten tightens incredibly fast, resulting in a very dense, chewy texture. Oat flour is naturally gluten-free (or very low gluten) and provides a much tenderer, softer crumb for microwave applications. If you must use all-purpose flour, reduce the amount by half a tablespoon and mix it as little as humanly possible.
Banana mug cake healthy 7 best steps for a fast treat
Ingredients
Method
Step 1: Select and Prepare the Ultimate Banana
Begin by selecting the correct fruit. Your banana must be heavily speckled with brown and black spots; a yellow or slightly green banana contains too much resistant starch and will yield a dry, flavorless, chalky cake. Peel exactly half of the ripe banana and place it directly into the bottom of a large, 12-ounce to 15-ounce microwave-safe ceramic mug.Step 2: The Mashing Process
Using the back of a standard dinner fork, aggressively mash the banana against the bottom and sides of the mug. You must continue mashing until the banana is almost entirely liquified, resembling the texture of baby food. Any large, un-mashed chunks of banana will turn into slimy pockets of moisture when microwaved, ruining the structural integrity of the cake.Step 3: Incorporate the Wet Elements
Into the liquified banana mash, pour your unsweetened almond milk, melted coconut oil, and pure vanilla extract. Use your fork to whisk these wet ingredients together vigorously for about 15 seconds. Ensure the oil is fully emulsified into the milk and banana mixture so it does not separate during the rapid cooking process.Step 4: Add the Dry Matrix
Sprinkle the 3 tablespoons of oat flour, the ¼ teaspoon of baking powder, the ground cinnamon, and the pinch of sea salt directly on top of the wet mixture in the mug. Pro Tip: Ensure your baking powder is fresh. If it is expired, the rapid lift required in the microwave will fail, resulting in a dense, inedible brick.Step 5: The Gentle Fold
Using a small silicone spatula or a spoon, gently fold the dry ingredients into the wet ingredients. Scrape the very bottom edge of the mug to ensure no pockets of dry oat flour are hiding in the corners. Stir strictly until the ingredients are just combined; overmixing oat flour can cause it to become unpleasantly gummy. If you are adding dark chocolate chips or walnuts, gently fold them in now.Step 6: Microwave Mastery
Place the mug directly in the center of your microwave. Microwave on high power (usually 1000W to 1200W) for exactly 90 seconds. Keep a close eye on the mug through the glass door; the batter will rapidly puff up and rise, sometimes cresting slightly above the rim of the mug. Do not panic; as long as you used a large enough mug, it will settle back down once the microwave stops. If the top still looks wet and gooey after 90 seconds, add an additional 15 seconds.Step 7: The Mandatory Resting Period
This is the most frequently ignored step in microwave baking. When you carefully remove the mug (the handle may be hot), you must let it sit on the counter undisturbed for 2 to 3 minutes before eating. The intense heat generated by the microwave means the interior of the cake is still rapidly carry-over cooking. Digging in immediately will result in a burned tongue and a slightly gummy texture. Let it rest, set, and gently cool.